
The Heart of the Pie
Let’s talk about that crust. I know gluten-free dough can be tricky. It might feel different in your hands. That’s okay. Just be gentle with it, like you’re tucking in a blanket. Press it softly into the plate.
I once made a crust that looked like a map of the world. All lopsided and funny. I still laugh at that. The taste was what mattered. It was still perfect. Why does this matter? Because food made with happy, forgiving hands always tastes better.
A Spice Story
Now, those spices. Cinnamon, ginger, nutmeg, and cloves. They are old friends. They dance together in your bowl. Doesn’t that smell amazing? It smells like my whole kitchen in autumn.
Fun fact: nutmeg comes from the seed of a tropical fruit. Isn’t that a funny trip to our pumpkin pie? Mixing the filling on the stove is important. It cooks the pumpkin just right. This step gives us a smooth, silky pie. No lumps allowed.
The Warm Hug Method
Here’s my little secret. Warm crust, warm filling. They need to meet as friends. Pouring warm filling into a cold crust can make it soggy. We don’t want that. We want a happy union.
So we bake the crust first. Then we make the filling. They are both still warm when they meet. It’s like giving the pie a big hug from the inside. Do you have a kitchen secret passed down in your family? I’d love to hear it.
Watching it Bake
Now, into the oven it goes. The magic happens here. Watch the edges puff up. They might get little cracks. That’s a good sign. The center should still have a little jiggle when you nudge the pan.
The hardest part is next. You must let it cool. For two whole hours. I know, it’s tough. But this waiting matters. It lets the pie set. It lets the flavors settle and become friends. What’s the hardest part of baking for you? Is it the waiting, too?
Slice of Comfort
Finally, time to slice. Serve it slightly warm or at room temperature. Each bite is creamy and spiced. It’s a hug on a plate. This pie shows that special diets don’t mean missing out.
Food is about sharing joy. This pie is full of it. Every single step is an act of care. That’s the real recipe. Tell me, what’s your favorite food memory from a holiday table?
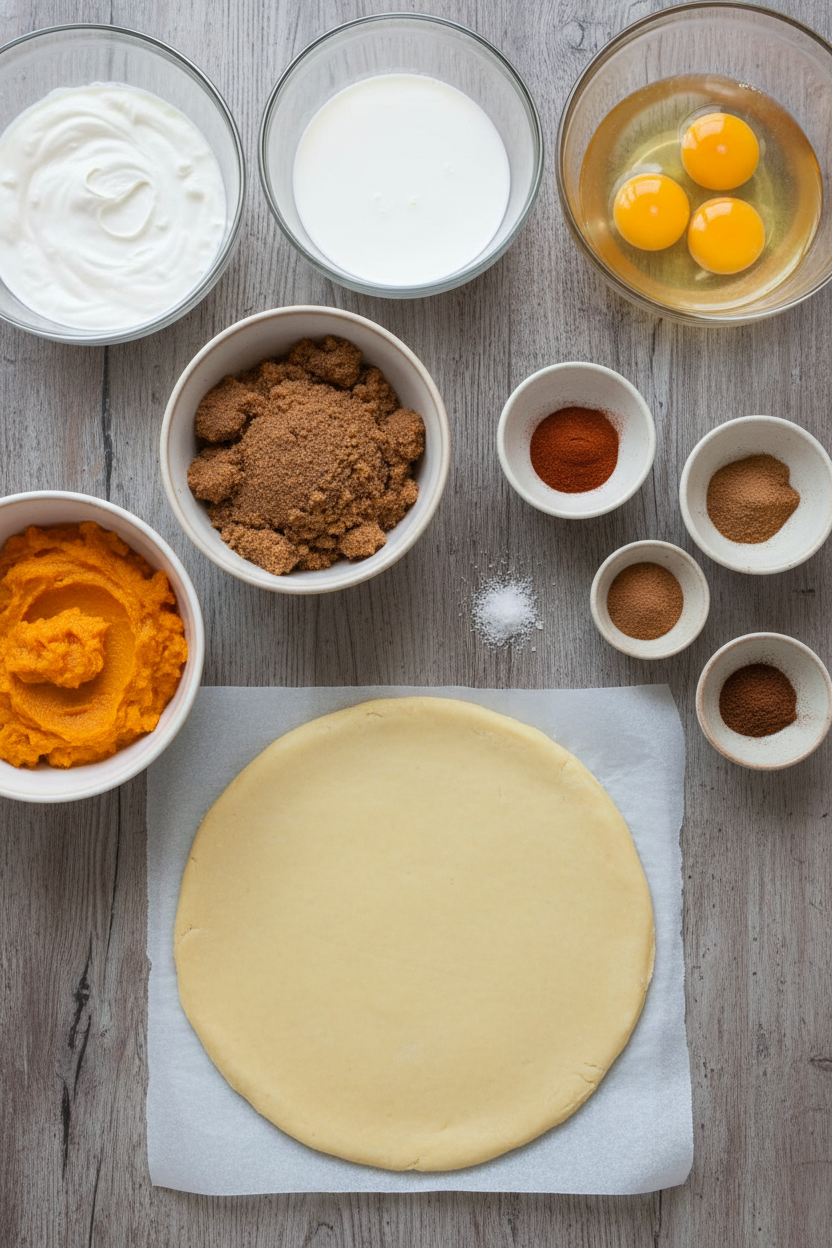
Ingredients:
| Ingredient | Amount | Notes |
|---|---|---|
| Gluten-Free Single-Crust Pie Dough | 1 recipe | Prepared |
| Pumpkin puree | 15-ounce can | |
| Dark brown sugar | 7 ounces / 198 grams / 1 cup, packed | |
| Ground ginger | 2 teaspoons | |
| Ground cinnamon | 2 teaspoons | |
| Ground nutmeg | 1 teaspoon | |
| Salt | ½ teaspoon | |
| Ground cloves | ¼ teaspoon | |
| Heavy cream | ⅔ cup | |
| Whole milk | ⅔ cup | |
| Large eggs | 4 |
Instructions
Step 1: First, get your oven ready at 375°F. Roll your dough between plastic sheets. Flip it into your pie plate and press it in. Trim and fold the edges, then make them pretty. I like to crimp with a fork sometimes. (A cold crust is a happy crust, so work fast with warm hands!)
Step 2: Pop that crust in the freezer for 15 minutes. Then bake it until it’s light gold. Don’t forget to turn the pan halfway. Let it cool a bit, but keep it warm. Now, move your oven rack down and turn the heat up to 425°F.
Step 3: Mix the pumpkin and spices in your food processor. It will smell like a cozy hug. Cook this mix in a pan until it gets thick. Stir in the cream and milk next. Let it get bubbly again, then turn it off. What’s your favorite fall spice? Share below!
Step 4: Give your processor a quick rinse. Whiz the eggs inside it. Slowly add half the hot pumpkin mix while it runs. Then add the rest and blend until smooth. This makes the filling so silky. My first pie was lumpy, but I learned this trick!
Step 5: Pour the filling into your warm crust. Bake it on the lower rack. It’s done when the edges puff and the center jiggles a little. Cool it completely on a rack. This takes patience, about 2 hours. (Tap the side gently to check the jiggle!)
Creative Twists
Let’s have some fun with our pie. You can make it your own. I love trying little changes. It reminds me of cooking with my grandkids. We always experiment together.
Add a handful of chocolate chips to the filling before baking.
Swap the spices for a tablespoon of chai tea powder.
Top with a sprinkle of crushed pecans right after baking.
Which one would you try first? Comment below!
Serving & Pairing Ideas
This pie is wonderful all on its own. But a little extra love makes it special. A dollop of whipped cream is classic. A scoop of vanilla ice cream melts so nicely. For a pretty plate, add a tiny mint leaf. Doesn’t that look lovely?
For drinks, try hot spiced apple cider. It’s so comforting. For the grown-ups, a small glass of sweet sherry pairs beautifully. The flavors dance together. Which would you choose tonight?

Keeping Your Pumpkin Pie Perfect
Let’s talk about keeping your pie lovely. Cool it completely first. Then, cover it loosely with plastic wrap. It will be happy in the fridge for about four days.
You can freeze the whole pie, too. Wrap it tightly in two layers of plastic. I once froze a pie for Thanksgiving in October. It tasted just as good months later!
To reheat, warm a slice in a low oven. This keeps the crust crisp. Batch cooking matters because it saves future-you time. You can enjoy a homemade treat any day.
Have you ever tried storing it this way? Share below!
Easy Fixes for Common Pie Problems
First, a soggy crust. Always par-bake your crust first. This creates a strong barrier for the wet filling. I remember when I skipped this step once. The crust was a sad, soft mess.
Second, cracks on top. Do not over-bake your pie. The center should still wobble a little. Taking it out on time matters for a smooth, beautiful slice.
Third, a bland flavor. Toasting your spices in a dry pan helps. It wakes up their cozy, warm taste. This small step builds your cooking confidence. Your pie will taste deeply wonderful.
Which of these problems have you run into before?
Your Quick Questions, Answered
Q: Can I make this pie ahead?
A: Yes! Bake it one or two days before. Keep it covered in the fridge. The flavors get even better.
Q: What if I don’t have a food processor?
A: A blender works great. You can also whisk very, very well by hand.
Q: Can I use different milk?
A: For best texture, stick with dairy. The fat helps the pie set nicely.
Q: Can I make mini pies?
A: Absolutely. Use a muffin tin. Just reduce the baking time. Watch them closely.
Q: Any optional tips?
A: A dollop of whipped cream is perfect. Fun fact: Pumpkins are actually a type of fruit!
Which tip will you try first?
From My Kitchen to Yours
I hope you love making this pie. The smell of baking spices is pure joy. It fills your home with warmth and love.
I would love to hear about your baking adventure. Tell me all about it in the comments. Sharing stories is the best part.
Have you tried this recipe? Let me know how it went for you. Happy cooking!
—Fiona Brooks.
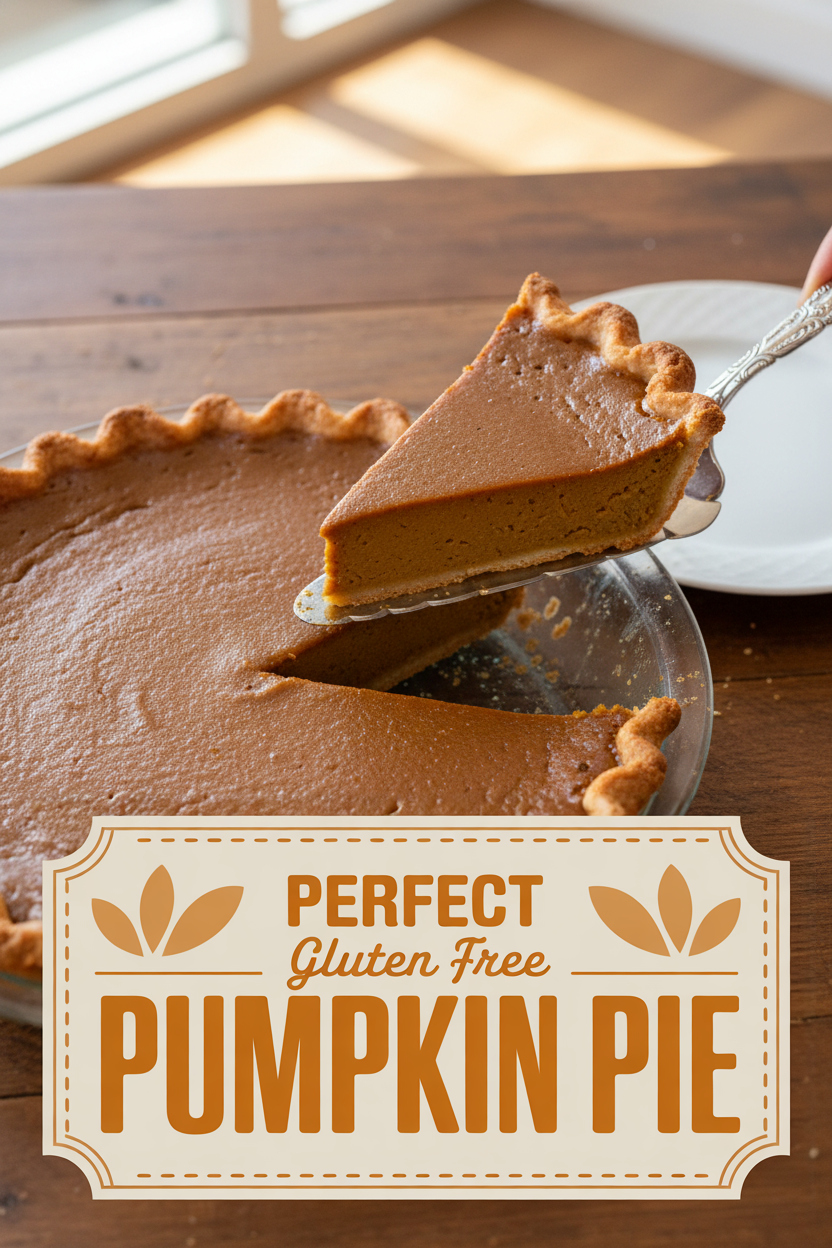
Perfect Gluten Free Pumpkin Pie
Description
A classic holiday dessert made gluten-free, featuring a spiced pumpkin filling in a flaky, par-baked crust.
Ingredients
Instructions
- Preheat your oven to 375°F and position a rack in the center. Roll out the prepared pie dough between two sheets of plastic wrap to form a 12-inch circle. Peel off the top layer of plastic, then carefully flip the dough into a 9-inch pie plate. Gently press it into place and remove the remaining plastic. Trim the excess dough to leave a ½-inch overhang, then fold this overhang under itself so it sits on the rim of the plate. Crimp the edges decoratively with your fingers.
- Loosely cover the shaped crust with plastic and place it in the freezer for about 15 minutes to firm up. Remove the plastic and bake the crust on the middle rack until it turns a light golden brown, which should take 20 to 25 minutes; remember to rotate the plate halfway through. Once baked, move the pie plate to a cooling rack. The crust should still be warm for the filling. Lower the oven rack and increase the temperature to 425°F.
- As the crust bakes, combine the pumpkin puree, brown sugar, ginger, cinnamon, nutmeg, salt, and cloves in a food processor. Blend until smooth, about a minute. Transfer this mixture to a medium saucepan and bring it to a simmer over medium-high heat, stirring constantly. Cook until it becomes thick and glossy, roughly 5 minutes. Stir in the heavy cream and whole milk, allow it to return to a brief simmer, then take it off the heat.
- Clean the food processor bowl and process the eggs briefly until uniform. With the processor running, gradually pour in about half of the hot pumpkin mixture. Stop the machine, add the rest of the pumpkin mixture, and process again until everything is completely smooth and blended, about 30 seconds more.
- Pour the warm filling directly into the warm par-baked crust. If there is any extra filling, you can add it after the pie has baked for about 5 minutes, once the filling has settled slightly. Bake on the lower rack until the edges are puffed and lightly cracked and the center jiggles just a bit when gently shaken, approximately 25 minutes. Cool the pie completely on a wire rack for about 2 hours until set. Serve slightly warm or at room temperature.
Notes
- For best results, ensure both the crust and filling are warm when combined. The pie will continue to set as it cools.


Leave a Reply