My First Cookie Disaster
I burned my first batch of cookies. I was so eager. I turned the oven too hot. They came out like little black stones. My dad still tried to eat one. I still laugh at that.
It taught me a good lesson. Baking is about patience. Rushing never helps. This recipe’s lower oven heat is key. It gives the cookie time to become perfect.
Why We Melt the Butter
You might wonder about melted butter. Most recipes say “softened.” Here is why this matters. Melted butter makes the dough chewier. It gives those lovely crispy edges too.
Just let it cool a bit. You don’t want to cook the egg! Mixing it with the sugars is my favorite part. Doesn’t that smell amazing? It smells like caramel and happiness.
The Secret in Your Scoop
Do not skip rolling the dough into balls. This little step matters so much. A rough ball helps the cookie bake evenly. It keeps it thick and soft in the middle.
Give them room on the pan. They need space to spread and breathe. Fun fact: The chocolate chip cookie was invented by accident in the 1930s! A baker ran out of nuts. She used chocolate bits instead. What is your favorite “happy accident” in the kitchen?
Knowing When They’re Done
This is the trickiest part. Do not wait for them to look fully done. Take them out when the edges are golden. The center should still look soft and puffy.
They keep cooking on the hot pan. That ten-minute wait is hard. But it lets them set up just right. Do you like your cookies soft and chewy, or crisp all over?
Make It Your Own
This recipe is your friend. You can change it a little. Try using dark chocolate chips. Or add a handful of chopped walnuts. My grandson loves adding a pinch of cinnamon.
Baking is about sharing joy. A warm cookie says “I care about you.” That is the best ingredient of all. What will you add to make these cookies special for you?
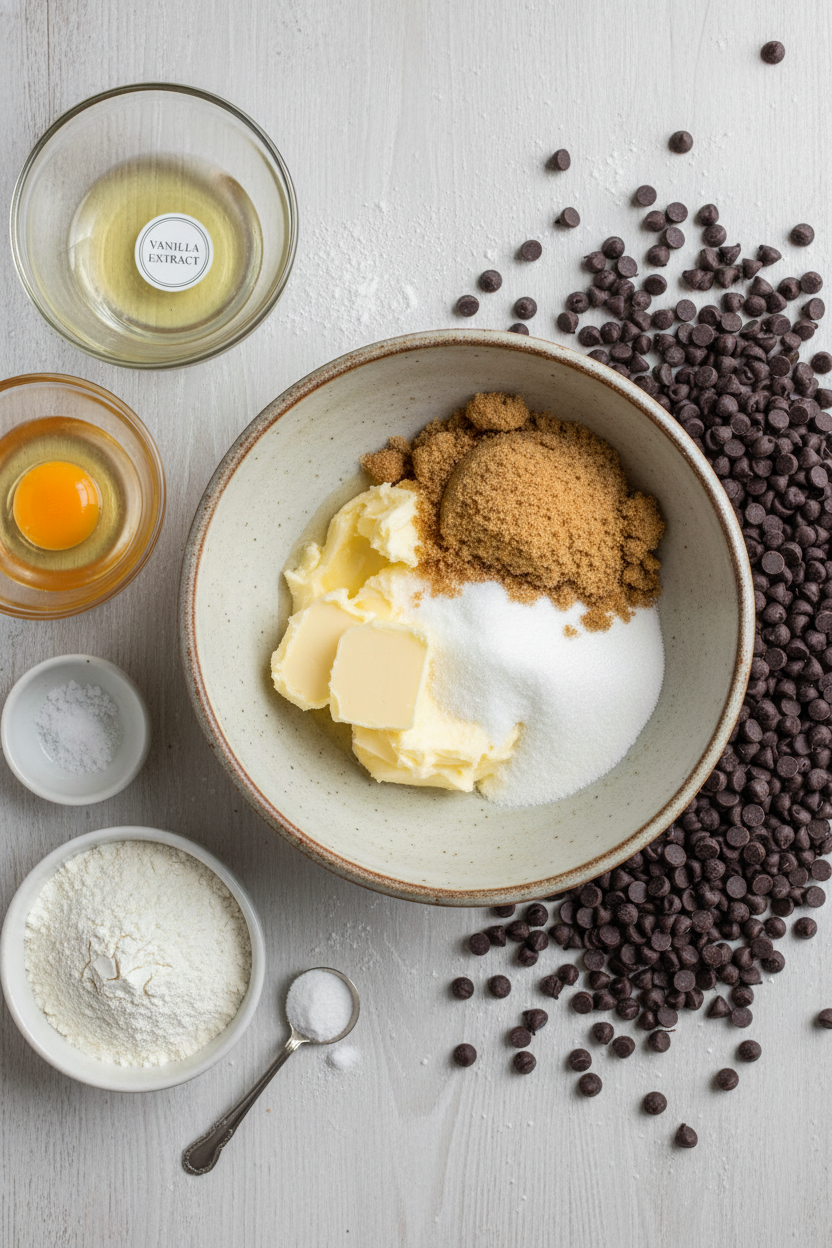
Ingredients:
| Ingredient | Amount | Notes |
|---|---|---|
| All-purpose flour | 2 cups plus 2 tablespoons (10 ⅔ ounces/302 grams) | |
| Baking soda | ½ teaspoon | |
| Salt | ½ teaspoon | |
| Unsalted butter | 12 tablespoons, melted and cooled | |
| Light brown sugar | 1 cup packed (7 ounces/198 grams) | |
| Granulated sugar | ½ cup (3 ½ ounces/99 grams) | |
| Egg | 1 large plus 1 large yolk | |
| Vanilla extract | 2 teaspoons | |
| Semisweet chocolate chips | 1 ½ cups (9 ounces/255 grams) |
Instructions
Step 1: First, let’s get ready. Turn your oven to 325°F. Put a rack in the lower third. Line two baking sheets with parchment paper. Whisk your flour, baking soda, and salt in a bowl. This makes everything mix in better later. I always do this first. It feels so organized.
Step 2: Now, let’s make the dough. Use melted, cooled butter. Mix it with both sugars until creamy. Add the egg, extra yolk, and vanilla. Doesn’t that smell amazing? Mix it all in well. Then, add your flour mixture in three parts. (A hard-learned tip: mix just until you see no more dry flour). Finally, gently fold in all those chocolate chips.
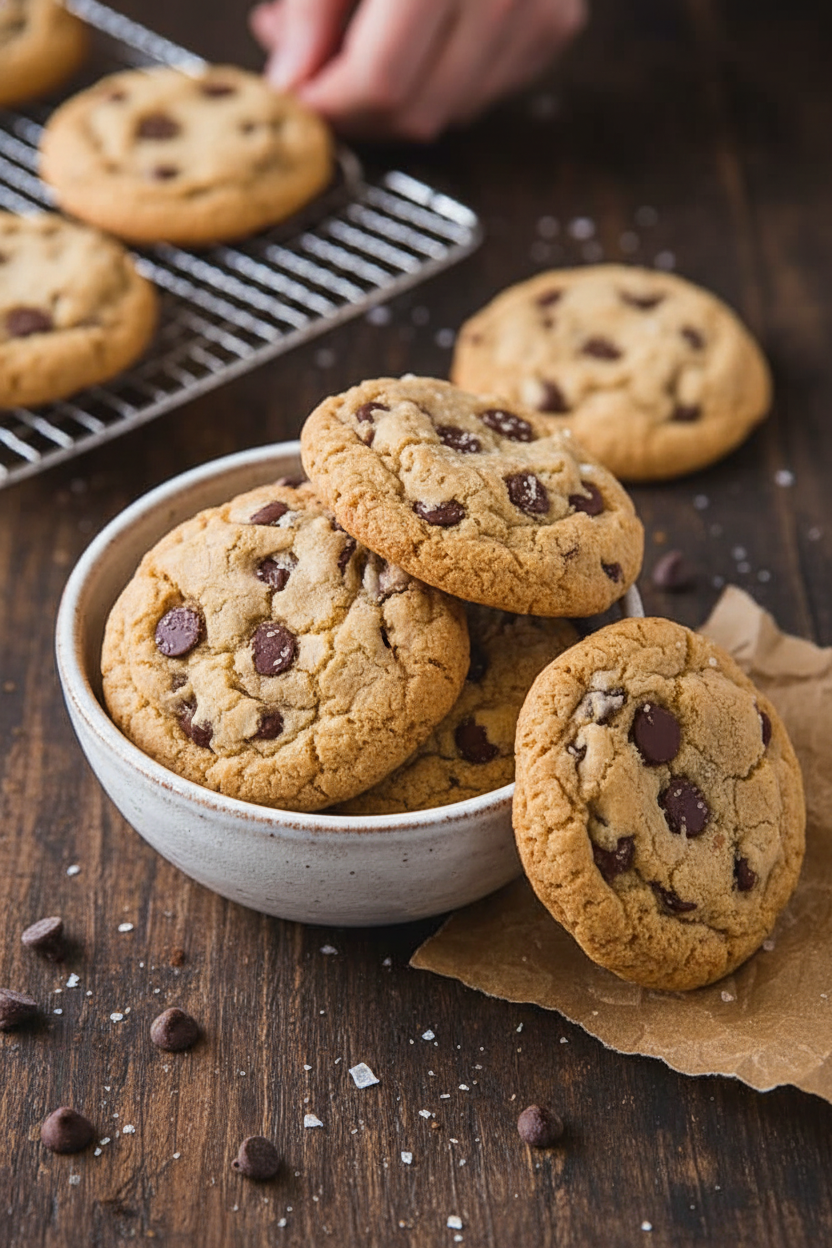
Step 3: Time to shape them! Scoop about 2 tablespoons of dough. Roll it into a rough ball. Place them on your sheet, 2 inches apart. They need space to become perfect. Do you like crispy edges or chewy centers? Share below! Bake one sheet at a time for even heat.
Step 4: Baking is the best part. Bake for 15 to 20 minutes. Rotate the sheet halfway through. Watch for golden edges and soft, puffy centers. They will look underdone. That’s the secret! Let them cool on the sheet for 10 minutes. I still laugh at how I used to move them too soon. This wait makes them just right.
Creative Twists
These cookies are wonderful as they are. But sometimes, it’s fun to play. Try adding a big pinch of flaky sea salt on top before baking. The sweet and salty mix is magic. Or, swap half the chips for chopped toasted pecans. They add a lovely crunch. For a surprise, use peanut butter chips instead of chocolate. It tastes like a different cookie entirely! Which one would you try first? Comment below!
Serving & Pairing Ideas
A warm cookie is a little piece of joy. Serve them stacked high on a vintage plate. For a real treat, sandwich a scoop of vanilla ice cream between two. It’s messy and wonderful. These cookies love a cold glass of milk, of course. For the grown-ups, a glass of tawny port wine is a cozy match. Its nutty sweetness is perfect. Which would you choose tonight?
Keeping Your Cookies Happy
Fresh cookies are a special treat. But what about tomorrow? Let me share my secrets. First, let your baked cookies cool completely. Then, store them in a tight-lidded container. They will stay soft for about five days. You can also freeze the dough for later. Just scoop the dough balls onto a tray. Freeze them solid, then pop them into a bag. Bake a few anytime you want a warm cookie. I once forgot a batch in the freezer for months. They baked up perfectly! It felt like finding a sweet treasure.
Batch cooking like this saves time and money. It means you always have a little joy ready. A warm cookie can turn a hard day around. Have you ever tried storing it this way? Share below!
Cookie Troubles? Easy Fixes!
Sometimes cookies don’t turn out right. Do not worry. Here are three common fixes. First, if your cookies spread too much, your butter was too warm. Use cooled, melted butter like the recipe says. I remember when my first cookies turned into one big sheet. They were tasty but very flat!
Second, if they are too cakey, you might have added too much flour. Spoon your flour into the cup. Do not pack it down. Third, for crispy cookies, bake a few minutes longer. For chewy ones, take them out when the centers look soft. Getting this right builds your cooking confidence. It also makes sure every bite is full of flavor. Which of these problems have you run into before?
Your Quick Questions, Answered
Q: Can I make these gluten-free?
A: Yes! Use a good gluten-free flour blend. Make sure it has xanthan gum in it.
Q: Can I make the dough ahead?
A: Absolutely. Keep it covered in the fridge for up to three days. This actually helps the flavor.
Q: What can I swap for chocolate chips?
A: Try chopped nuts or dried cranberries. My grandson loves them with M&M’s. *Fun fact: The first chocolate chip cookie was made by accident in 1938!*
Q: Can I make a half-batch?
A: You can. Just divide all the ingredients in half. It works perfectly for a smaller treat.
Q: Any optional tips?
A: Sprinkle a little sea salt on top before baking. It makes the chocolate taste even sweeter. Which tip will you try first?
From My Kitchen to Yours
I hope you love baking these cookies as much as I do. The best recipes are the ones we share. They create sweet memories in our own kitchens. I would love to hear about your baking adventure. Please tell me all about it in the comments below. Have you tried this recipe? I am waiting to hear your story.
Happy cooking!
—Fiona Brooks.
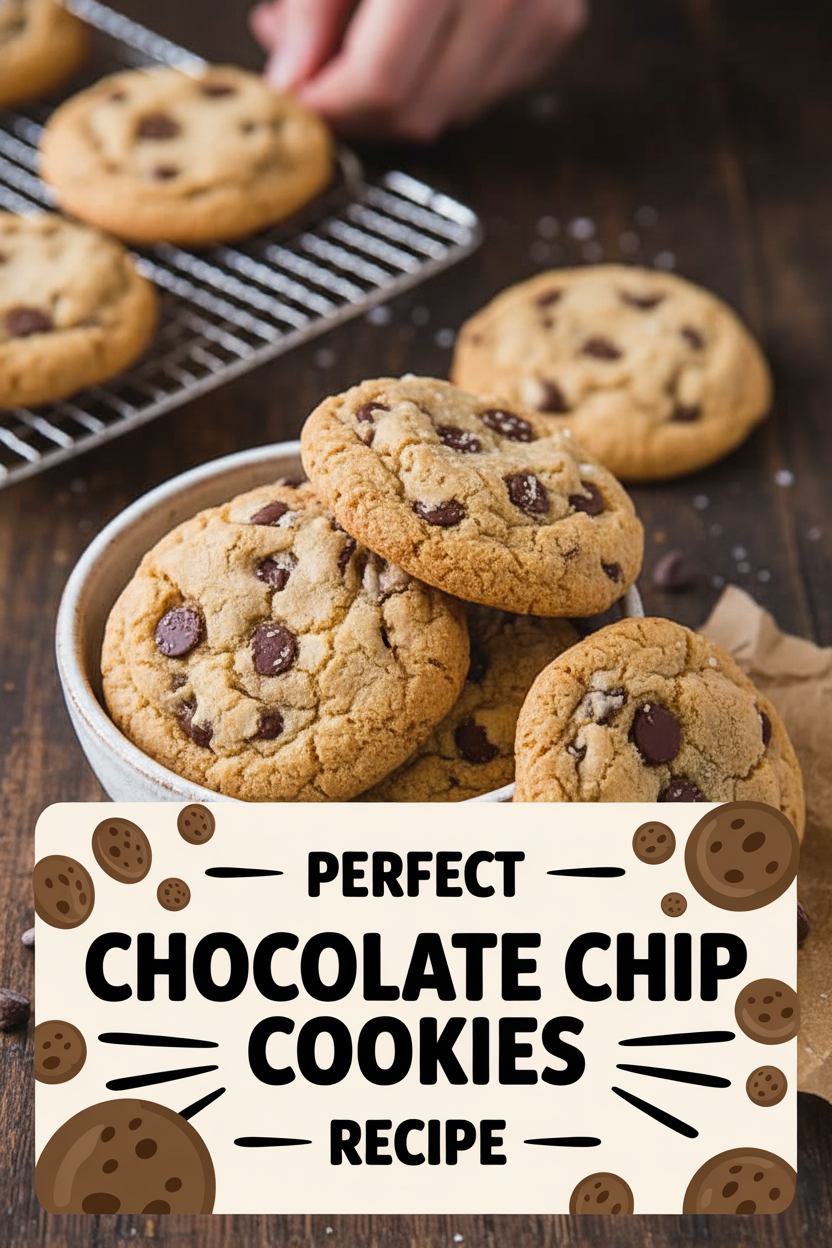
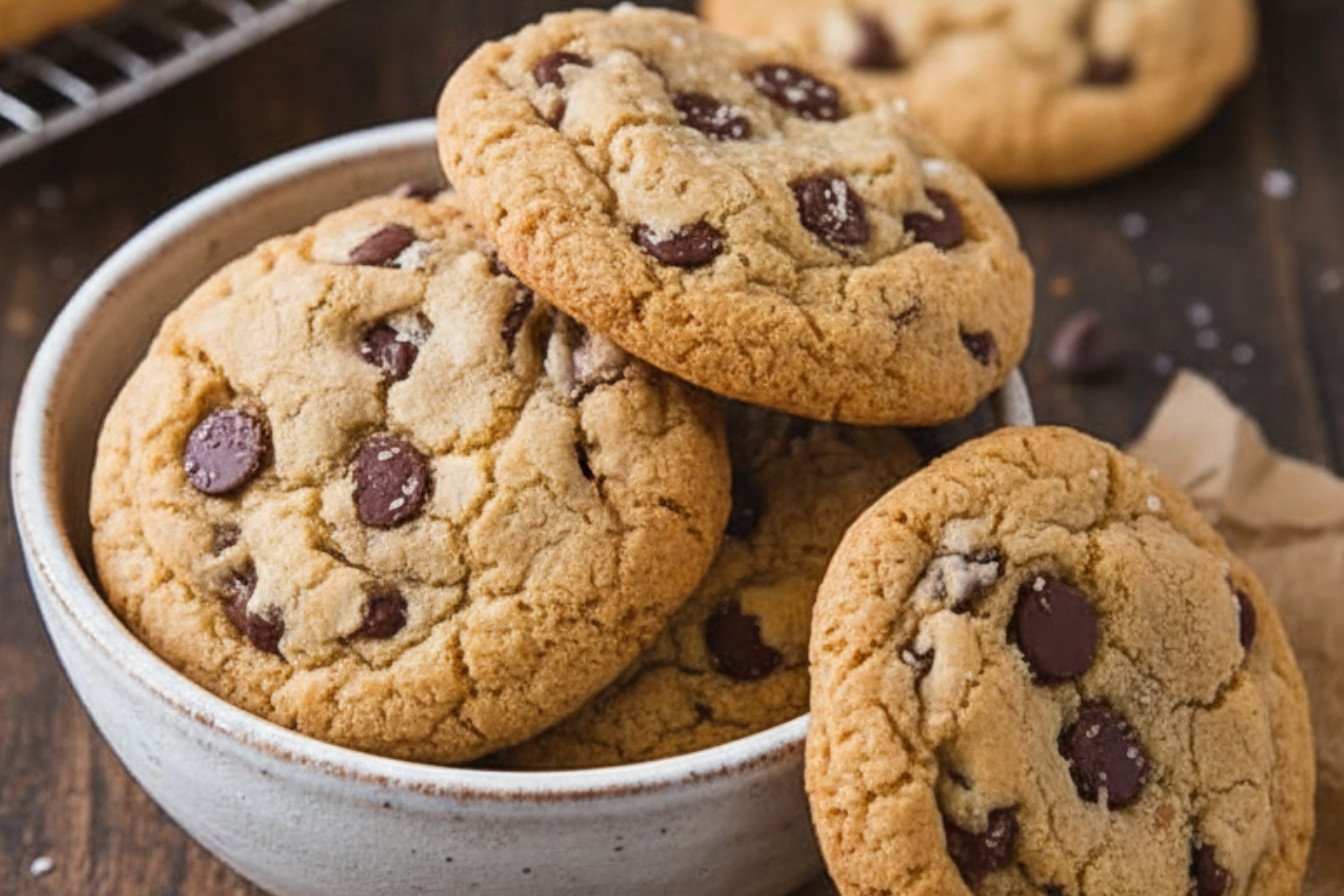
Perfect Chocolate Chip Cookies Recipe
Description
Bake the ultimate classic with these Perfect Chocolate Chip Cookies, featuring crisp edges, soft centers, and rich chocolate in every bite.
Ingredients
Instructions
- Set your oven to 325°F and position a rack in the center of the lower third. Prepare two baking sheets by lining them with parchment paper. In a separate bowl, whisk together the flour, baking soda, and salt.
- In the bowl of a stand mixer with the paddle attachment, combine the melted butter with both sugars. Mix on medium speed until the mixture is creamy and smooth, about 2 minutes. Blend in the egg, egg yolk, and vanilla extract until fully incorporated. Reduce the mixer speed to low and gradually add the flour mixture in three parts, mixing just until no dry streaks remain. Use a spatula to fold in the chocolate chips.
- For each cookie, scoop about 2 tablespoons of dough, roll it into a ball, and place it on a baking sheet, leaving about 2 inches between each. Bake one sheet at a time. Bake for 15 to 20 minutes, rotating the sheet halfway through, until the edges are firm and lightly golden but the centers are still soft and puffy. Allow the cookies to cool on the baking sheet for 10 minutes before transferring them.
Notes
- For best results, use room temperature eggs and high-quality chocolate chips. The dough can be scooped and frozen for baking later.


Leave a Reply