The Heart of the Pie
A good pie crust is like a warm hug. It holds everything together. I think the crust is the best part.
Making it can seem scary. But it is just flour, fat, and a little love. Getting it right matters because it is your first bite. That first taste sets the whole story for the pie.
Keeping Things Cool
Here is my biggest secret. Keep everything cold. I even chill my bowl sometimes. Cold butter makes little pockets in the dough.
Those pockets melt in the oven. They make the crust flaky and light. Fun fact: That steam from the melting fat is what creates all those wonderful flakes! I still laugh at the time I used soft butter. I got a cracker, not a crust.
A Little Patience, Please
After you make the dough, it needs a nap. Wrap it up and put it in the fridge. This matters so much. It lets the flour relax.
A relaxed dough won’t fight you when you roll it. It will just sigh and stretch. Do you ever skip this chill time? I did once. The crust shrank right down in the pan!
The Rolling Party
Rolling dough is my favorite part. Use a little flour so it doesn’t stick. Roll from the center out. Turn it as you go.
To move it, fold it gently into quarters. Then lift it into your pan. Unfold it like a precious cloth. Doesn’t that smell amazing? That simple smell of flour and butter is home.
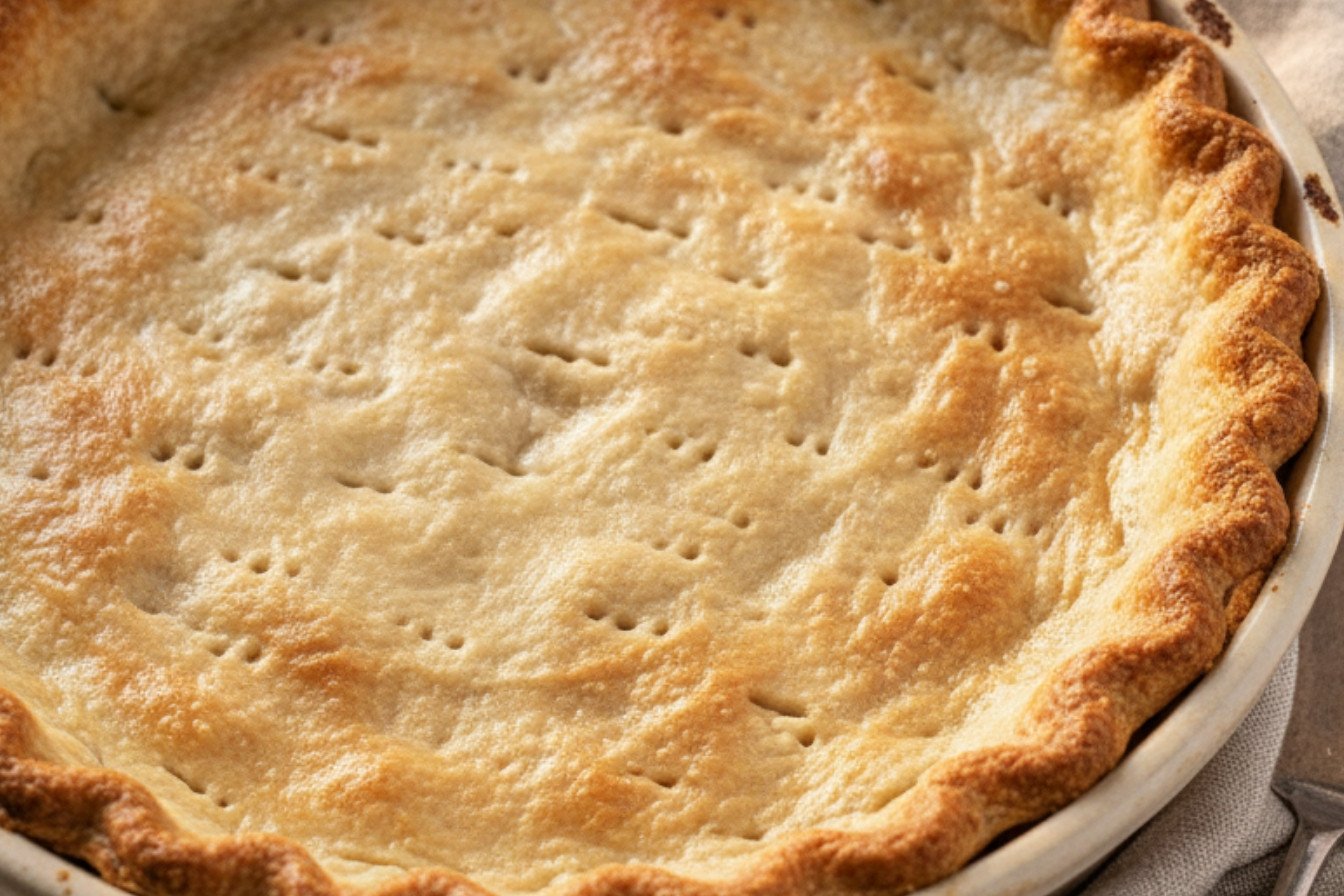
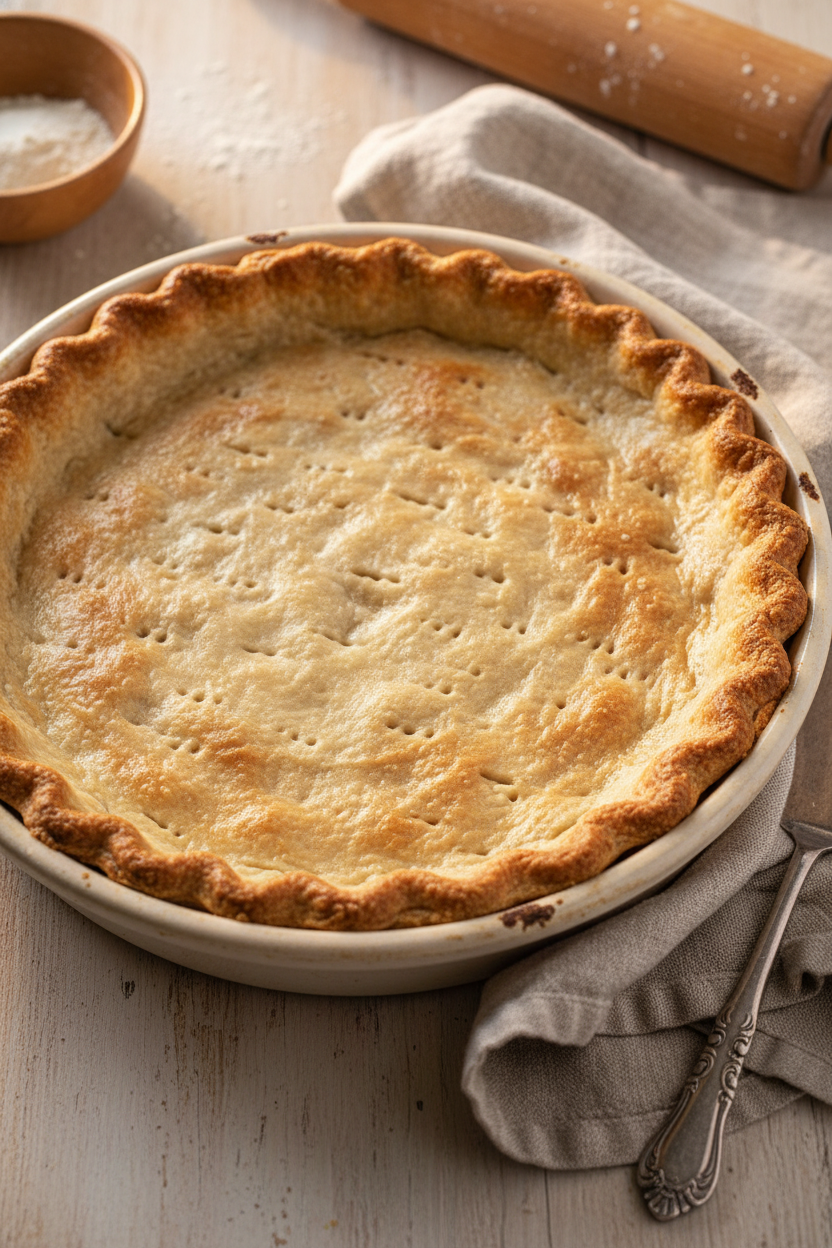
Baking It Empty
This step is called blind baking. You bake the shell before the filling goes in. It keeps the bottom from getting soggy.
Use those pie weights or dry beans on some foil. They hold the shape. When you lift them out, the crust holds its place. What do you use for weights? I have a jar of old beans just for this.
Your Turn to Share
Now you have a perfect blank canvas. You can fill it with lemon curd or chocolate pudding. The world is your pie pan.
What is your dream filling for this crust? Tell me about your first pie. Was it a happy mess or a perfect surprise? I love hearing your kitchen stories.
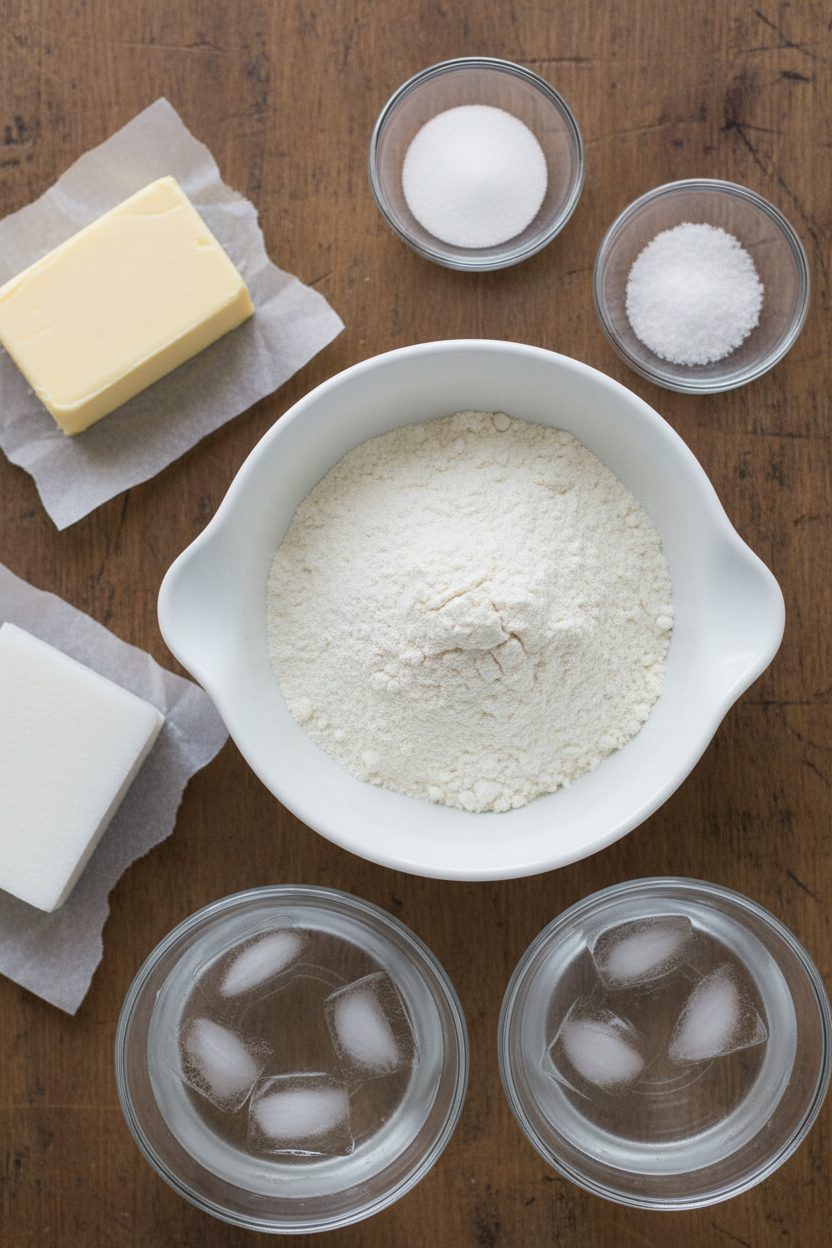
Ingredients:
| Ingredient | Amount | Notes |
|---|---|---|
| Unbleached all-purpose flour | 1 ¼ cups | |
| Table salt | ½ teaspoon | |
| Granulated sugar | 1 tablespoon | |
| Unsalted butter | 4 tablespoons | Cold |
| Vegetable shortening | 3 tablespoons | Chilled |
| Ice water | 4 – 5 tablespoons |
Instructions
Step 1: Let’s make the dough. Put your flour, salt, and sugar in the food processor. Give it a quick buzz. Now, drop in your cold butter pieces. Pulse it just five times. You should see little butter bits. Next, add the chilled shortening. Pulse four more times. It will look like coarse crumbs. (Keep everything cold for a flaky crust!) Pour it all into a medium bowl. Isn’t that easy?
Step 2: Time to bring it together. Sprinkle four tablespoons of ice water over the crumbs. Use a spatula to fold and press. Press down with the broad side. The dough should start clumping. If it’s too dry, add one more tablespoon of water. Then, use your hands for a few quick squeezes. Form it into a ball and flatten it into a disk. Wrap it up and let it rest in the fridge. I always think this wait is the hardest part!
Step 3: Now we roll! Let your dough disk sit out for about ten minutes. You want it just soft enough to roll. On a floured surface, roll it into a big, thin circle. To move it without tears, fold it gently into quarters. Unfold it right into your pie pan. Or roll it inside a large plastic bag and flip it in. What’s your favorite way to transfer tricky dough? Share below!
Step 4: Fit and crimp the crust. Gently press the dough into the corners of the pan. Trim the extra dough, leaving a little overhang. Tuck that overhang under itself to make a thick edge. Now, pinch that edge to make it pretty! I use my thumb and fingers. Put the whole pan back in the fridge, then the freezer. (This chill keeps the shape while baking.) This step makes your pie look store-bought, but better.
Step 5: Finally, we blind bake. Heat your oven to 375°F. Line your very cold shell with foil. Fill it with pie weights or dried beans. Bake for 17 minutes. Carefully lift out the foil and weights. For a partially baked crust, bake 9 more minutes. For fully baked, go 15 minutes more until golden brown. Let it cool completely on a rack. I still laugh at the time I forgot the weights. The crust puffed up like a pillow!
Creative Twists
This crust is a perfect blank canvas. You can make it your own with little changes. A spoonful of flavor makes all the difference. Here are three of my favorite twists.
Add a teaspoon of cinnamon to the dry ingredients. It’s wonderful for a pumpkin or apple pie. The kitchen will smell like a holiday.
Swap the sugar for a tablespoon of fresh herbs. Try chopped rosemary or thyme. Perfect for a savory quiche.
Mix a handful of grated cheese into the flour. Cheddar or parmesan works beautifully. It bakes up so golden and tasty.
Which one would you try first? Comment below!
Serving & Pairing Ideas
Your beautiful crust is ready. Now, what to put in it? For a sweet treat, fill it with lemon curd and top with berries. For dinner, a creamy chicken and vegetable filling is so comforting. A dollop of whipped cream or a sprinkle of fresh herbs makes it look special. To drink, a cold glass of milk is always my go-to. For the grown-ups, a little sweet Moscato wine pairs nicely with fruit tarts. Which would you choose tonight?
Keeping Your Pie Crust Perfect
You can make pie dough ahead of time. Wrap the disk tightly in plastic. It will keep in the fridge for two days. You can also freeze it for three months.
I once froze a whole unbaked pie shell. A month later, I had a last-minute guest. I just filled it and baked. It was a lifesaver! A pre-baked shell can sit at room temperature for a day.
This matters because life gets busy. Having dough ready means pie is always possible. It turns a big task into a simple joy. Have you ever tried storing it this way? Share below!
Fixing Common Pie Crust Troubles
Is your dough too crumbly? You likely need more water. Add just one extra teaspoon. Mix gently until it just holds together.
Did the crust shrink in the oven? You did not chill it enough. Always chill the shaped shell. This lets the dough relax.
I remember my first soggy bottom. I forgot the pie weights! Weights keep the crust flat while baking. This matters for a crisp bite.
Fixing small issues builds your confidence. A good crust makes the whole pie better. Which of these problems have you run into before?
Your Quick Questions, Answered
Q: Can I make this gluten-free? A: Yes. Use a good gluten-free flour blend. Add one extra tablespoon of water.
Q: How far ahead can I blind bake? A: Bake the shell up to one day early. Keep it covered at room temperature.
Q: What if I don’t have shortening? A: Use all butter. You will need six total tablespoons of cold butter.
Q: Can I double the recipe? A: Absolutely. Make two separate disks of dough. Do not try to mix one giant batch.
Q: Any secret tip? A: A fun fact: a little sugar in the dough helps it brown nicely. Which tip will you try first?
From My Kitchen to Yours
I hope this guide helps you. A homemade crust is a gift of love. It takes practice, but you can do it.
I love hearing your stories. Tell me about your baking adventures. Have you tried this recipe? Let me know how it went.
Happy cooking!
—Fiona Brooks.
Perfect Prebaked Pie Crust Techniques
Description
Master the art of a flaky, buttery, and perfectly prebaked pie crust with this detailed, step-by-step guide.
Ingredients
Instructions
- In a food processor, briefly combine the flour, salt, and sugar. Add the cold butter pieces and pulse five times, about one second each. Add the chilled shortening and pulse another four times, until the mixture looks like coarse meal with small pea-sized butter bits. Transfer to a medium bowl.
- Sprinkle 4 tablespoons of ice water over the mixture. Use a rubber spatula in a folding motion to mix, then press down with the spatula’s broad side until the dough clumps together. If needed, add up to 1 more tablespoon of ice water. Form the dough into a ball with a few quick squeezes, then flatten it into a 4-inch disk. Wrap in plastic and refrigerate for at least 30 minutes or up to 2 days.
- Let the chilled dough soften slightly at room temperature (about 10-20 minutes, until pliable). On a floured surface or between plastic wrap, roll it into a 12-inch circle, about 1/8-inch thick. Carefully transfer the dough to a pie pan by folding it into quarters or by rolling it inside a large plastic bag and flipping it into the pan.
- Gently press the dough into the corners of the pan. Trim the overhang to 1/2-inch beyond the rim. Tuck this excess dough underneath itself to create a thicker edge that sits just beyond the pan’s lip, then crimp or flute as desired. For a quiche or tart pan, let the excess dough hang over, roll a pin across the top to trim it, then press the dough up the sides to form a tall rim. Refrigerate the shaped shell for 40 minutes, then freeze for 20 minutes.
- While the shell chills, preheat the oven to 375°F with a rack in the middle. Line the chilled shell with a double layer of aluminum foil and fill with pie weights. Bake for about 17 minutes. Carefully lift out the foil and weights. For a partially baked crust, bake another 9 minutes until lightly golden. For a fully baked crust, bake about 15 minutes more until deep golden brown. Cool completely on a wire rack.
Notes
- Ensure all ingredients, especially butter and water, are very cold for the flakiest crust. The total bake time can vary from 26 minutes (partial bake) to 41 minutes (full bake).


Leave a Reply