My First Biscuit Disaster
I want to tell you about my first biscuits. They were hard as rocks. My grandpa joked they could fix the fence. I still laugh at that.
I learned a big lesson. Baking is about kindness, not force. Handle the dough gently. This matters because tough hands make tough biscuits.
Why Cold is Key
Use cold butter and cold buttermilk. Why? Cold butter makes little steam pockets in the hot oven. That steam is what makes them rise up fluffy.
Work fast to keep everything chilly. Your warm hands are the enemy here. Doesn’t that make sense? What’s your biggest baking mystery?
The Magic of the Pan
We bake these biscuits tucked close in a cake pan. They snuggle up as they bake. They help each other rise tall and straight.
This matters. Good neighbors make a better community. Even biscuits know that. Fun fact: This method is sometimes called “cobbling” because they look like cobblestones.
That Golden Moment
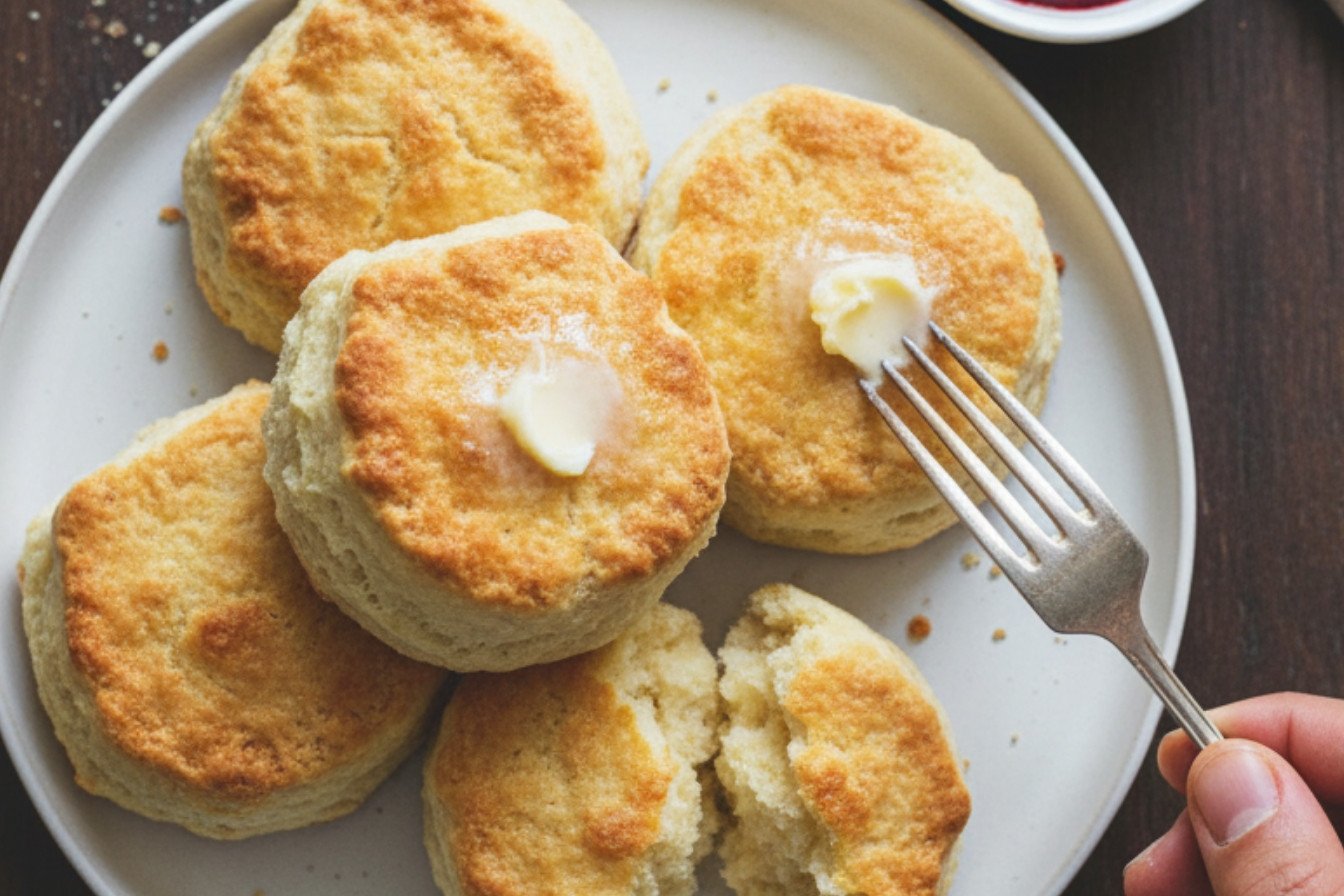
You will know they are done by their color. Look for a deep, golden brown. Doesn’t that smell amazing? It is the smell of success.
Let them cool just a bit. I know it’s hard to wait. But that rest lets the inside finish setting. Then you can pull them apart.
Your Turn to Share
These biscuits are a blank canvas. Do you like them with jam or sausage gravy? Tell me your favorite way to eat them.
Making food for others is a gift. It says “I care about you.” That is the real secret ingredient. Will you make these for someone special this week?
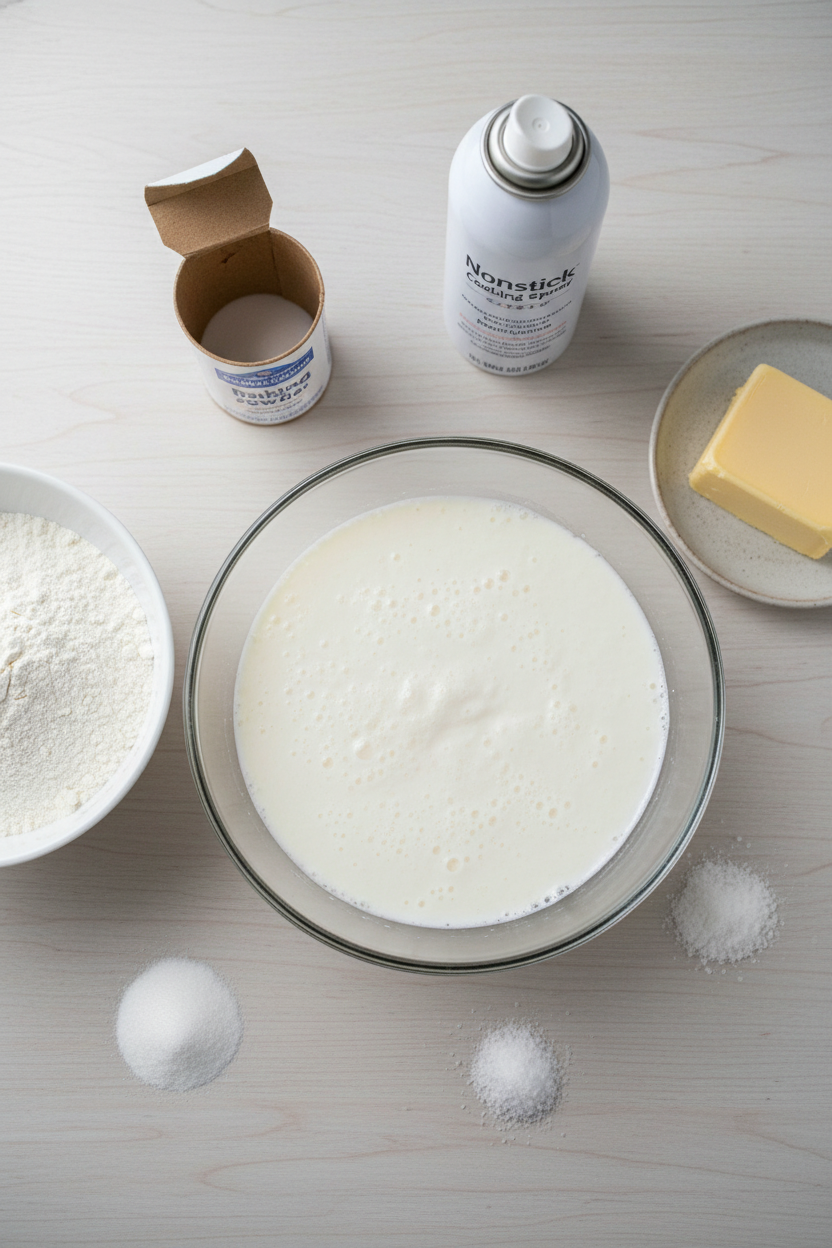
Ingredients:
| Ingredient | Amount | Notes |
|---|---|---|
| Unbleached all-purpose flour | 2 cups (10 oz/283g) | For the dough |
| Double-acting baking powder | 1 tablespoon | |
| Granulated sugar | 1 tablespoon | |
| Table salt | 1 teaspoon | |
| Baking soda | ½ teaspoon | |
| Unsalted butter (cold) | 4 tablespoons | Cut into ¼-inch cubes |
| Cold buttermilk | 1 ½ cups | Preferably low-fat |
| Unbleached all-purpose flour | 1 cup (5 oz/142g) | For dusting |
| Unsalted butter | 2 tablespoons | Melted, for brushing |
| Nonstick cooking spray | As needed | For pan and measuring cup |
My Fluffy Buttermilk Biscuits
Hello, dear! Let’s make some biscuits. This recipe is my favorite. It reminds me of my own grandma’s kitchen. She always said cold butter is the secret. Doesn’t that smell amazing? The dough will look very wet and shaggy. That’s perfectly fine, I promise. Trust the process. I still laugh at my first batch. They were like little rocks! Now, let’s get your hands a bit dusty. The best part is pulling them apart while they’re warm.
Instructions
Step 1: Move your oven rack to the middle. Preheat your oven to 500°F. This high heat gives them a great lift. Spray a 9-inch round cake pan with nonstick spray. Also, grease a ¼-cup dry measuring cup inside and out. This little tip saves so much sticking later.
Step 2: Put the flour, baking powder, sugar, salt, and baking soda in a food processor. Pulse it a few times to mix. Scatter the cold butter cubes over the top. Pulse until it looks like pebbly sand. (Keep everything cold for the fluffiest layers!). Pour this mix into a medium bowl.
Step 3: Pour the cold buttermilk into the bowl. Stir it with a spatula just until combined. The dough will be wet and lumpy. That’s exactly right! Do you know what buttermilk does? It makes things so tender. Share below!
Step 4: Spread one cup of flour on a baking sheet. Use your greased cup to scoop dough. Drop each scoop onto the flour. You should get twelve. Lightly dust the tops with more flour. Pick up each piece with floured hands. Gently shape it into a rough ball.
Step 5: Shake off extra flour. Place the balls in your cake pan. Put nine around the edge. Put three in the middle. Brush the tops with hot melted butter. Be gentle so you don’t flatten them. Bake for 5 minutes at 500°F.
Step 6: Now, reduce the oven heat to 450°F. Keep baking for about 15 more minutes. They will turn a deep, golden brown. Let them cool in the pan for just 2 minutes. Then, tip the whole pan onto a clean towel. Turn them right-side up, break apart, and cool for 5 minutes. Then, dig in!
Creative Twists
- Cheesy Herb: Mix a handful of shredded cheddar and a teaspoon of dried herbs into the dry mix.
- Cinnamon Sugar: Roll your shaped balls in cinnamon sugar before placing them in the pan.
- Everything Bagel: Brush with butter and sprinkle with everything bagel seasoning after baking.
Which one would you try first? Comment below!
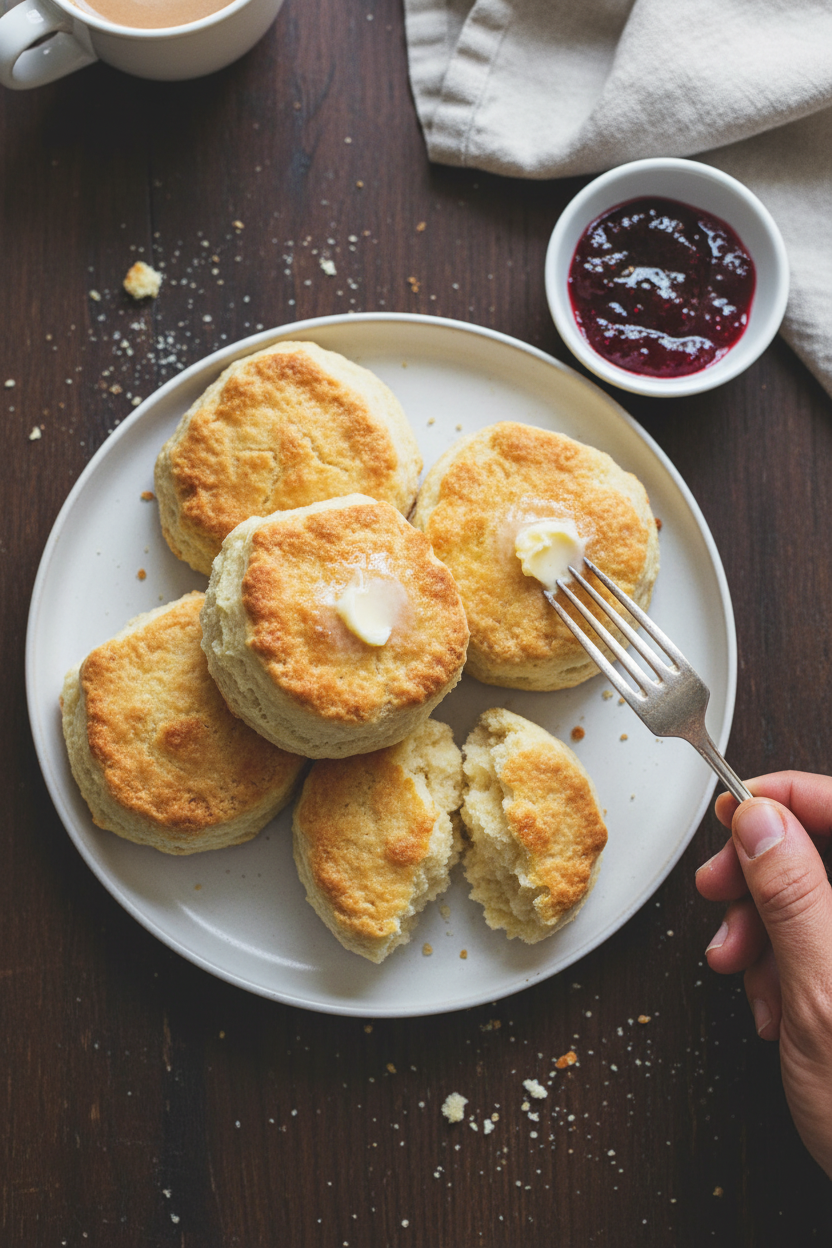
Serving & Pairing Ideas
These biscuits are a cozy blanket for food. Split them and fill with ham and honey. Or, simply slather them with soft butter and jam. For supper, serve them next to a big bowl of soup. My heart belongs to a bowl of tomato soup. For a drink, cold apple cider is perfect. For the grown-ups, a glass of chilled Riesling wine is lovely. It’s a little sweet, just like these biscuits. Which would you choose tonight?
Keeping Your Biscuits Happy
Fresh biscuits are the very best. But you can keep them tasting great. Let them cool completely first. Then, store them in a bag at room temperature for two days.
For longer storage, freeze them. Wrap each biscuit tightly in plastic wrap. Pop them all into a freezer bag. I once forgot to wrap one well. It tasted like my freezer ice cubes! This matters because good storage saves your hard work.
To reheat, wrap a biscuit in foil. Warm it in a 350°F oven for 10 minutes. You can also warm it in the microwave for 15 seconds. Batch cooking means you have treats ready anytime. Have you ever tried storing it this way? Share below!
Biscuit Troubles? Easy Fixes Here
Sometimes biscuits don’t rise high. Your baking powder might be old. Check the date on your can. Fresh leavening makes fluffy biscuits.
Another issue is tough biscuits. This happens if you mix the dough too much. Stir just until it comes together. I remember when I over-mixed my first batch. They were like little rocks! Gentle handling keeps them tender.
Pale biscuits are no fun. Make sure your oven is fully hot before baking. A hot oven gives you that beautiful golden top. Fixing these problems builds your cooking confidence. It also makes your food taste so much better. Which of these problems have you run into before?
Your Quick Questions, Answered
Q: Can I make these gluten-free? A: Yes. Use a good gluten-free flour blend. The texture will be a bit different but still good.
Q: Can I make the dough ahead? A: You can mix the dry ingredients the night before. Add the cold buttermilk right before baking.
Q: What if I don’t have buttermilk? A: Add one tablespoon of lemon juice to a cup of milk. Let it sit for five minutes. Fun fact: This trick was my grandmother’s favorite.
Q: Can I double the recipe? A: Absolutely. Just use two cake pans. Make sure they are not too crowded.
Q: Any optional tips? A: A pinch of garlic powder in the dry mix is lovely for savory meals. Which tip will you try first?
From My Kitchen to Yours
I hope you love making these biscuits. The smell of them baking is pure joy. It reminds me of my own grandma’s kitchen.
I would love to hear about your baking adventure. Tell me how they turned out for you. Sharing stories is the best part of food. Have you tried this recipe? Let me know in the comments below.
Happy cooking!
—Fiona Brooks.
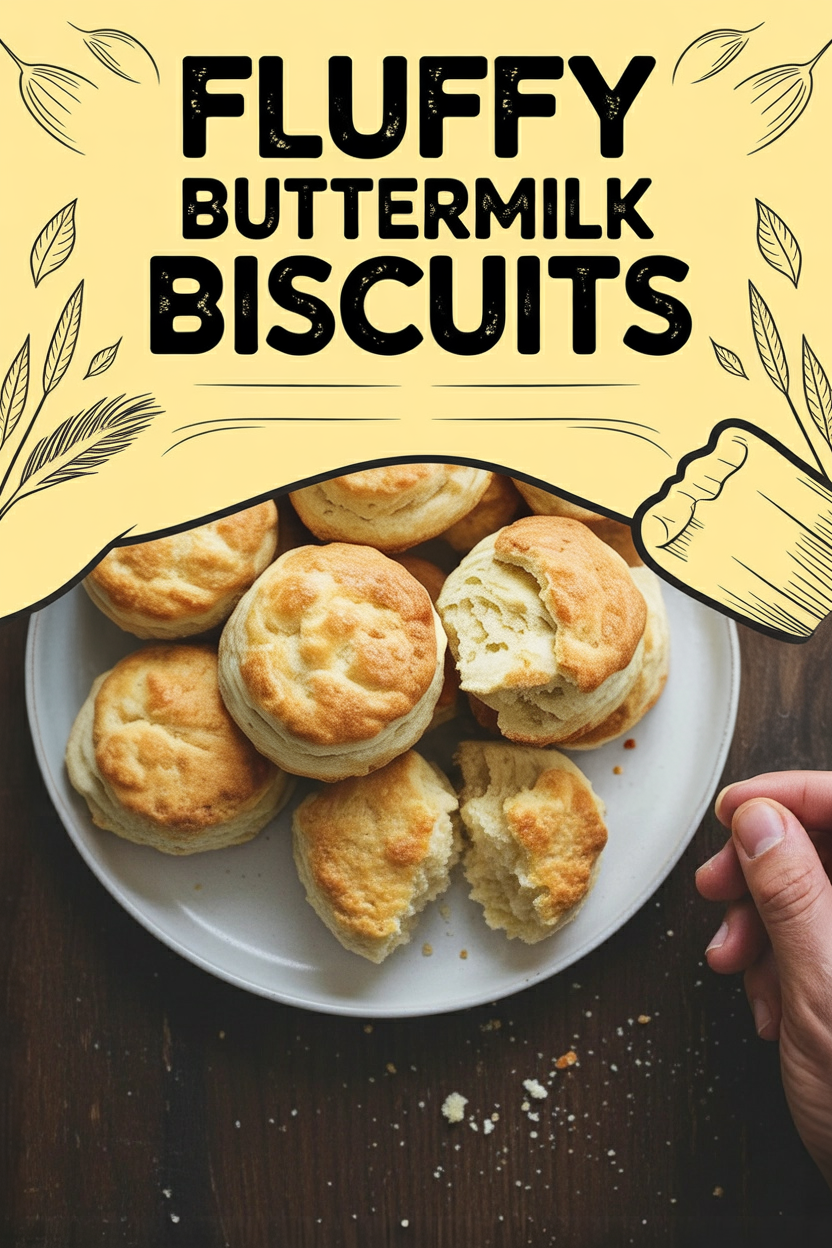
Fluffy Buttermilk Biscuits
Description
Fluffy, buttery, and perfectly golden, these homemade buttermilk biscuits are a classic comfort food.
Ingredients
Instructions
- Begin by moving your oven rack to the center and preheating the oven to 500°F. Prepare a 9-inch round cake pan by coating it with nonstick spray. Also, spray the inside and outside of a ¼-cup dry measuring cup.
- Combine the flour, baking powder, sugar, salt, and baking soda in a food processor with several short pulses. Evenly distribute the cold butter cubes over the dry mixture and pulse until it looks like coarse, pebbly meal. Transfer this mixture to a medium bowl. Pour in the cold buttermilk and stir with a spatula just until combined; the dough will be quite wet and a bit lumpy.
- Working swiftly, use the greased ¼-cup measure to scoop level portions of dough. Drop each scoop directly onto the flour spread on a baking sheet (free any stuck dough with a spoon). You should have 12 mounds. Lightly dust the tops of each mound with flour from the sheet. With floured hands, pick up each piece, coat it in flour, and gently form it into a rough ball. Shake off any extra flour and place it in the prepared cake pan. Arrange 9 balls around the edge of the pan and the remaining 3 in the center.
- Lightly brush the tops of the dough rounds with hot melted butter, being careful not to press them down. Bake for 5 minutes, then reduce the oven temperature to 450°F. Continue baking until the biscuits are a deep golden brown, approximately 15 more minutes. Let the biscuits cool in the pan for 2 minutes, then invert the entire pan onto a clean kitchen towel. Turn the biscuits right-side up, break them apart, and let them cool for an additional 5 minutes before serving.
Notes
- For best results, handle the dough as little as possible and keep all ingredients very cold. The biscuits are best served warm.


Leave a Reply