My First Kitchen Disaster
I tried making tarts like these years ago. I forgot to chill the dough. What a mess! The butter melted right away. My tarts looked like little puddles. I still laugh at that.
Chilling the dough matters. It keeps the shape of your little cups. That way, they hold all the yummy caramel. Have you ever had a funny kitchen fail? I’d love to hear it.
Why We Toast the Nuts
Toasting nuts is a simple step. But it changes everything. It wakes up their cozy, buttery flavor. Doesn’t that smell amazing? It fills the whole kitchen.
This matters because flavor is built in layers. A toasted nut tastes richer than a raw one. *Fun fact:* Toasting nuts also makes them crunchier. It’s a tiny step for a big win.
The Joy of Little Bites
I love making mini treats. One big pie is wonderful. But a little tart is just for you. You don’t have to share unless you want to!
Small bites feel special. They are a little gift. This matters because cooking should bring joy. Do you prefer one big dessert or lots of little ones?
Butter is Your Friend
Use cold butter from the fridge. I cut mine into little cubes first. This helps make the dough flaky. The dough will feel like wet sand at first.
Then you add the egg yolk. It brings it all together. The dough becomes a soft ball. Working with your hands is the best part. It feels real.
The Sweet, Sticky Filling
Watching caramel melt is magic. Stir it slow and steady. The cream makes it so smooth. Be careful, the pan gets hot.
Stir in the chopped cashews last. Then spoon it into your cool shells. Waiting for it to set is hard. But it’s worth it. What’s your favorite caramel treat?
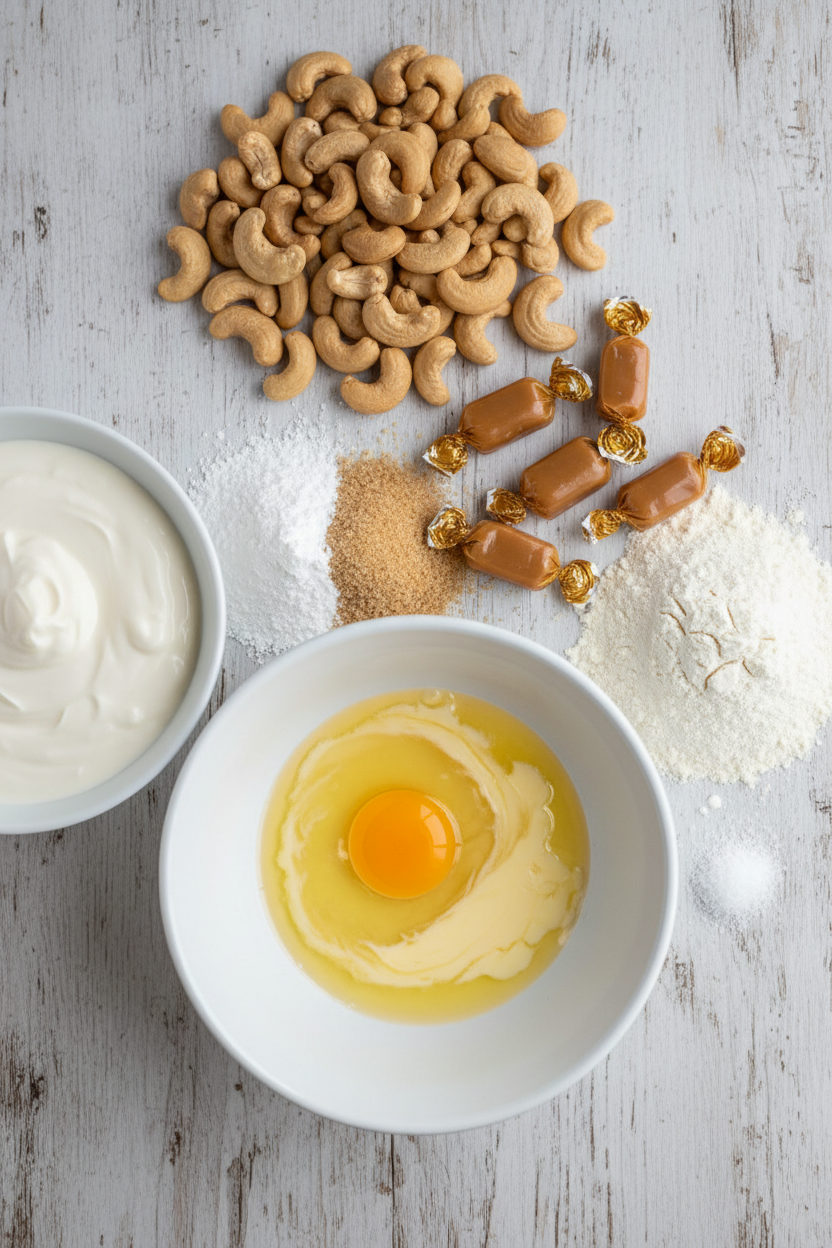
Ingredients:
| Ingredient | Amount | Notes |
|---|---|---|
| Cashews, toasted | 1 cup | Divided; half for crust, half for filling |
| Confectioners’ sugar | ⅓ cup (1 ⅓ oz / 38g) | |
| Light brown sugar | 2 tablespoons | Packed |
| All-purpose flour | 1 cup (5 oz / 142g) | |
| Salt | 1 pinch + to taste | For dough and caramel |
| Unsalted butter | 7 tablespoons | Chilled and cut into ½-inch pieces |
| Large egg yolk | 1 | |
| Soft caramels | 3 ¾ oz (106g) | |
| Heavy cream | 2 ½ tablespoons |
Instructions
Step 1: First, get your oven ready. Put a rack in the middle and heat it to 350°F. Grab your mini muffin pan. Give it a light spray with oil. This keeps our little tart shells from sticking. I always do this first. It makes everything easier.
Step 2: Now, let’s make the dough. Put half your toasted cashews in the food processor. Add both sugars. Pulse it until the nuts look like fine sand. Next, add the flour and a pinch of salt. Pulse it once to mix. Scatter your cold butter pieces on top. Pulse again until it looks like wet sand. (Using cold butter is the secret to a flaky crust!) Add the egg yolk. Process just until a soft dough ball forms.
Step 3: Time to shape our shells. Take about one tablespoon of dough for each cup. Press it evenly into the bottom and sides. A small glass bottom helps press it flat. Then, pop the whole pan into the fridge. Let it chill for 20 minutes. This firms up the butter so our shells hold their shape. What’s your favorite part of baking so far? Share below!
Step 4: Bake those shells. Put the chilled pan in the hot oven. Bake for 13 to 17 minutes. They should turn a light, golden brown. Halfway through, turn the pan around. This helps them bake evenly. Let them cool in the pan for 20 minutes. Then, gently lift them out to cool completely. I love how they smell right now.
Step 5: Chop the rest of your toasted cashews. Set them aside. In a small saucepan, combine the soft caramels, cream, and a tiny salt pinch. Cook this on medium-low heat. Stir it the whole time until it’s smooth and melted. Take it off the heat. Stir in your chopped cashews. Doesn’t that smell amazing?
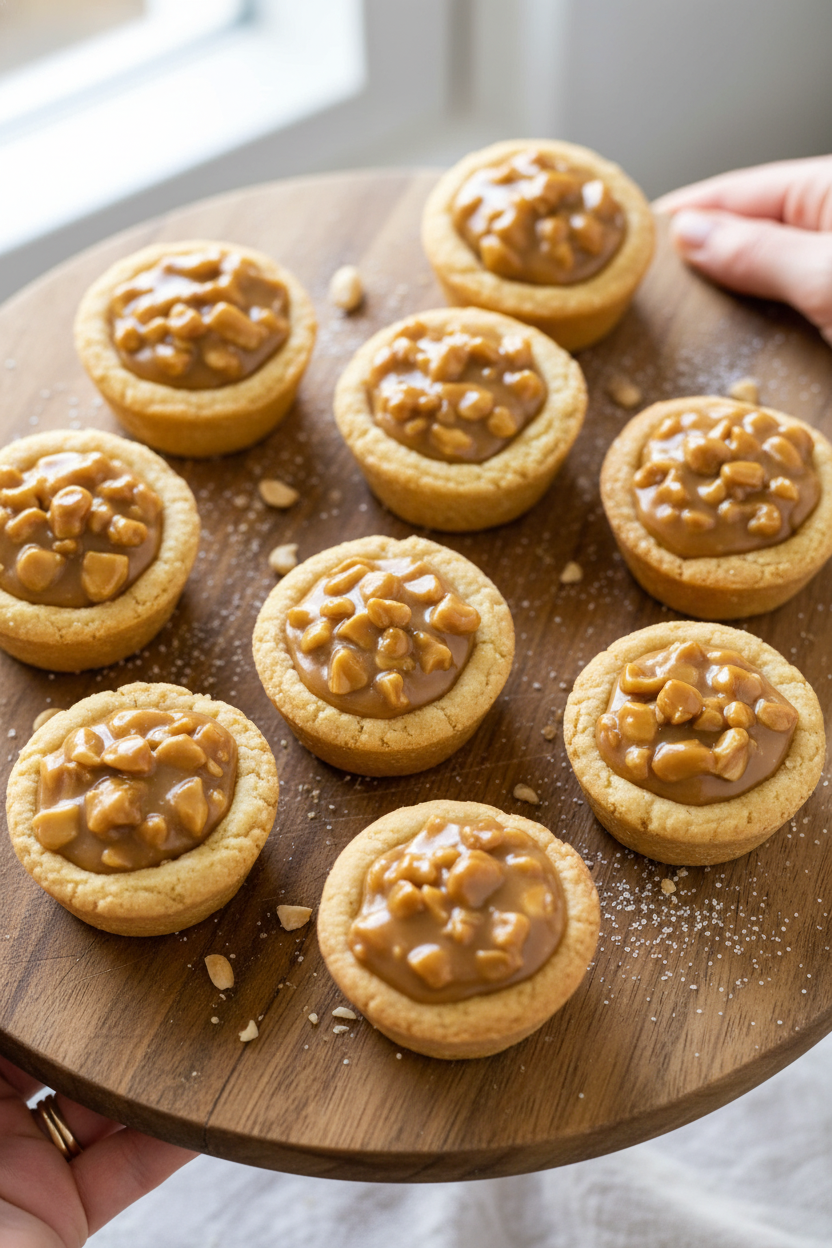
Step 6: Finally, fill the shells. Spoon a little warm caramel into each cool shell. Don’t fill them all the way to the top. Let them sit for about 30 minutes. The caramel will set and become firm. Then, they are ready to share. I still laugh at how quickly these disappear from my kitchen counter.
Creative Twists
These tarts are wonderful as they are. But sometimes, a little change is fun. You can sprinkle a tiny bit of sea salt on the caramel before it sets. It makes the sweet flavor pop. Or, use a different nut. Toasted pecans or almonds work beautifully. For a festive touch, press a single chocolate chip into the center of each warm caramel filling. It will melt into a sweet little pool. Which one would you try first? Comment below!
Serving & Pairing Ideas
These mini tarts are perfect for a tea party. Arrange them on a pretty plate. A small dollop of whipped cream on the side is lovely. For a cozy night, serve them slightly warm with a scoop of vanilla ice cream. The contrast is dreamy. To drink, a cup of hot chai tea pairs wonderfully. For a grown-up treat, a small glass of cream sherry is a nice match. Its sweetness dances with the caramel. Which would you choose tonight?
Keeping Your Mini Tarts Happy
These little tarts keep well. Store them in a single layer in a container. They will be fine on the counter for two days. For longer storage, pop them in the fridge for up to a week.
You can also freeze them before adding the caramel. I once baked the shells for a future party. I froze them in a sturdy bag for a month. They thawed perfectly when I needed them.
Batch cooking like this saves future-you time. It turns a big project into simple assembly. You will feel so clever and prepared. Have you ever tried storing it this way? Share below!
Little Problems, Easy Fixes
Is your dough too sticky? Just chill it. Cold dough is much easier to handle. I remember when my dough was like glue. A short rest in the fridge fixed everything.
Are the shells sticking to the pan? Let them cool fully first. Then, gently twist each shell to loosen it. This patience prevents broken shells and frustration.
Is your caramel too thick or thin? Low, slow heat is the secret. Stir it constantly until it is smooth. Rushing can make it grainy or hard. Getting the texture right makes the filling luxurious. Fixing small issues builds your kitchen confidence. Which of these problems have you run into before?
Your Quick Questions, Answered
Q: Can I make these gluten-free? A: Yes! Use a good gluten-free flour blend. The results will be just as tasty.
Q: Can I make them ahead? A: Absolutely. Make the shells a day early. Fill them the day you want to serve.
Q: What if I don’t have cashews? A: Try toasted almonds or pecans. The recipe is very friendly to swaps.
Q: Can I make a bigger batch? A: You can easily double everything. Just use two muffin pans.
Q: Any optional tips? A: A tiny sprinkle of sea salt on top is lovely. Fun fact: Salt makes sweet flavors taste sweeter! Which tip will you try first?
From My Kitchen to Yours
I hope you love making these sweet bites. They are perfect for sharing with someone special. The kitchen is my favorite place for making memories.
I would love to hear all about your baking adventure. Tell me how it went in your home. Have you tried this recipe? Your stories always make my day.
Happy cooking!
—Fiona Brooks.
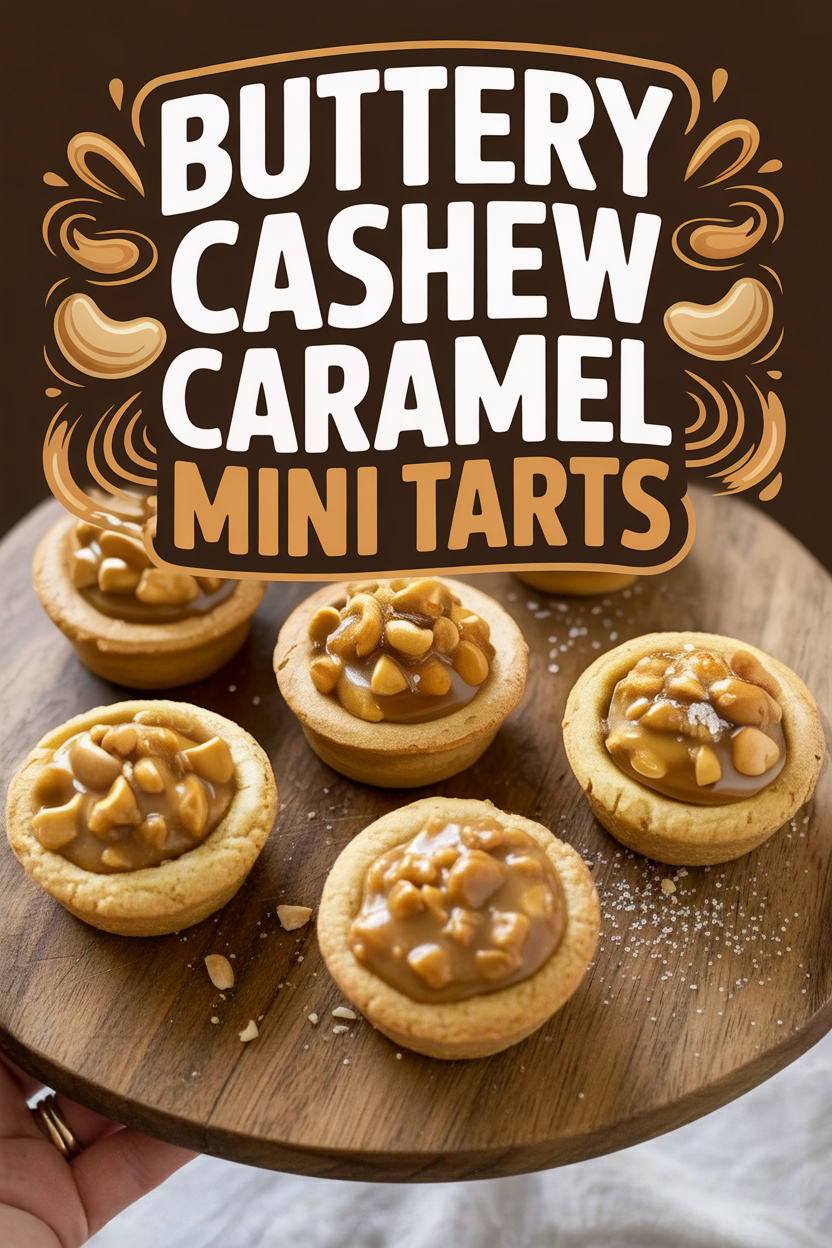
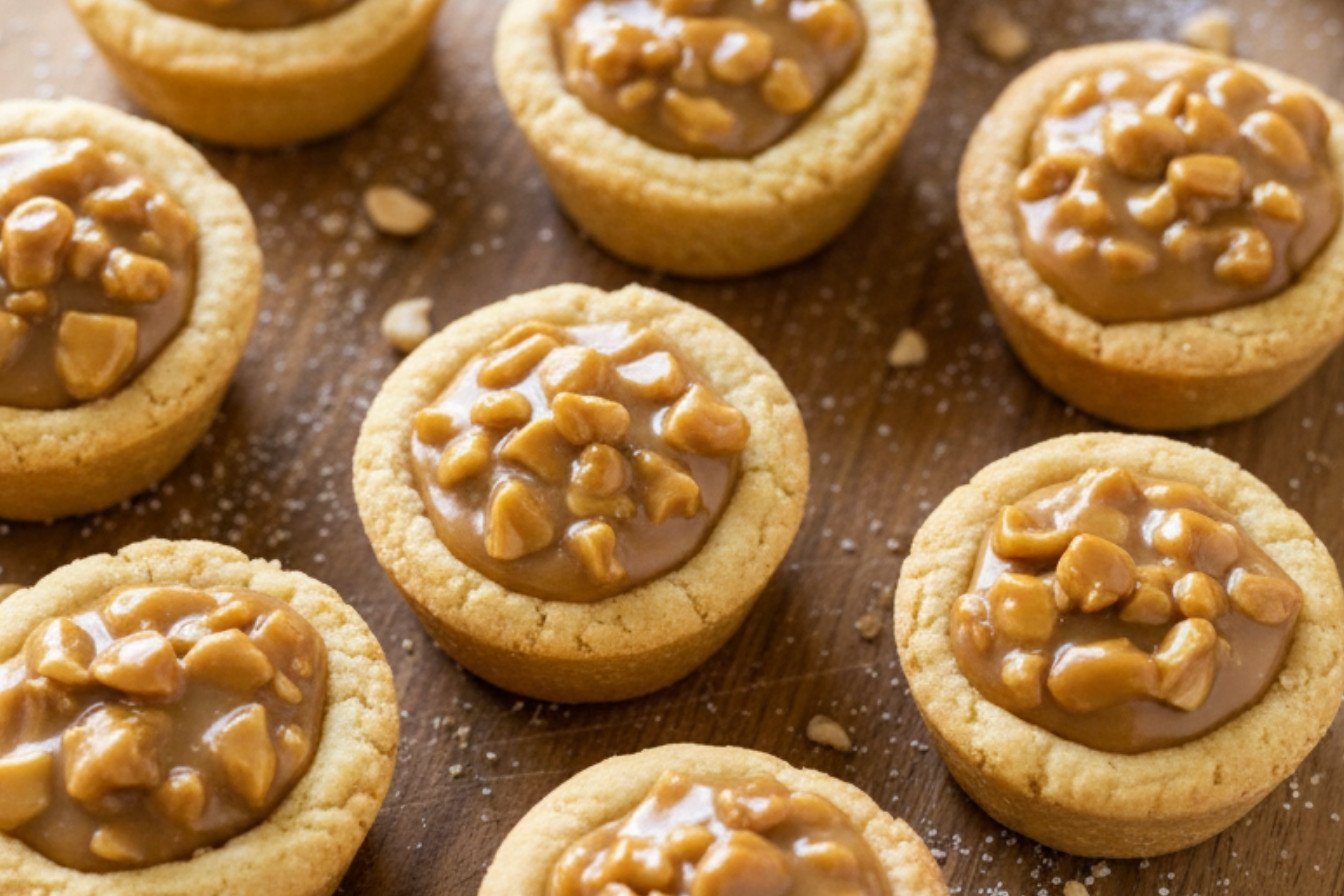
Buttery Cashew Caramel Mini Tarts
Description
These delightful mini tarts feature a buttery cashew cookie shell filled with a rich, creamy caramel and toasted cashew filling.
Ingredients
Instructions
- Position a rack in the center of the oven and preheat to 350°F. Lightly coat a mini muffin pan (or pans) with 24 total cups with grease or nonstick spray.
- In a food processor, combine half of the toasted cashews with both sugars. Pulse until the nuts are finely ground. Add the flour and salt, processing briefly to mix. Distribute the chilled butter pieces over the mixture and pulse until it looks like wet sand. Add the egg yolk and process just until the dough comes together into a ball.
- Take roughly 1 tablespoon of dough for each cup. Press the dough evenly into the bottom and up the sides of each greased muffin cup. Chill the pan in the refrigerator to firm up the dough for about 20 minutes.
- Bake the chilled shells until they turn a light golden color, which should take 13 to 17 minutes. Remember to rotate the pan front-to-back halfway through the baking time for even browning. Allow the baked shells to cool in the pan on a wire rack for 20 minutes, then carefully remove them to cool completely.
- Chop the remaining toasted cashews. In a small saucepan over medium-low heat, combine the soft caramels, heavy cream, and a pinch of salt. Cook, stirring continuously, until the caramels are fully melted and the mixture is smooth. Remove from heat and stir in the chopped cashews.
- Spoon a little less than a teaspoon of the warm caramel-cashew filling into each cooled cookie shell. Let the tassies sit until the filling is firm and set, approximately 30 minutes, then serve.
Notes
- For best results, ensure all ingredients, especially the butter, are well chilled before making the dough. Store leftovers in an airtight container at room temperature for up to 3 days.


Leave a Reply