My First Kitchen Blunder
I made these cookies for my grandson’s school fair. I was so nervous. I forgot to watch the broiler. The marshmallows puffed up like little ghosts! I still laugh at that. We had to start over.
But you know what? He helped me redo them. That time together mattered more than perfect cookies. Cooking is about the stories you make. Do you have a funny kitchen mistake story? I’d love to hear it.
Why We Use Graham Crackers
The graham crumbs are the secret. They make the cookie taste like a s’more. It’s a cozy, campfire flavor. Doesn’t that smell amazing while they bake?
Rolling the dough in the extra crumbs gives a lovely crunch. This matters because texture is just as important as taste. A soft cookie with a little crunch is pure joy.
The Magic of the Broiler
This step seems scary. It is not. You must stay right by the oven. Watch those marshmallows like a hawk. They go from white to golden so fast.
Seeing them puff and brown is my favorite part. *Fun fact: The high heat of the broiler makes the sugars in the marshmallow caramelize. That’s where the toasty flavor comes from.* Be brave here. It’s worth it.
Sharing Warm Cookies
You must let them cool fully. The chocolate needs to set. This is the hardest part. Waiting builds anticipation. It makes the first bite even sweeter.
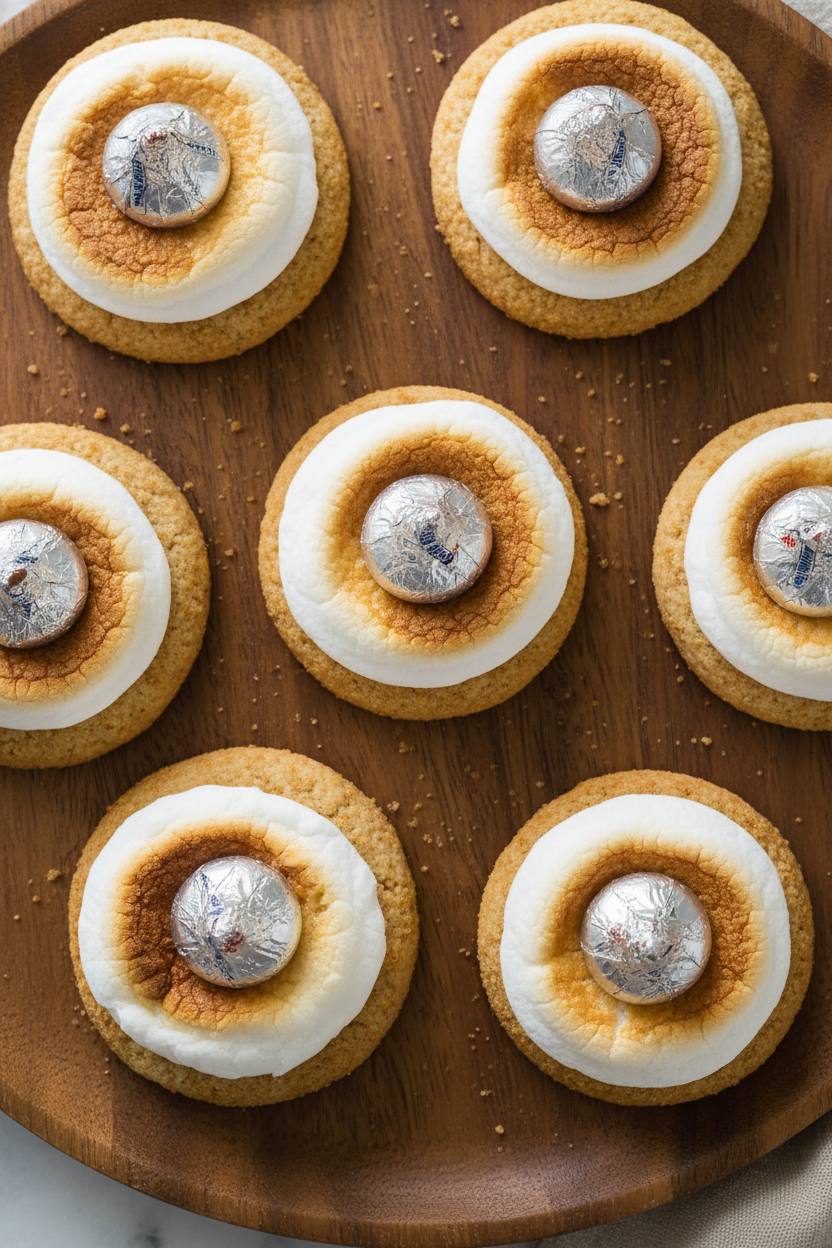
I always put them on my old flower plate. Sharing food on a pretty plate shows you care. This matters. It turns a snack into a gift. What’s your favorite plate to use for treats?
Make It Your Own
This recipe is a wonderful start. But your kitchen, your rules. You could use a peppermint kiss for a holiday twist. Or try a sprinkle of sea salt on top.
Baking is a way to say “I thought of you.” That is its real purpose. Would you try a different flavor of kiss? Let me know what you pick.
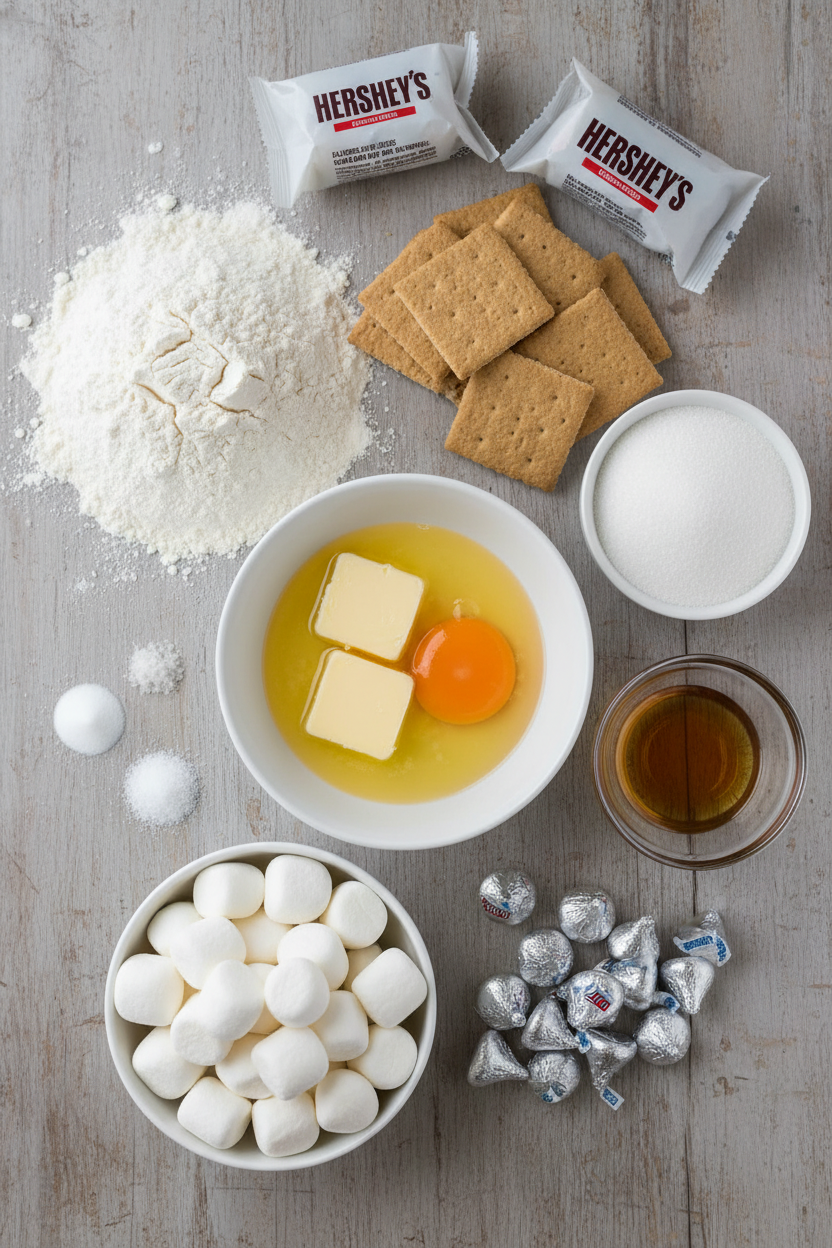
Ingredients:
| Ingredient | Amount | Notes |
|---|---|---|
| All-purpose flour | 1 ¼ cups (6 ¼ ounces/177 grams) | |
| Baking powder | ½ teaspoon | |
| Baking soda | ¼ teaspoon | |
| Salt | ¼ teaspoon | |
| Unsalted butter, softened | 8 tablespoons | |
| Sugar | ½ cup (3 ½ ounces/99 grams) | |
| Graham crackers, crushed | 8 whole crackers (1 cup total crumbs) | Divided for dough and coating |
| Large egg, room temperature | 1 | |
| Vanilla extract | 1 teaspoon | |
| Large marshmallows | 12 | Halved crosswise |
| Hershey’s Chocolate Kisses | 24 | Unwrapped |
Instructions
Step 1: First, get your oven ready for 350°F. Put a rack right in the middle. Line two baking sheets with parchment paper. In a medium bowl, whisk your flour, baking powder, baking soda, and salt together. I like to do this first. It makes everything else easier. (A little whisking now saves lumpy dough later!)
Step 2: Now, let’s make the dough. Cream the soft butter, sugar, and half the graham crumbs until fluffy. It takes about 3 minutes. Then mix in the egg and vanilla. It will smell so good. Finally, add your flour mixture on low speed. Mix just until it comes together. What’s your favorite smell from the kitchen? Share below!
Step 3: Pour the rest of the crumbs into a small bowl. Roll dough into 1 ¼-inch balls. Coat each ball in the crumbs. Place 12 on a sheet. Bake one sheet at a time for 10-12 minutes. They’re done when little cracks appear. Let them cool for 5 minutes. I still laugh at how my grandson tries to sneak one now.
Step 4: Move a rack about 10 inches under your broiler. Turn it on. Place a marshmallow half on each warm cookie. Broil one sheet, watching closely! They turn golden fast. This takes 30-45 seconds. Quickly press a chocolate kiss into each gooey marshmallow. Repeat with the second sheet. Let cookies cool completely. The wait is the hardest part.
A Little Kitchen Story
These cookies remind me of snowy days. My own grandma taught me a similar recipe. We didn’t have a broiler back then. We toasted the marshmallows with a fork over the stove! It was a fun, messy adventure. The kitchen was always the warmest room. Now I make these with my grandkids. Their eyes light up when the marshmallow puffs up. It’s pure magic. Doesn’t that smell amazing? Food is more than eating. It’s about making happy little memories together.
Creative Twists
Peanut Butter Dream: Use a peanut butter chocolate kiss instead of a regular one.
Fruity Surprise: Place a tiny slice of strawberry under the marshmallow before broiling.
Campfire Style: Sprinkle a tiny pinch of cinnamon on the marshmallow before it toasts.
Which one would you try first? Comment below!
Serving & Pairing Ideas
These cookies are a treat all by themselves. For a special plate, serve them with orange slices. The bright citrus is a nice surprise. A small bowl of fresh berries works well too. For a drink, a cold glass of milk is the classic choice. It’s perfect for dunking. For the grown-ups, a sweet cream sherry pairs wonderfully. It sips like a dessert. Which would you choose tonight?
Keeping Your Cookie Blossoms Fresh
These cookies are best the day you make them. The marshmallow stays nice and soft. You can store them for two days in a sealed container.
Place parchment between the layers. This keeps the chocolate kisses from sticking. I learned this the hard way with my first batch!
You can freeze the dough balls before baking. Just roll and coat them in crumbs. Then freeze them on a tray before bagging.
Later, bake straight from the freezer. Just add a minute or two. This lets you have fresh cookies anytime.
Batch cooking matters. It turns baking into a gift for your future self. Have you ever tried storing it this way? Share below!
Simple Fixes for Cookie Troubles
Sometimes cookies spread too much. Your butter might have been too warm. Chilling the dough for 30 minutes fixes this.
It matters because a firm dough holds its shape. You get a perfect, thick cookie. I remember when my first batch turned into one giant cookie!
Marshmallows can burn quickly under the broiler. You must watch them without blinking. Rotate the pan for even color.
This matters for taste. A golden marshmallow tastes toasty and sweet. A black one tastes bitter.
The chocolate kiss might not stick. Press it in right when the marshmallow comes out. It must be very soft and hot.
This gives you that perfect blossom look. Which of these problems have you run into before?
Your Quick Questions, Answered
Q: Can I make these gluten-free? A: Yes. Use a good gluten-free flour blend. The graham crackers need to be gluten-free too.
Q: Can I make the dough ahead? A: Absolutely. Keep it covered in the fridge for two days. Let it soften a bit before rolling.
Q: What can I use instead of graham crackers? A: Try crushed digestive biscuits. Or use extra sugar and a pinch of cinnamon.
Q: Can I double the recipe? A: You can. Just mix in two separate batches for best results. It makes a lovely big gift plate.
Q: Any optional tips? A: A tiny pinch of cinnamon in the dough is lovely. *Fun fact: Graham crackers were invented for a healthy diet!* Which tip will you try first?
From My Kitchen to Yours
I hope you love making these. They always make my kitchen smell wonderful. It is a happy smell.
Baking is about sharing joy. It is also about making a little mess. That is perfectly fine.
I would love to hear about your baking adventure. Did your family enjoy them? Have you tried this recipe?
Tell me all about it in the comments below. I read every single one.
Happy cooking!
—Fiona Brooks.
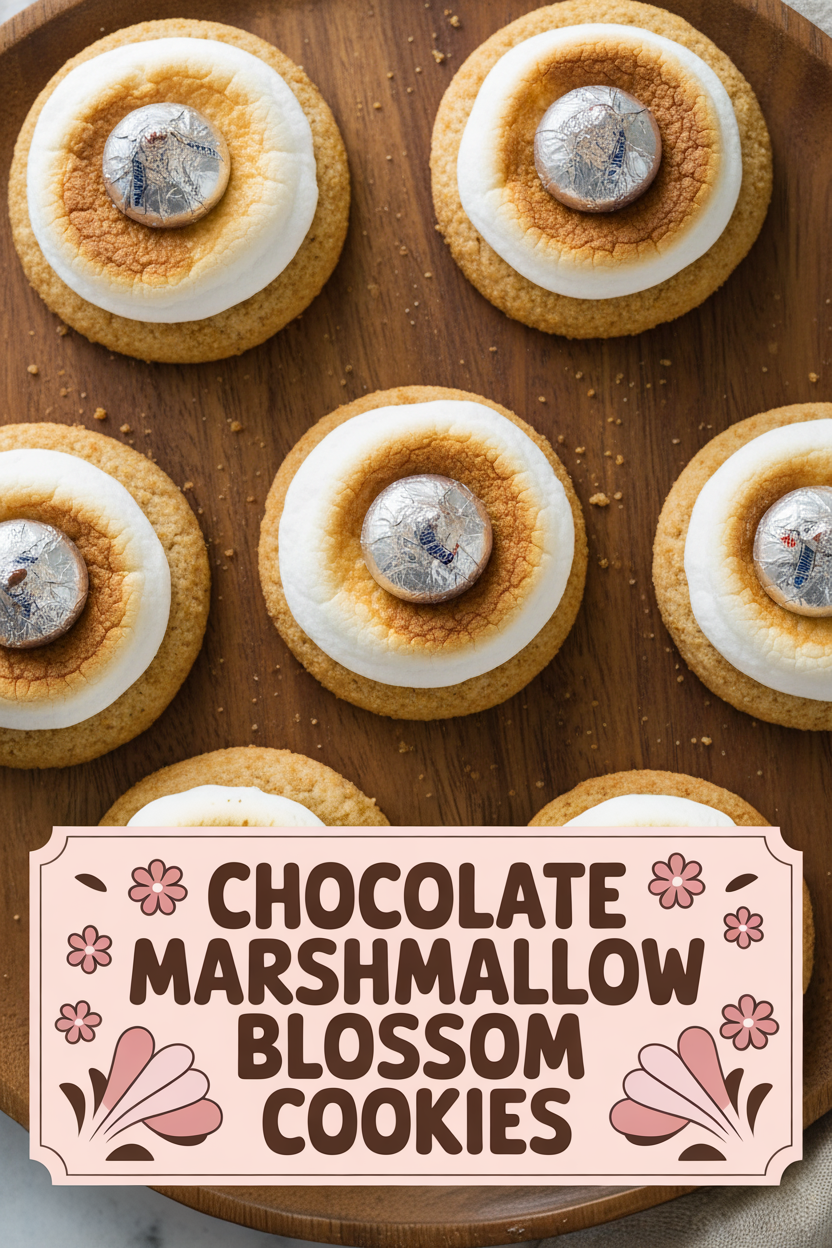
Chocolate Marshmallow Blossom Cookies
Description
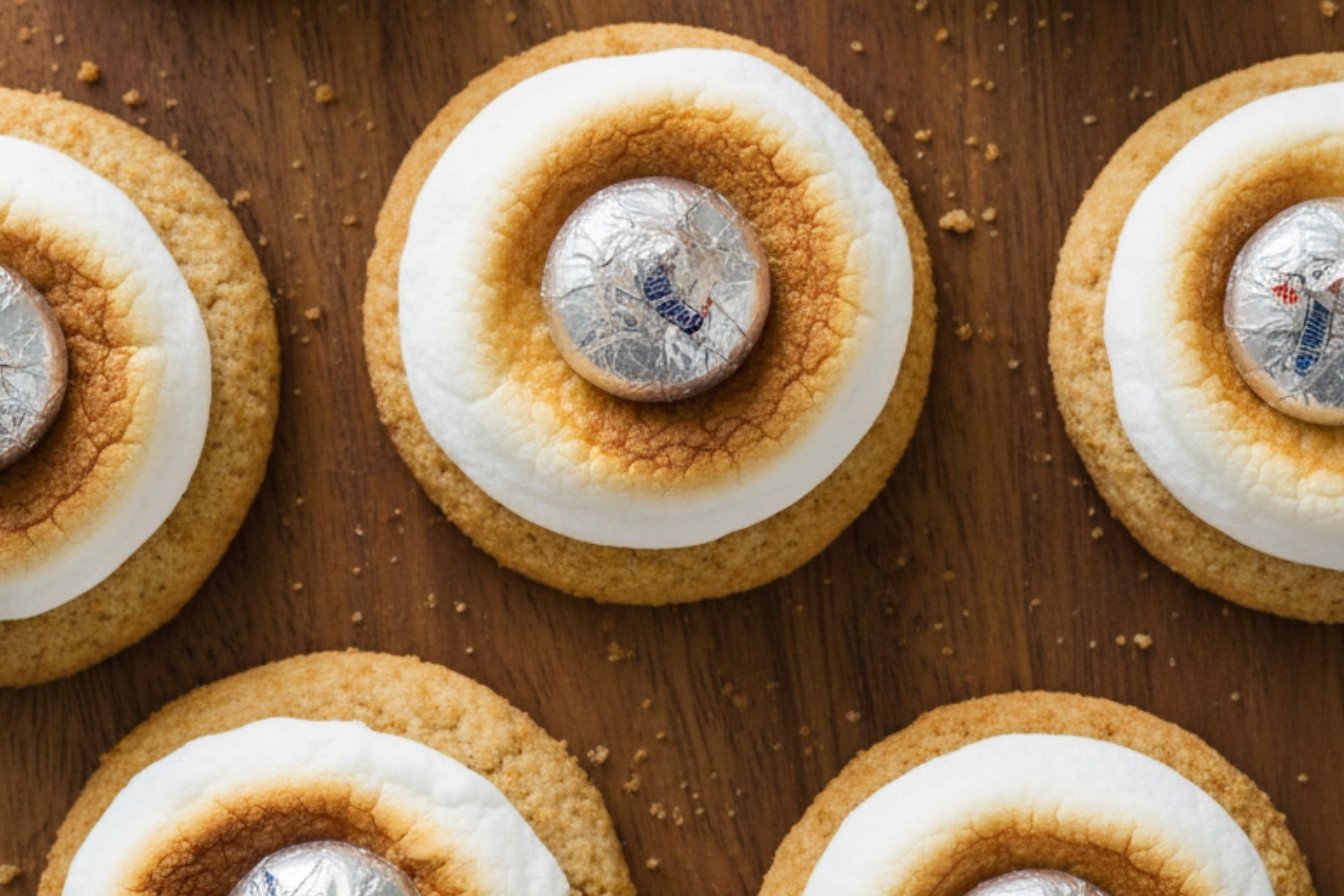
A delightful twist on classic blossom cookies, featuring a graham cracker crust, toasted marshmallow, and a chocolate kiss.
Ingredients
Instructions
- Preheat your oven to 350°F and position a rack in the center. Prepare two baking sheets by lining them with parchment paper. In a medium bowl, combine the flour, baking powder, baking soda, and salt with a whisk.
- In the bowl of a stand mixer with the paddle attachment, cream together the softened butter, sugar, and half of the graham cracker crumbs until the mixture is pale and fluffy, approximately 3 minutes. Mix in the egg and vanilla until fully blended. With the mixer on low, gradually add the dry ingredients, mixing just until a dough forms.
- Pour the remaining graham cracker crumbs into a small bowl. Scoop out tablespoon-sized portions of dough, roll them into 1 ¼-inch balls, and coat each ball thoroughly in the reserved crumbs. Arrange 12 coated balls on each prepared baking sheet, spacing them apart. Bake one sheet at a time for 10 to 12 minutes, or until the cookies are just set and show slight cracks around the edges. Allow the cookies to cool on the sheets for 5 minutes.
- Move an oven rack to a position about 10 inches below the broiler and turn the broiler on. Place a marshmallow half, cut-side down, onto the center of each warm cookie. Broil one sheet at a time, watching closely, until the marshmallows turn a deep golden brown (30 to 45 seconds). Rotate the sheet halfway through if needed for even color. Immediately after removing from the oven, gently press a chocolate kiss into the center of each softened marshmallow. Repeat the process with the second sheet of cookies. Let the cookies cool completely, about 1 hour, before serving.
Notes
- Watch the cookies closely during broiling, as marshmallows can burn very quickly. Ensure cookies are completely cool before storing in an airtight container.


Leave a Reply