My First Cornbread Lesson
My own grandma taught me this recipe. I was about your age. She said the hot skillet is the secret. It makes the edges crispy. I still laugh at that.
She said good food is about care. Warming the pan shows you care. That matters. It turns simple ingredients into something special. Doesn’t that smell amazing when the cornmeal toasts?
Why We Toast the Cornmeal
Toasting the cornmeal first is my favorite step. It wakes up the flavor. It smells like a warm, sunny field. This little step makes a big difference.
Fun fact: Toasting cornmeal is an old trick. It gives the bread a nutty, cozy taste. It matters because flavor starts before you even mix the batter. What’s your favorite kitchen smell? Mine will always be toasted cornmeal.
The Magic of a Hot Skillet
Be very careful here. That skillet is very hot. Pouring the batter in will make a sizzle. That sound is magic. It means your crust will be perfect.
This matters for texture. The hot oil and hot pan start cooking instantly. It gives you a crunchy outside and a soft inside. Do you prefer your cornbread soft or with a crunchy edge?
Let It Rest, If You Can
I know it’s hard to wait. The cornbread smells so good. But let it cool in the pan for five minutes. Then turn it out. Let it sit a bit more.
This waiting time lets it set. If you cut it too soon, it can be crumbly. Patience is part of the recipe. What’s the hardest food for you to wait to eat?
Serving It Up
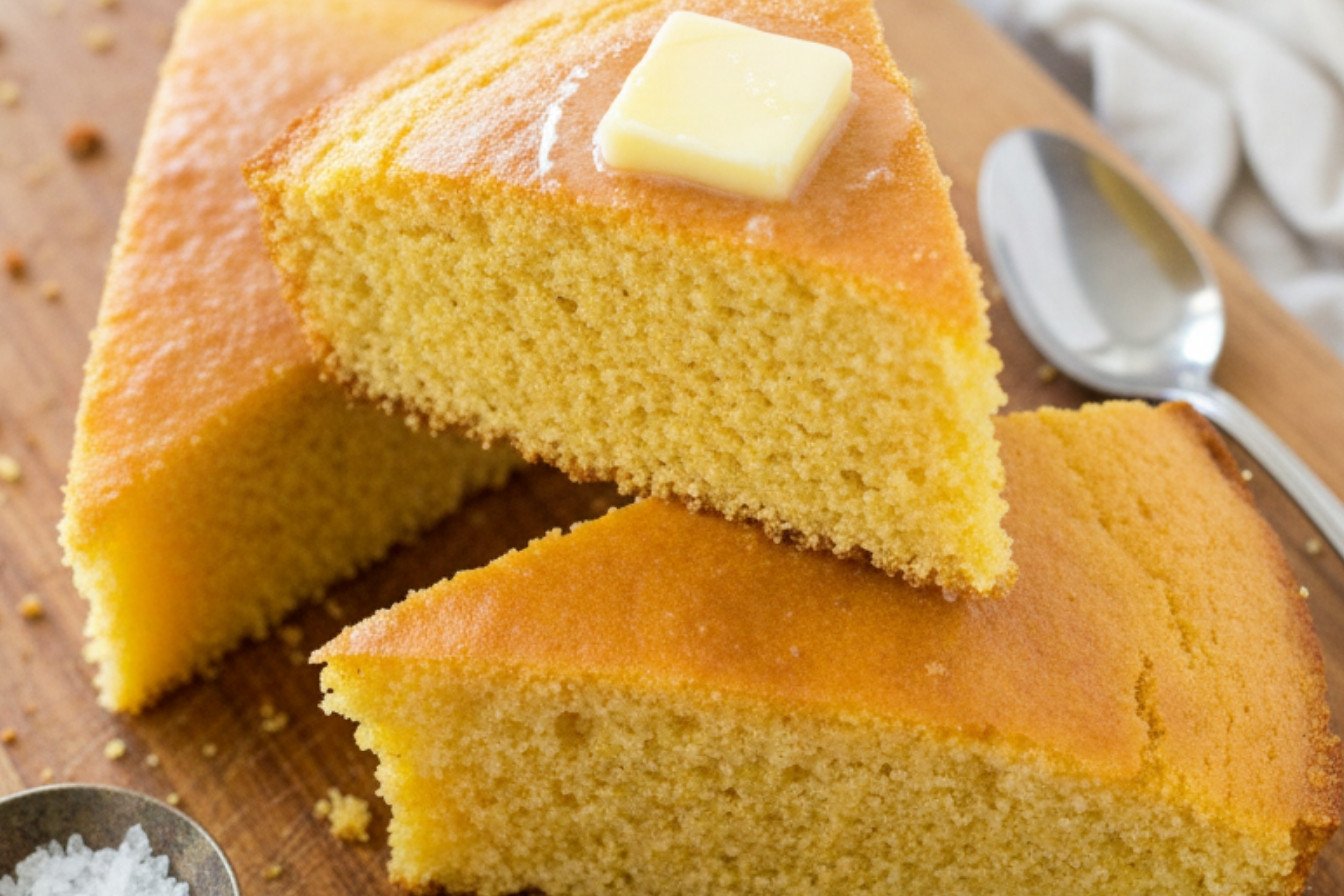
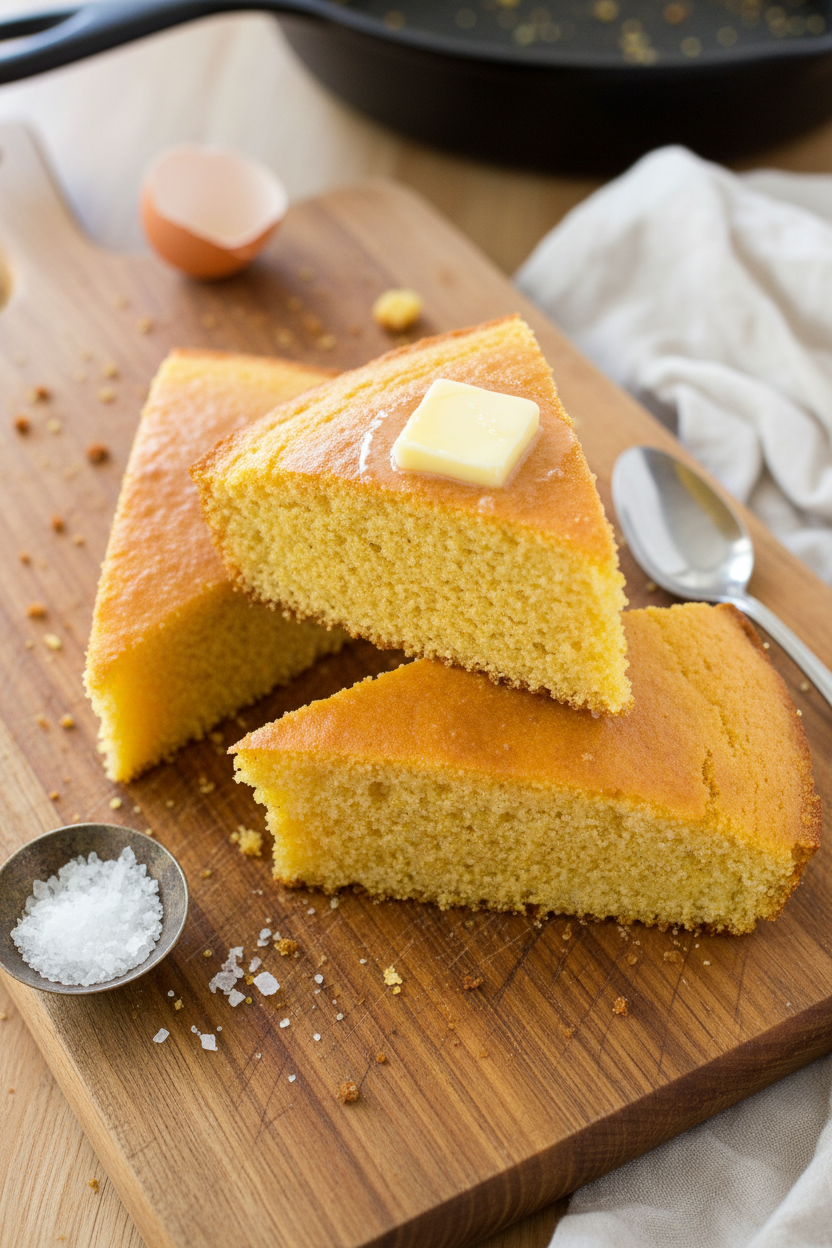
This cornbread is wonderful with soup. It’s also great with just a pat of butter. The butter melts right into the cracks on top. That’s my favorite bite.
Food is best when shared. This recipe makes me think of my grandma. It connects me to her. That matters more than any perfect crust. What recipe makes you think of someone you love?
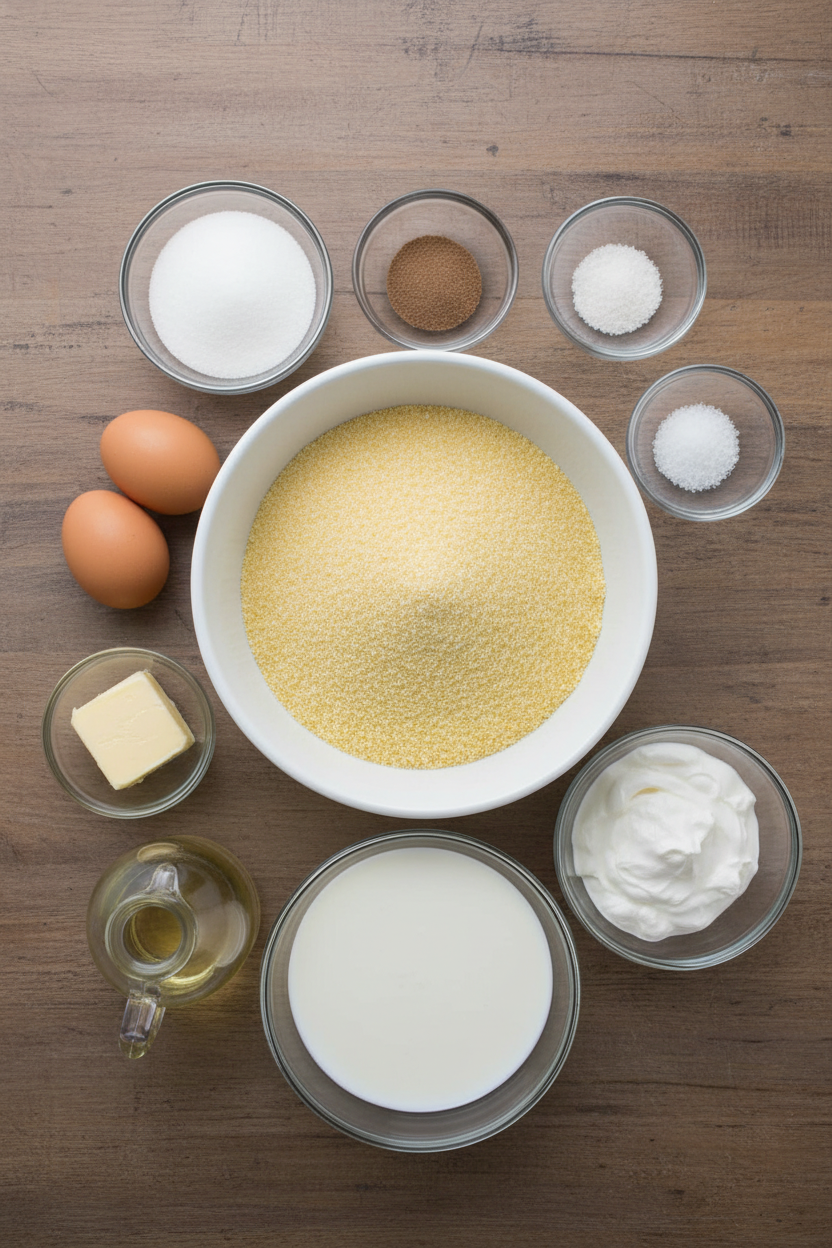
Ingredients:
| Ingredient | Amount | Notes |
|---|---|---|
| Cornmeal | 319 grams (2 ¼ cups) | Toasted in the oven first |
| Sour cream | 1 ½ cups | |
| Milk | ½ cup | |
| Vegetable oil | ¼ cup | |
| Unsalted butter | 4 tablespoons | |
| Sugar | 2 tablespoons | |
| Baking powder | 1 teaspoon | |
| Baking soda | 1 teaspoon | |
| Salt | ¾ teaspoon | |
| Eggs | 2 large |
Instructions
Step 1: First, get your oven very hot. Put one rack low and one in the middle. Your skillet goes on the middle rack to warm up. On a baking sheet on the lower rack, toast your cornmeal for five minutes. It will smell like a sunny field. (A hot pan is the secret to a crispy crust!)
Step 2: Now, mix your toasted cornmeal with the sour cream and milk. Let it sit and get happy. Your skillet has been heating for ten minutes now. Very carefully, add the oil to the hot skillet. Put it back in the oven for five more minutes. Can you guess why we toast the cornmeal first? Share below!
Step 3: Time to be careful! Use good potholders to take that skillet out. The oil will be shimmering. Drop in the butter and swirl it until it melts. I still laugh at how the butter dances. Pour this hot mix into your cornmeal bowl. Whisk it all together quickly.
Step 4: Whisk in the sugar, baking powder, soda, and salt. Then crack in your two eggs. Mix until it’s nice and smooth. Doesn’t that smell amazing? Now, pour your batter right back into the hot skillet. (Pouring batter into a hot pan gives you that perfect edge.)
Step 5: Smooth the top and bake it for about fifteen minutes. Turn the pan halfway through. You’ll know it’s done when the top cracks and the sides pull away. Let it cool in the pan for just five minutes. Then turn it out to cool completely. Try to wait ten whole minutes before slicing!
Creative Twists
This cornbread is wonderful just as it is. But sometimes, a little change is fun. Here are three ways to play with your food. Add a handful of fresh blueberries or raspberries to the batter. They get all warm and juicy. Stir in a cup of shredded cheddar cheese and some chopped jalapeño. It’s a little spicy and very cozy. After baking, brush the top with honey and a sprinkle of flaky salt. It’s sweet, salty, and so good. Which one would you try first? Comment below!
Serving & Pairing Ideas
This cornbread makes any meal feel special. I love it with a big bowl of chili. The cornbread soaks up the broth so nicely. For breakfast, toast a slice and spread it with apple butter. It’s pure happiness on a plate. A simple pat of good butter melting on a warm slice is also perfect. To drink, a glass of cold iced tea with mint is my favorite. For a grown-up treat, a pale ale pairs wonderfully with the cornbread’s sweetness. Which would you choose tonight?
Keeping Your Cornbread Happy
Let’s talk about keeping your cornbread tasty. It’s best fresh, but stores well for two days. Just wrap it tightly at room temperature. For longer storage, freeze it. Wrap slices in plastic, then foil. They will keep for a month. To reheat, use your toaster oven or skillet. A quick warm-up brings back that lovely crunch. I once froze a whole loaf for my grandson’s visit. He said it tasted just-baked! Storing food well means less waste and more joy. You can always have a little treat ready. Have you ever tried storing it this way? Share below!
Simple Fixes for Common Cornbread Troubles
Even grandmas have kitchen mishaps. Here are three common ones. First, cornbread too dry. This often means it baked too long. Set a timer and check early. Second, a soggy bottom. Your skillet might not have been hot enough. That sizzle when you add batter is key! I remember when my first batch was pale. My skillet was not hot enough. Third, it sticks to the pan. Always use enough oil in a very hot skillet. Getting a good crust matters for flavor and texture. Fixing small issues builds your cooking confidence. Which of these problems have you run into before?
Your Quick Questions, Answered
Q: Can I make this gluten-free? A: Yes! Cornmeal is naturally gluten-free. Just check your baking powder brand.
Q: Can I make the batter ahead? A: I do not recommend it. The baking soda works best right away.
Q: What can I use instead of sour cream? A: Plain yogurt works beautifully. It gives the same tender crumb.
Q: Can I double the recipe? A: For a bigger crowd, yes. Use two skillets. Do not overfill one.
Q: Any optional add-ins? A: A handful of fresh corn kernels or shredded cheddar is lovely. *Fun fact: Toasting the cornmeal first gives it a wonderful, nutty flavor.* Which tip will you try first?
From My Kitchen to Yours
I hope you love making this cornbread. It holds so many good memories for me. The smell fills the kitchen with warmth. I would love to hear about your baking adventure. Did your family enjoy it? What will you serve it with? Please tell me all about it in the comments. Your stories are my favorite thing to read. Have you tried this recipe?
Happy cooking!
—Fiona Brooks.
Easy Cast Iron Skillet Cornbread
Description
Classic, easy-to-make cornbread with a perfect crispy crust and tender interior, baked in a cast iron skillet.
Ingredients
Instructions
- Preheat your oven to 450°F, positioning one rack in the lower-middle and another in the middle. Place a 10-inch cast-iron skillet on the middle rack to heat. On a rimmed baking sheet on the lower-middle rack, toast the cornmeal for about 5 minutes until it’s fragrant and lightly golden.
- Move the toasted cornmeal to a large bowl and mix in the sour cream and milk; set this aside. Once the skillet has been heating for 10 minutes total, carefully add the vegetable oil to it and return it to the oven for another 5 minutes until the oil is just smoking.
- Using potholders, take the very hot skillet from the oven. Add the butter and swirl gently until melted. Pour this hot oil and butter mixture into the cornmeal mixture and whisk to combine. Then, whisk in the sugar, baking powder, baking soda, and salt. Finally, whisk in the eggs until the batter is smooth.
- Immediately pour the batter into the hot skillet and smooth the top. Bake on the middle rack for 12 to 15 minutes, rotating the skillet halfway through, until the top cracks and the sides are golden brown. Let the cornbread cool in the skillet on a wire rack for 5 minutes, then turn it out and let it cool on the rack for at least 10 more minutes before slicing.
Notes
- For best results, ensure your skillet is very hot before adding the batter. This creates the signature crispy crust. Leftovers can be stored in an airtight container at room temperature for up to 2 days.


Leave a Reply