My First Pie Crust Fiasco
I want to tell you about my first pie crust. It was a disaster. I was so nervous. I worked the dough until it was tough as my old gardening gloves.
It baked into something like a frisbee. We couldn’t even cut it with a knife! I still laugh at that. It taught me a gentle touch is everything. That’s why this recipe uses a mixer. It keeps things light and easy.
The Secret is in the Smear
Let’s talk about the butter and cream cheese. They must be just right. Soft, but still a little cool to your touch. This is the most important step.
You beat them until they are one smooth, creamy mixture. Doesn’t that smell amazing? This “smear” is what makes the crust tender and flaky. It matters because it creates little pockets of steam in the oven. That steam is what makes all those wonderful flakes.
Playing with Dough
Now for the fun part. You press most of the dough into the plate. Use the heel of your hand. It feels like pressing play-dough. It’s very satisfying.
Then you make the pretty edge. You roll the saved dough into little ropes. You press them around the rim. It’s like making a clay snake for art class. What’s your favorite pie crust design? I always love a simple fluted edge.
The Magic of a Cold Nap
After all that work, the dough needs a rest. You cover it and put it in the fridge. It needs a good, long chill. At least one hour.
This matters so much. A cold crust holds its shape in the hot oven. It won’t slump down the sides. Fun fact: this chill time lets the flour relax. It makes your crust even more tender.
Baking to Golden Perfection
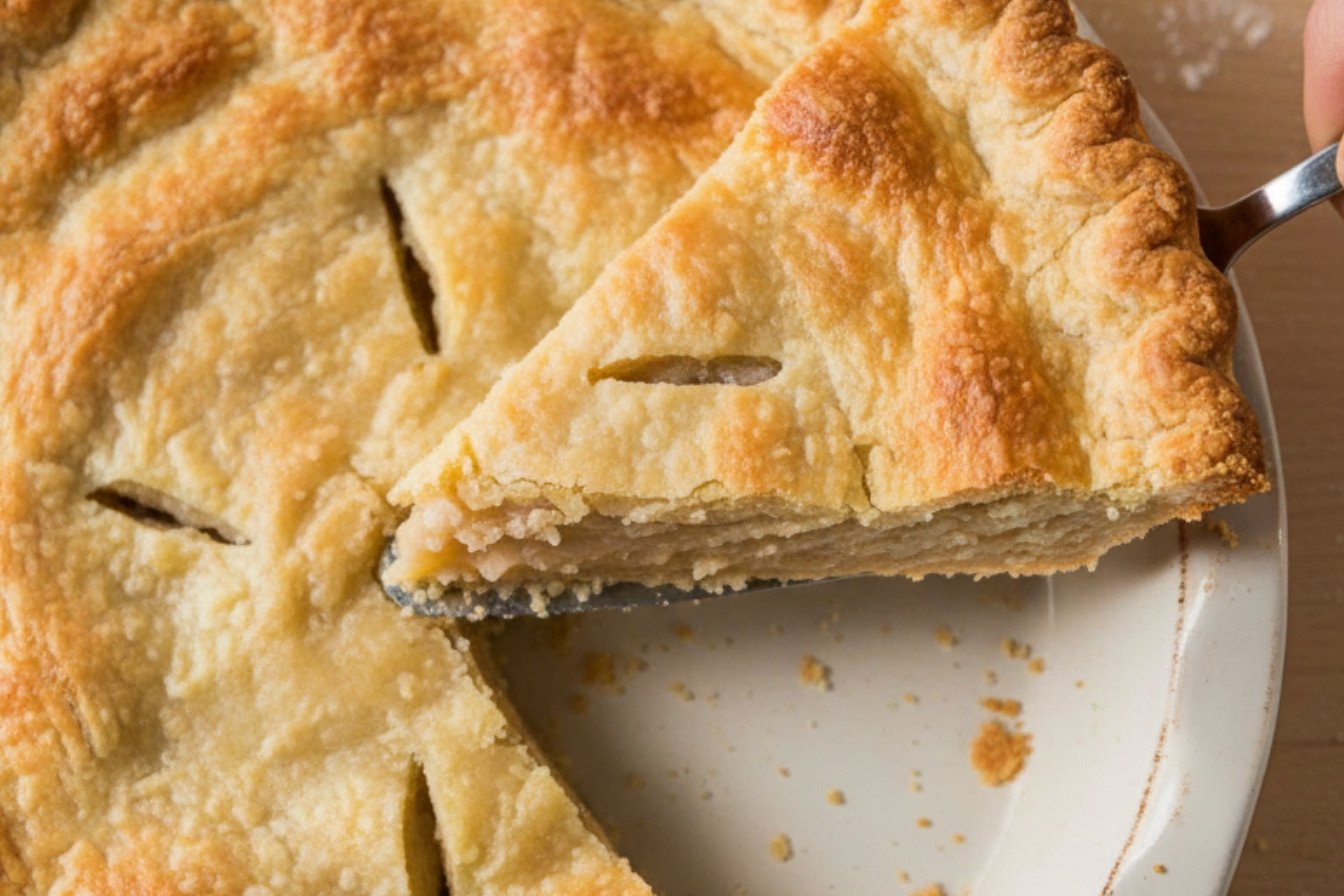
See those little holes you poke with a fork? That’s called “docking.” It lets the steam out. It stops big bubbles from forming.
You bake it until it’s a beautiful golden brown. Like the color of fall leaves. If a bubble does pop up, don’t worry. Just press it down gently with a towel when it’s warm. What’s the first pie you’ll bake in this crust? Tell me, I’d love to know.
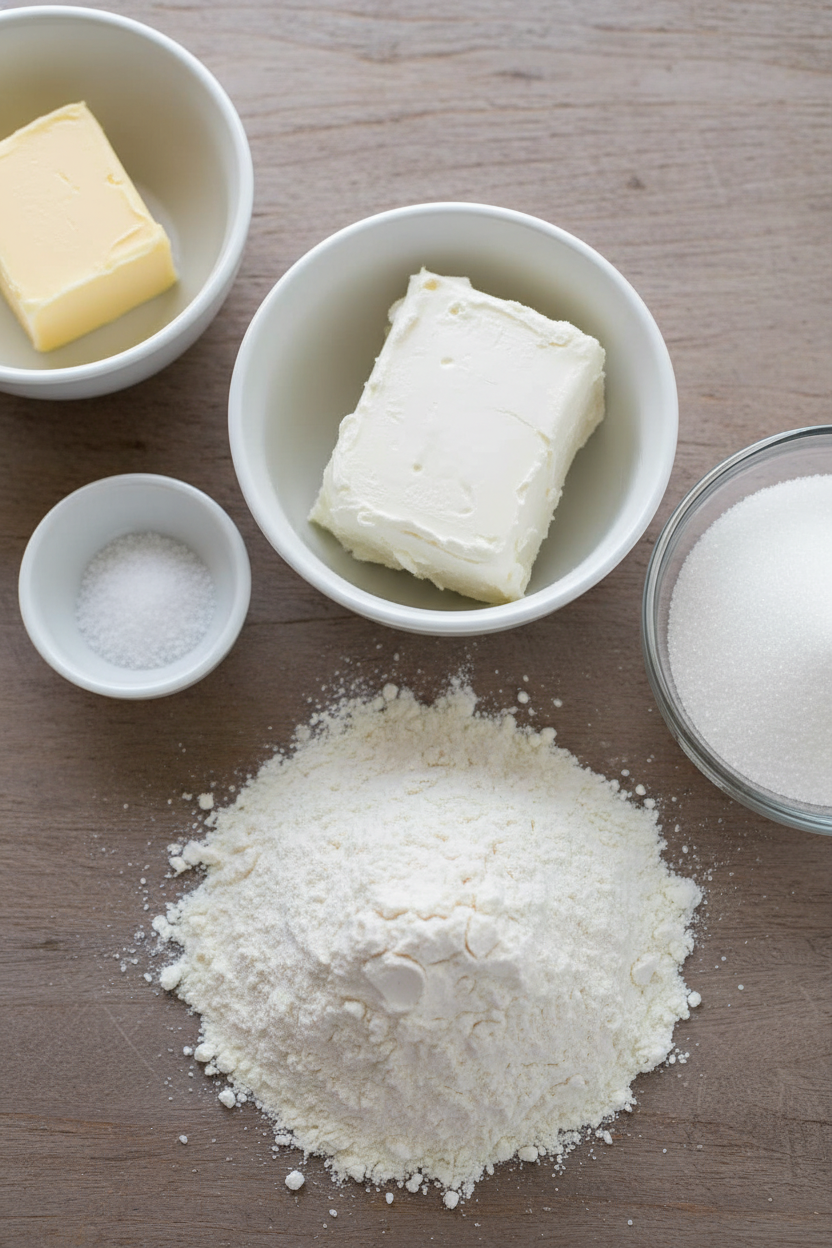
Ingredients:
| Ingredient | Amount | Notes |
|---|---|---|
| All-purpose flour | 1 ¼ cups (6 ¼ ounces/177 grams) | |
| Sugar | 2 tablespoons | |
| Table salt | ¼ teaspoon | |
| Unsalted butter | 8 tablespoons (1 stick) | Softened but still cool |
| Cream cheese | 2 ounces (57 grams) | Softened but still cool |
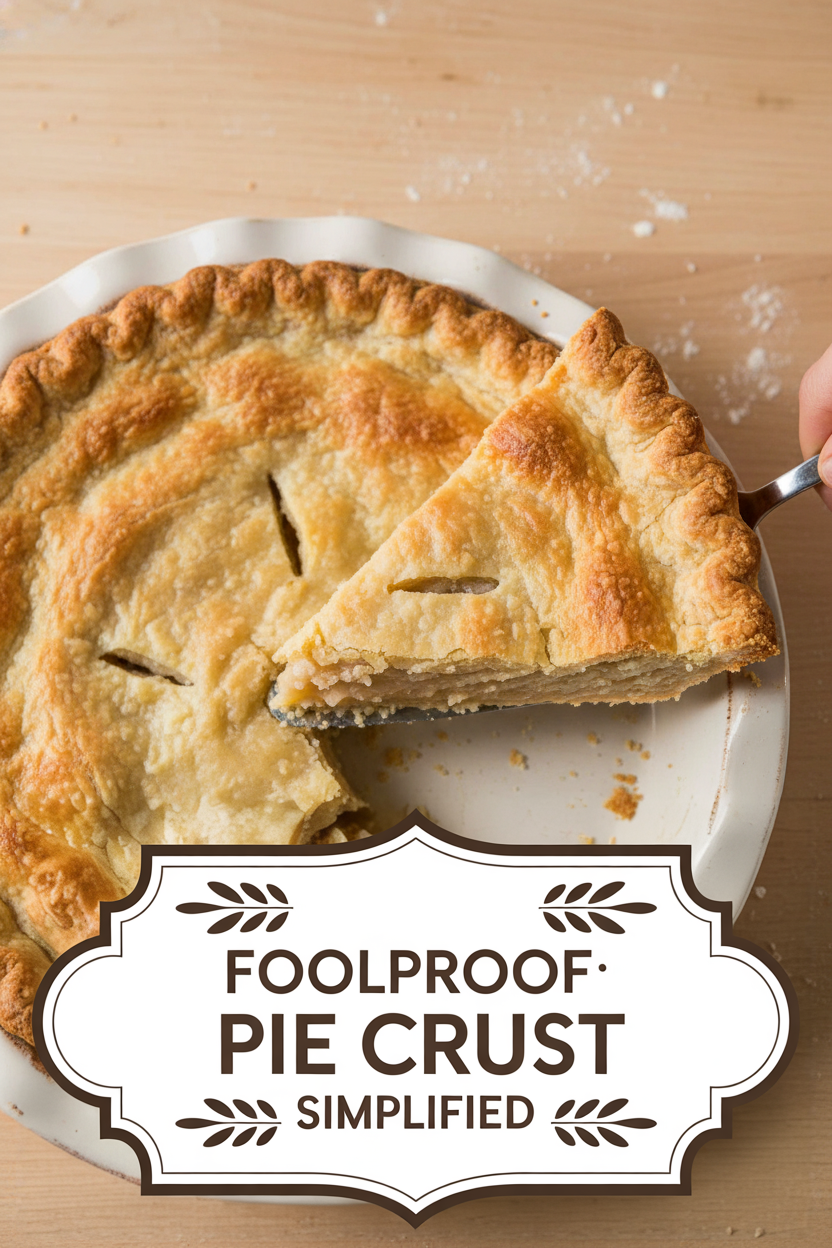
Foolproof Flaky Pie Crust Simplified
Hello, my dear. Come sit at the counter. Let’s make a pie crust. This one is my favorite. It uses a little cream cheese. That’s the secret. It makes the crust so tender and flaky. I learned this from my friend Margie years ago. I still laugh at that. We used to have such fun in the kitchen. Doesn’t that smell amazing? Butter and flour just promise good things. This crust is a perfect blank canvas. You can fill it with anything sweet or savory.
Instructions
Step 1: First, give your pie plate a light spray. Now, grab a bowl. Whisk your flour, sugar, and salt together. This mixes everything evenly. I always do this first. It makes the next steps so much easier. (A good whisk now means no salty spots later!).
Step 2: Use your mixer for the butter and cream cheese. Beat them until they are smooth. This should take about two minutes. Scrape the bowl sides with a spatula. This is very important. Then, add your flour mix on a lower speed. It will look like wet sand. Why do we scrape the bowl? Share below!
Step 3: Now, set aside three tablespoons of dough. Shape the rest into a ball. Press it into a disk on your floured counter. Place the disk right in your pie plate. Use the heel of your hand to press it out. Press it up the sides too. Hold the plate to the light. Check for any thin spots.
Step 4: Take your reserved dough. Roll it into one long, skinny rope. Then, cut it into three pieces. Roll each into a shorter rope. Press these ropes onto the rim of the crust. This makes a pretty fluted edge. Cover it all with plastic wrap. Let it get cold in the fridge for an hour. (A cold crust bakes up much flakier!).
Step 5: Heat your oven to 325°F. Use a fork to prick the crust bottom all over. This is called docking. It stops big bubbles. Bake it until it’s a lovely golden brown. Let it cool on a rack. If a bubble pops up, just press it down gently. The crust will set as it cools.
Creative Twists
Sweet & Salty: Sprinkle the crust edge with coarse sugar and a tiny pinch of sea salt before baking.
Herb Garden: Add one teaspoon of chopped fresh thyme or rosemary to the flour mix. Perfect for a chicken pot pie.
Citrus Zing: Mix the zest of one lemon or orange into the butter and cream cheese. It will smell like sunshine.
Which one would you try first? Comment below!
Serving & Pairing Ideas
Fill your cooled crust with lemon curd and top with berries. Or, try a simple chocolate pudding with whipped cream. For something fancy, add a dollop of sweetened mascarpone cheese. A scoop of vanilla ice cream is always the right answer, though. For a drink, a cup of hot tea with honey is lovely. For the grown-ups, a glass of chilled Riesling wine pairs beautifully with fruit pies. Which would you choose tonight?

Keeping Your Pie Crust Perfect
Let’s talk about keeping that crust lovely. Once baked and cooled, cover it well. Use plastic wrap or a big container. It stays fresh on the counter for two days. For longer, freeze it! Wrap it tight in foil first. Then slide it into a freezer bag.
I once froze a crust for a month. I was so busy with my grandkids. When I needed it, it was a lifesaver! Thaw it overnight in the fridge. You can re-crisp it in a warm oven for five minutes.
Why does this matter? A good crust is precious work. Storing it right saves your effort. You can make a few crusts at once. This is called batch cooking. Future-you will be so thankful on a busy day!
Have you ever tried storing it this way? Share below!
Easy Fixes for Common Crust Troubles
Even grandmas have kitchen troubles. Here are three common ones. First, dough that crumbles. This means it is too dry. Add cold water, one teaspoon at a time. Mix gently until it holds together.
Second, a soggy bottom crust. I remember my first soggy crust! The fix is simple. Always prick the dough with a fork before baking. This lets steam escape. Fun fact: This is called “docking” the dough!
Third, a crust that shrinks. This happens if you stretch the dough. Always press it gently into the plate. Let it chill well before baking. Why fix these? A good crust makes you proud. It also tastes so much better. Flaky and crisp is the goal!
Which of these problems have you run into before?
Your Quick Questions, Answered
Q: Can I make this gluten-free?
A: Yes! Use a good gluten-free flour blend. Add a teaspoon of xanthan gum too.
Q: How far ahead can I make the dough?
A: You can make the dough disk two days ahead. Keep it wrapped in the fridge.
Q: What if I don’t have cream cheese?
A: Use all butter. You will need one full stick plus one tablespoon.
Q: Can I double this recipe?
A: Absolutely. Double all the ingredients. Make two separate dough balls for best results.
Q: Any optional tips?
A: Brush the baked crust with egg white. It makes a barrier for wet fillings.
Which tip will you try first?
From My Kitchen to Yours
I hope you love making this crust. It holds so many sweet memories for me. I think of my own grandmother teaching me. The kitchen is the heart of a home. I believe every cook has a story.
I would love to hear yours. Tell me about your baking adventures. Your stories make this all so special.
Have you tried this recipe? Let me know how it went in the comments. Happy cooking!
—Fiona Brooks.
Foolproof Flaky Pie Crust Simplified
Description
A simple, no-fail recipe for a tender and flaky pie crust using butter and cream cheese.
Ingredients
Instructions
- Begin by spraying a 9-inch Pyrex pie plate with cooking spray. In a bowl, whisk together the flour, sugar, and salt.
- Using an electric mixer on medium-high speed, beat the butter and cream cheese in a large bowl until perfectly smooth and uniform, about 2 minutes. Scrape down the bowl as needed. Reduce the speed to medium-low, add the flour mixture, and mix just until it looks like coarse crumbs, about 20 seconds. Scrape the bowl again, then increase the speed to medium-high and beat until the dough forms large clumps, about 30 seconds.
- Set aside 3 tablespoons of the dough. Place the remaining dough on a lightly floured surface, shape it into a ball, and press it into a 6-inch disk. Transfer the disk to the prepared pie plate.
- Press the dough evenly across the bottom and toward the sides of the plate using the heel of your hand. Check for even thickness by holding the plate up to the light. Then, use your fingertips to smooth and evenly distribute the dough over the entire plate and up the sides.
- On a floured surface, roll the reserved dough into a 12-inch rope. Cut this into three equal pieces, roll each into an 8-inch rope, and use them to form a fluted edge around the rim of the pie plate. Cover the crust with plastic wrap and refrigerate until firm, for at least 1 hour.
- Preheat your oven to 325°F with a rack in the center position. Once the crust is chilled, prick the bottom all over with a fork. Bake until golden brown, 35 to 40 minutes. Transfer to a wire rack to cool completely. If any large bubbles appear during baking, allow the crust to finish baking, then gently press them flat with a kitchen towel while it’s still warm; they will set as the crust cools.
Notes
- Nutrition information is an estimate per serving for the crust only. Fill with your favorite sweet or savory pie filling.


Leave a Reply