The Heart of the Loaf
This bread begins with your sourdough starter. That bubbly jar is like a little friend. It needs to be active and happy to make your bread rise. I call mine “Bubbles.” I still laugh at that name.
Mix your water, oil, and honey in a big bowl. The honey makes the crust a beautiful golden color. Add your starter, eggs, and flour. Doesn’t that smell amazing already? This first mix is where the magic starts.
A Little Patience Goes a Long Way
After you mix everything, let the dough rest. Just cover the bowl and walk away. This rest lets the flour drink up all the moisture. It makes the dough easier to work with. I use this time to wipe the counter and have a cup of tea.
This matters because good bread cannot be rushed. The waiting is part of the recipe. It teaches us to slow down. What do you like to do while you wait for dough to rest?
The Work of Your Hands
Now we knead. You can use a mixer or your own two hands. I like to knead by hand. It feels wonderful. You stretch and fold the dough, again and again. It’s like a little workout for your arms.
You will feel the dough change. It goes from sticky to smooth and strong. This work builds the bread’s structure. Fun fact: This stretching creates little pockets of air inside the dough. That’s what gives you those soft, fluffy slices later!
The Long, Slow Rise
This is the secret to great flavor. Let the dough sit in a warm spot. It needs 10 to 12 hours for its first rise. I usually let mine rise overnight on the counter. Waking up to a puffy bowl of dough is a lovely sight.
This long, slow fermentation matters. It develops that classic sourdough tang. It also makes the bread easier for our bodies to digest. Have you ever tried a long-ferment bread before?
Shaping and Baking Day
In the morning, your dough will be big and bubbly. Gently push it down. Then, cut it into two equal pieces. Shape each piece into a tight roll to fit your loaf pans. This part is like tucking the dough into its bed.
Let the loaves rise again until they double. This takes a few hours. Then, into the oven they go. The smell of baking bread is the best smell in any home. It makes the whole house feel warm and loved.
Your First Slice
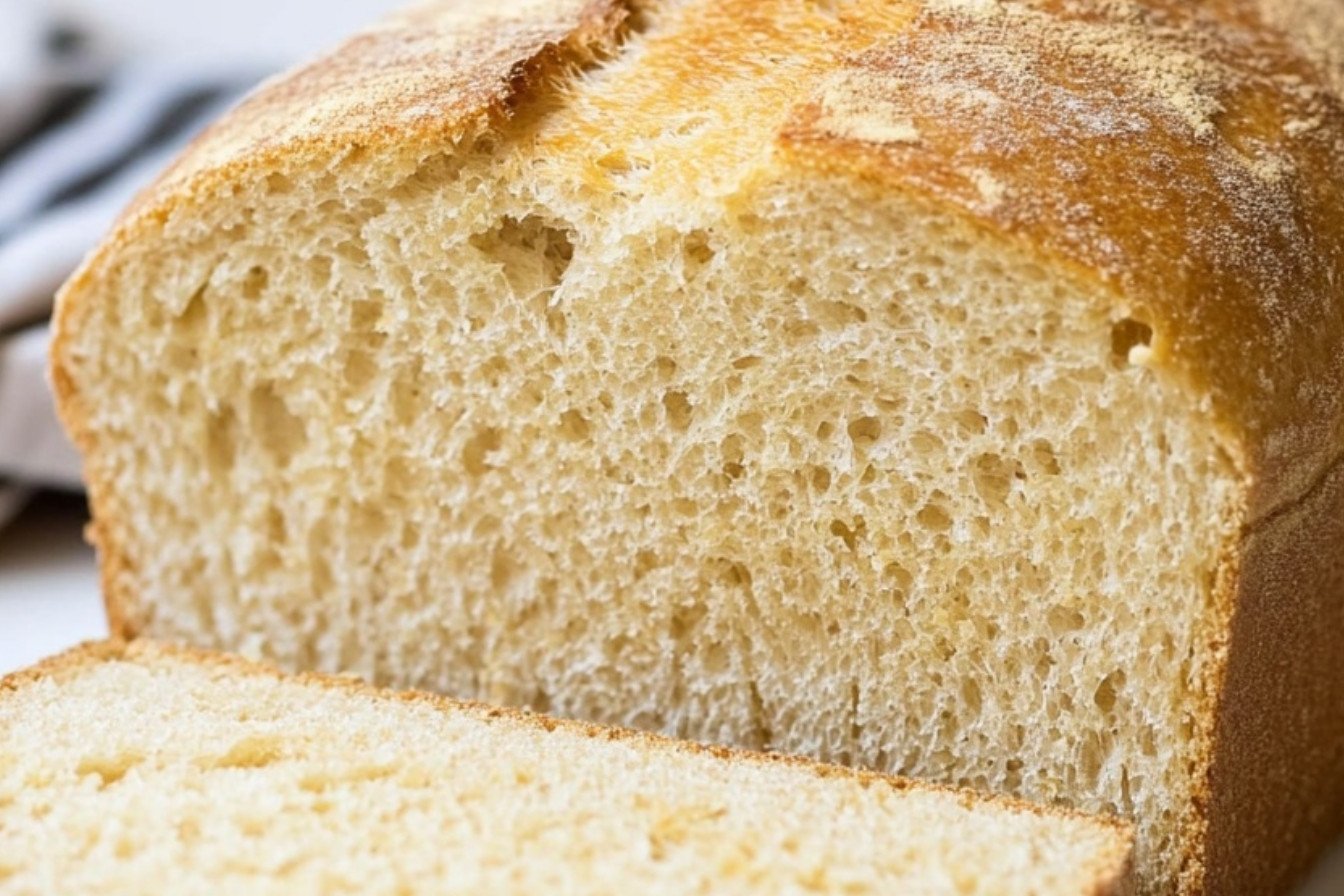
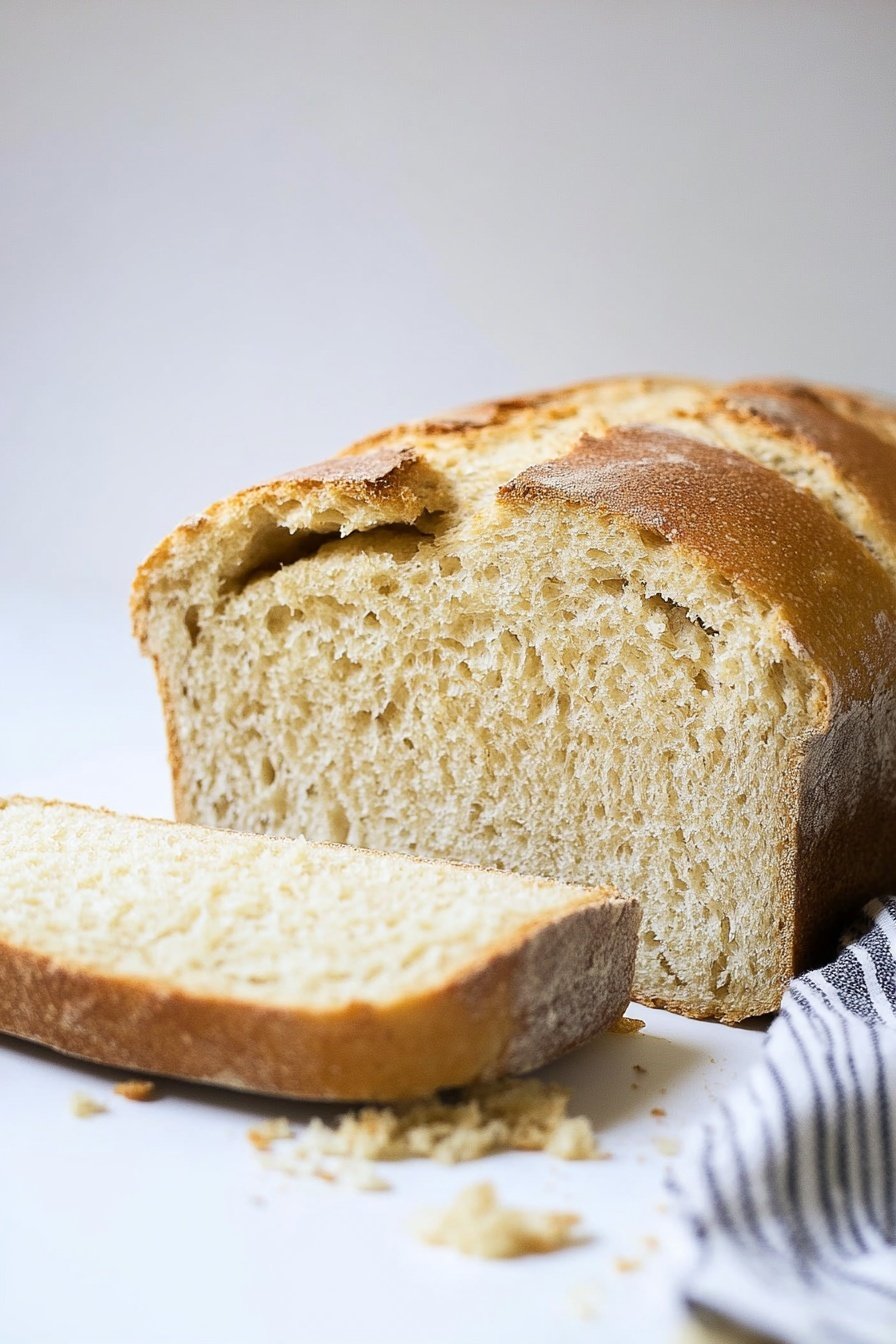
The hardest part is waiting for the bread to cool. But you must wait. Slicing it warm makes it gummy. When it’s finally cool, cut a thick slice. The crust will be crisp, and the inside will be soft and full of holes.
Slather on some butter and enjoy. You made this with your own hands. That is a wonderful feeling. What will you put on your first slice of homemade bread? Tell me about it!
Ingredients:
| Ingredient | Amount | Notes |
|---|---|---|
| Water | 2 1/4 cups (531g) | |
| Oil | 1/2 cup (112g) | |
| Honey | 1/2 cup (168g) | |
| Salt | 1 tablespoon (17g) | |
| Eggs | 2 | |
| Active Sourdough Starter | 1/2 cup (113g) | |
| Fresh Milled Flour | 7 cups (1,050g) | Hard white wheat |
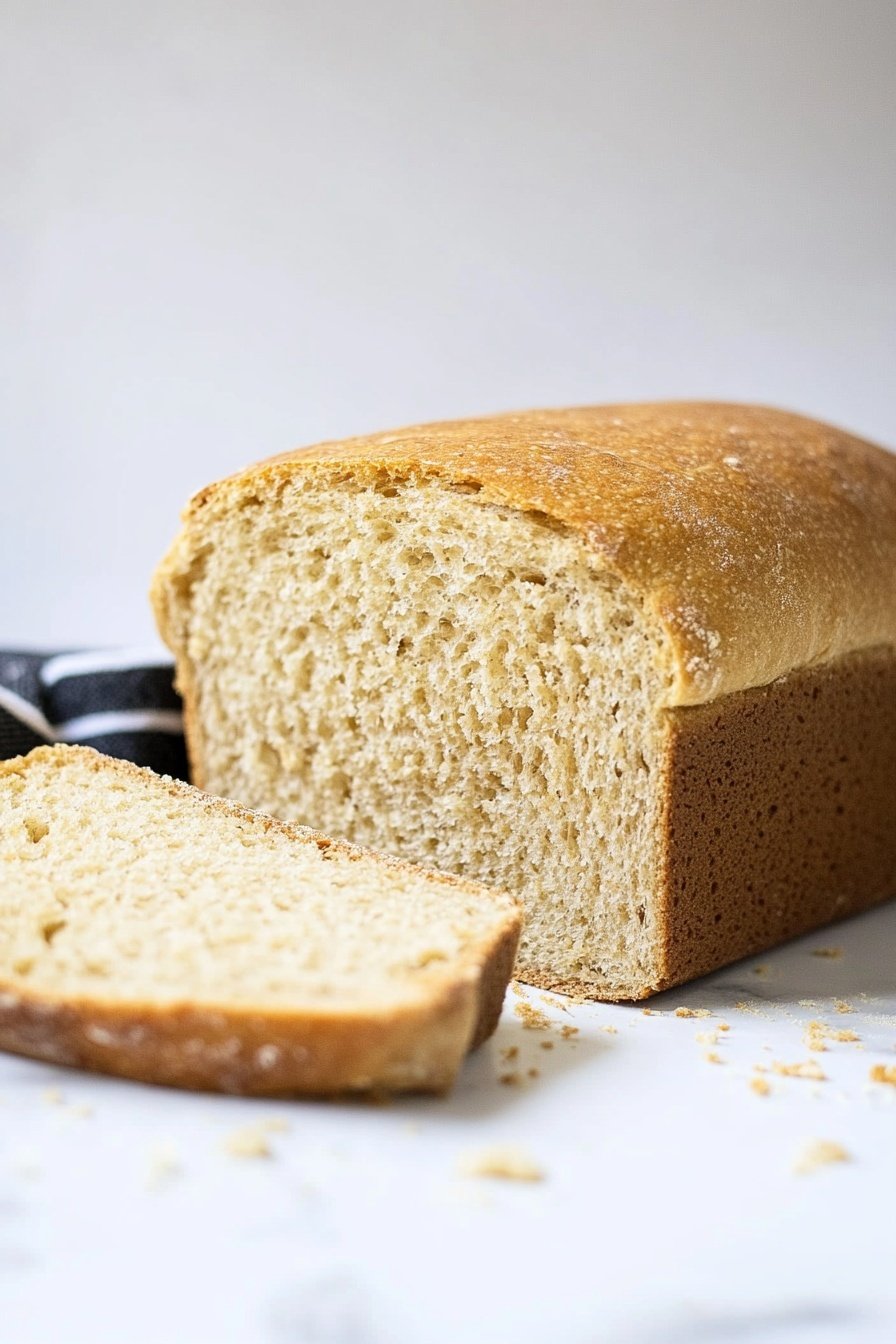
My Favorite Sandwich Bread
My kitchen smells like warm honey and sunshine when this bread bakes. It is my go-to recipe for lunchbox sandwiches. I have been making it for years.
This bread uses a sourdough starter. That is my little jar of flour, water, and wild yeast. I call it my kitchen pet. You have to feed it regularly.
Here is how you make it. Just follow these simple steps. I still laugh at my first loaf. It was as hard as a rock!
- Step 1: First, get your starter bubbly and happy. Then, put everything in a big bowl. Mix it all together until it looks like a shaggy dough. Let it sit for half an hour. This lets the flour drink up the water.
- Step 2: Now, it is time to knead. You can use a mixer or your hands. I like using my hands. It feels wonderful and soft. Knead until the dough is smooth and stretchy. (A hard-learned tip: if it sticks to everything, add just a sprinkle more flour.)
- Step 3: Cover the bowl with a damp cloth. Find a warm spot for it to rest. It needs to sleep for a long time, about 12 hours. This is called the first rise. I usually start this before I go to bed.
- Step 4: In the morning, the dough will be puffy. Gently punch it down. Then, cut it into two equal pieces. Shape each piece into a tight loaf for your pans. This part is like tucking a baby into bed.
- Step 5: Place the shaped dough into greased loaf pans. Let it rise again until it doubles. This takes a few hours. How can you tell it is ready? Gently poke the dough. If the indent slowly springs back, it is time to bake!
- Step 6: Heat your oven. You can brush the tops with a beaten egg for shine. Bake until the loaves are a beautiful golden brown. Doesn’t that smell amazing? Let the bread cool completely before you slice it.
Cook Time: 30–40 minutes
Total Time: 14–17 hours
Yield: 2 loaves
Category: Bread, Baking
Three Fun Twists to Try
This bread is a wonderful blank canvas. You can add so many things to make it your own. My grandkids love it when I get creative.
- Everything Bagel Bread: Mix some everything bagel seasoning right into the dough. It is so good with cream cheese.
- Honey & Sunflower Seed: Add a big handful of sunflower seeds. They give the bread a lovely, nutty crunch.
- Cinnamon Swirl Loaf: Roll the dough out and sprinkle it with cinnamon sugar. Then roll it up and bake. Perfect for toast!
Which one would you try first? Comment below!
How to Serve Your Beautiful Bread
Nothing beats a thick, warm slice with butter. But let me tell you my other favorite ways to enjoy it. It makes the best sandwiches.
For lunch, try it with chicken salad and lettuce. Or make a classic grilled cheese with tomato soup. For a treat, toast a slice and drizzle it with local honey. It is pure happiness.
This bread pairs nicely with a cold glass of milk. For the grown-ups, a crisp apple cider is just right. Which would you choose tonight?
Keeping Your Sourdough Bread Fresh
Fresh bread is a daily joy. Let’s keep it that way. Once your bread is completely cool, wrap it tightly. You can use plastic wrap or a bread bag.
Store it on your counter for up to five days. For longer life, freeze it! Slice the loaf first. Then you can pull out one slice at a time.
I remember my first frozen loaf. I forgot to slice it. Thawing the whole block was quite a task. Now I always slice before freezing. This small step saves so much time later.
Batch cooking matters for busy families. Having a loaf in the freezer is a lifesaver. It means a good breakfast is always minutes away. Have you ever tried storing it this way? Share below!
Simple Fixes for Sourdough Troubles
Is your dough too sticky? Do not add too much flour. Just wet your hands with water. This stops the dough from sticking to you.
Is your bread not rising well? Check your starter. It must be bubbly and active. I once used a sleepy starter. My bread was as flat as a pancake.
Is the crust too hard? You might be baking it too long. Try taking it out five minutes earlier. A perfect crust makes the bread easier to slice.
Fixing small problems builds your confidence. You learn more with every loaf. It also makes your bread taste much better. Which of these problems have you run into before?
Your Sourdough Questions Answered
Q: Can I make this gluten-free?
A: Sourdough is tricky without gluten. I do not recommend swapping the flour here.
Q: Can I make the dough ahead?
A: Yes! After the first rise, you can keep it in the fridge. It will slow down for a day or two.
Q: What can I use instead of honey?
A: Maple syrup or white sugar works just fine. It helps to feed the yeast.
Q: Can I make just one loaf?
A: Absolutely. Just cut all the ingredients in half. It is a great way to practice.
Q: Is the egg wash necessary?
A: No, it is just for looks. Your bread will taste wonderful without it. Which tip will you try first?
Share Your Kitchen Creations
I hope you love baking this bread. There is nothing like a warm slice with butter. It fills your whole house with a happy smell.
I would love to see your beautiful loaves. Your photos inspire me and other readers. Please share your baking success with us.
Have you tried this recipe? Tag us on Pinterest! Use our handle @FionasKitchen. I cannot wait to see what you make.
*Fun fact: The smell of baking bread makes people feel happier. It is a scientific fact!*
Happy cooking!
—Fiona Brooks.

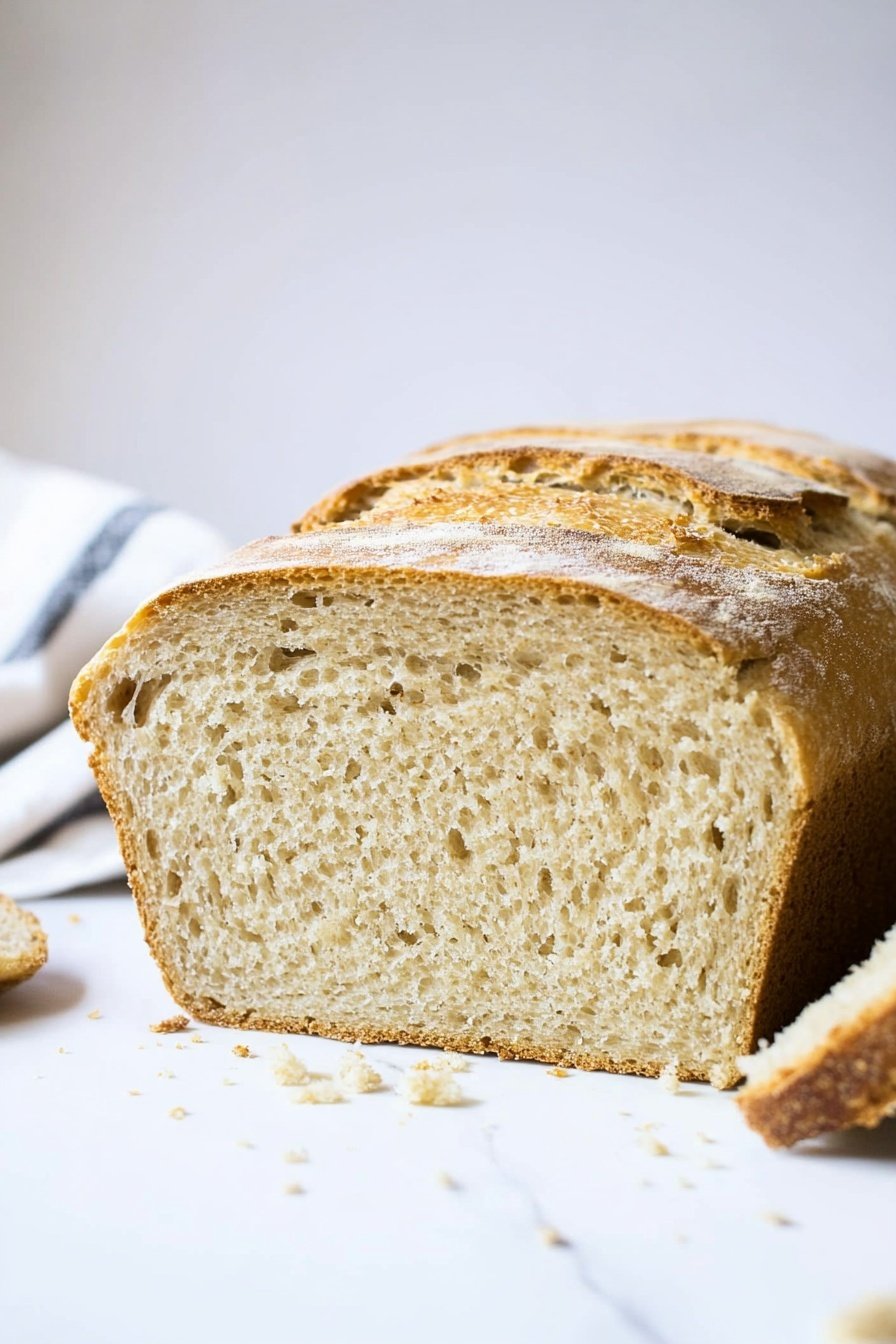
Fresh Milled Sourdough Sandwich Bread Recipe
Description
A classic, wholesome sandwich bread made with fresh milled flour and active sourdough starter for a delicious, homemade loaf.
Ingredients
Instructions
- Ensure your sourdough starter is active and fed. Combine the water, oil, honey, salt, eggs, starter, and flour in a large mixing bowl or the bowl of a stand mixer fitted with a dough hook. Mix the ingredients by hand or on a medium mixer setting until they are fully combined into a dough. Cover the bowl and allow the dough to rest for 30 minutes to let the flour absorb the moisture.
- If using a stand mixer, knead the dough on a medium-low setting for 15 to 20 minutes. The dough is ready when it becomes smooth, pulls away from the bowl’s sides, and passes the windowpane test. Should the dough feel too wet, incorporate a small amount of additional flour gradually.
- For hand kneading, perform a series of stretch and folds. Lift one side of the dough about six inches and fold it over the center. Give the bowl a quarter turn and repeat this process three to four more times to complete one round. Follow this schedule: perform the first three rounds at 15-minute intervals, and the subsequent three rounds at 30-minute intervals, covering the bowl between each round.
- Once kneading is finished, cover the bowl with a damp cloth and place it in a warm spot for its bulk fermentation, which should last 10 to 12 hours.
- After this first rise, separate the dough into two equal portions. Shape each piece for a loaf pan by first flattening it into a loose rectangle, then tightly rolling it up to fit the pan.
- Transfer the shaped dough into greased or parchment-lined loaf pans. Let it rise in a warm place for the second time, approximately 2 to 4 hours, until it has doubled in size.
- Preheat your oven to 350°F (175°C). For a shiny crust, you can apply an optional egg wash at this stage. Bake the loaves for 30 to 40 minutes, or until the tops are a golden brown. Let the bread cool entirely before you slice it.
Notes
- Nutrition information is an estimate per slice, assuming the recipe makes two loaves with 8 slices each.


Leave a Reply