My Grandson’s Favorite Cookie
My grandson Leo loves peanut butter. He once ate it with a spoon from the jar. I wanted to make him a cookie that felt special, but not too heavy.
This recipe is our answer. It uses real ground peanuts for a fun crunch. It feels like a treat, but sits lightly in your tummy. That matters because food should make you feel good, not sleepy.
Why We Grind Our Own
Let’s talk about that first step. Grinding the peanuts fills your kitchen with the best smell. Doesn’t that smell amazing? It’s better than any candle.
You save some of the ground nuts for later. They go on top of the cookies. This gives a wonderful, toasty look and extra peanut flavor in every bite. *Fun fact: Dry-roasted peanuts have less oil than regular ones. This helps our cookies stay nice and crisp.
A Little Secret in the Sugar
The recipe uses Sucanat. It sounds fancy, but it’s just dried cane juice. It has a gentle molasses taste. I still laugh at how Leo calls it “super-nat.”
You grind it into powder. This makes the cookie texture smooth, not gritty. Using it instead of white sugar gives a deeper, warmer sweetness. What’s your favorite type of sugar to bake with?
The Magic of Waiting
After you mix the dough, you must let it rest. Cover the bowl and walk away for 30 minutes. This is the hardest part for a hungry baker!
But this wait matters. It lets the flour soak up the wet ingredients. Your cookies will bake evenly and hold their shape. It’s a small step that makes a big difference. Do you find it hard to wait for dough to rest?
Shaping with Wet Hands
The dough is a bit sticky. Here’s my trick: keep a little bowl of water by your side. Wet your hands just a bit before rolling each ball.
Then, flatten them with a greased glass. Sprinkle on those saved peanuts. Now they are ready for the oven. Swapping the trays halfway through baking makes sure every cookie is perfect.
The Perfect Bite
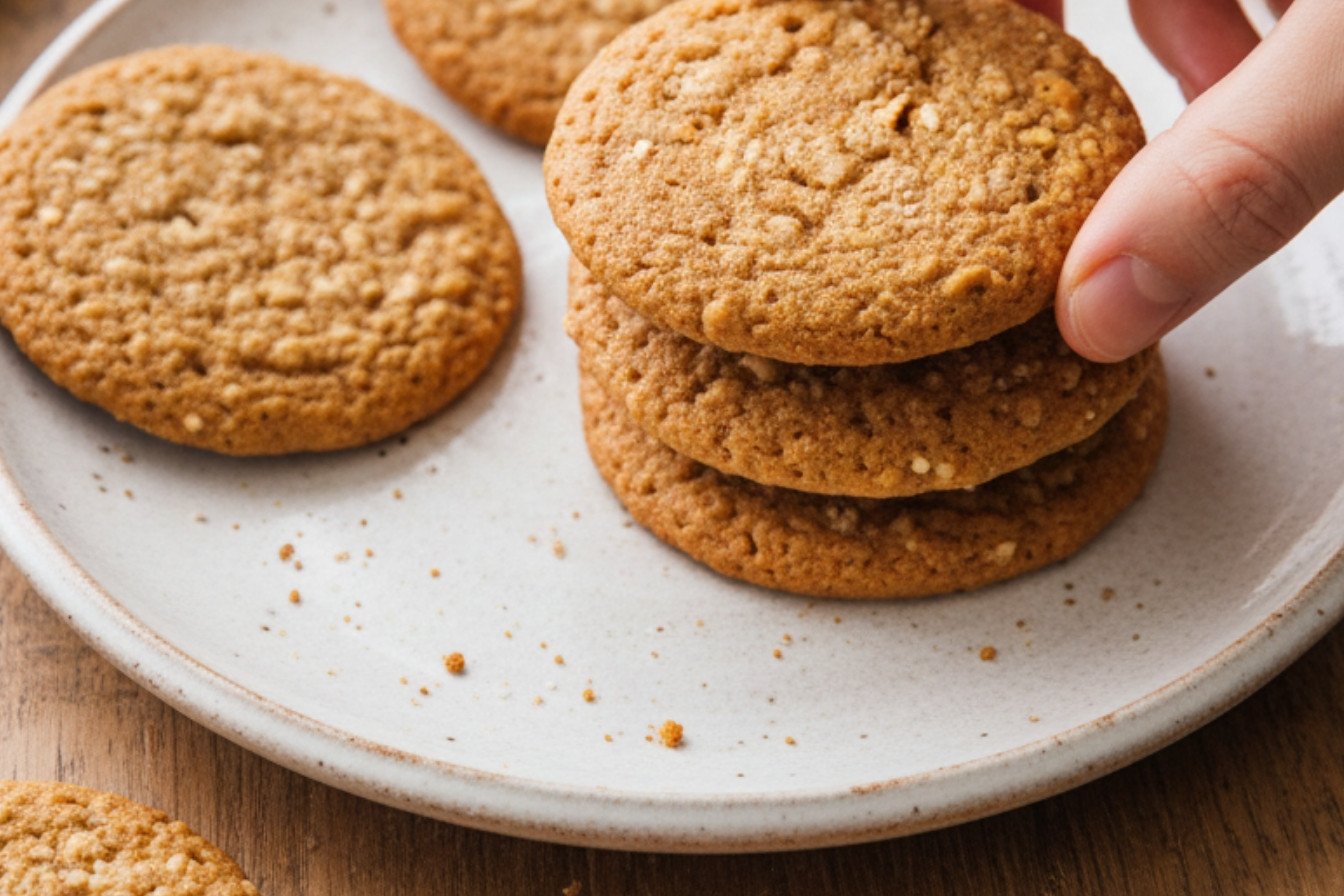
Let them cool completely. I know, it’s another wait! But it’s worth it. They firm up into the perfect chewy-crisp bite.
You taste the real peanut, the gentle sweetness, and a hint of vanilla. It’s a happy cookie. It reminds me that simple, real ingredients make the best food. What memory does the smell of peanut butter cookies bring back for you?
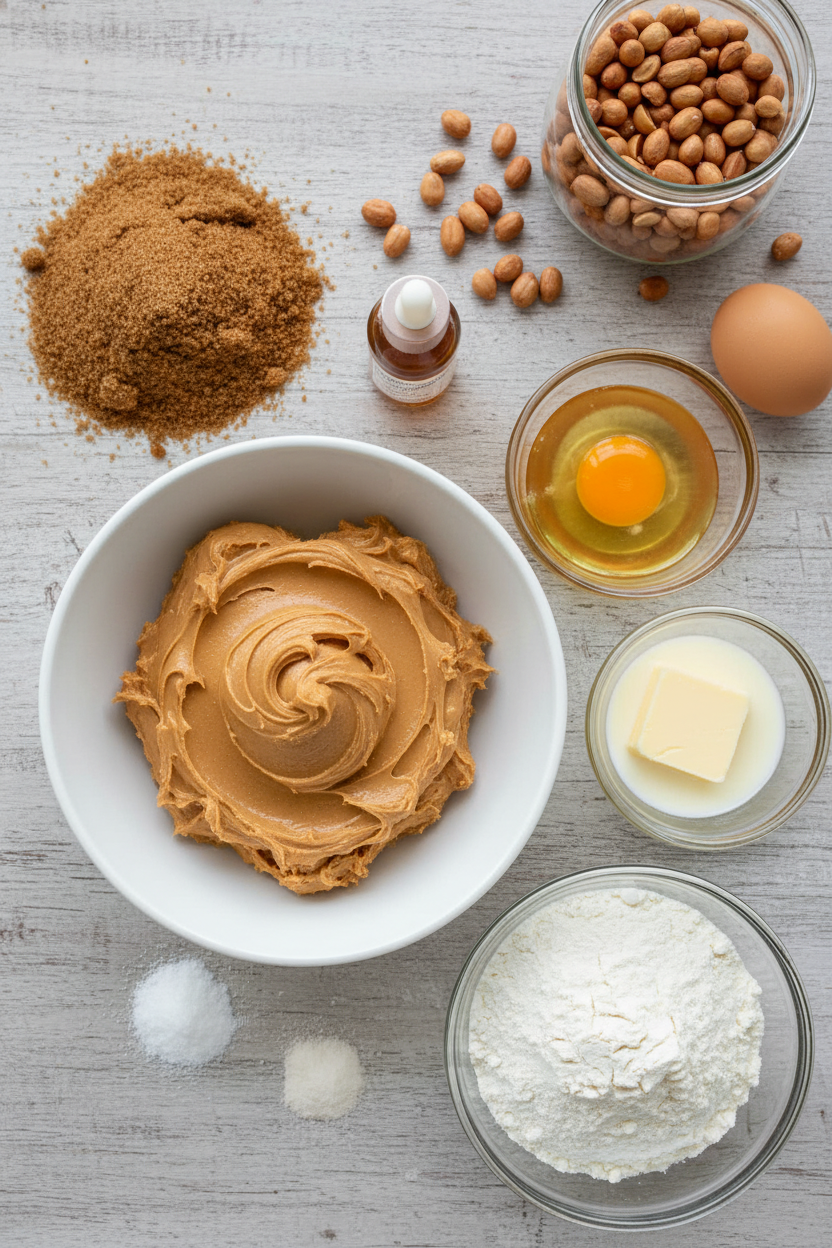
Ingredients:
| Ingredient | Amount | Notes |
|---|---|---|
| Unsalted dry-roasted peanuts | ½ cup | Finely ground, 2 tbsp reserved for topping |
| Sucanat | ⅔ cup plus ½ cup (6⅔ oz / 189g) | Processed to a fine powder |
| All-purpose flour | 1 cup (5 oz / 142g) | |
| Baking powder | 1 teaspoon | |
| Baking soda | ¾ teaspoon | |
| Salt | ½ teaspoon | |
| Extra-crunchy peanut butter | ⅔ cup | |
| Milk | ¼ cup | |
| Large egg plus 1 large yolk | 1 each | |
| Unsalted butter | 3 tablespoons | Melted and cooled |
| Vanilla extract | 2 teaspoons |
Instructions
Step 1: First, let’s make our own peanut flour. Pulse the dry-roasted peanuts in your food processor about 14 times. It should look like coarse sand. Scoop out 2 tablespoons and set it aside for later. Now, for the Sucanat. Grind it in a spice grinder in four small batches. (A hard-learned tip: grinding it makes the cookies wonderfully chewy, not gritty!). Doesn’t that smell amazing already?
Step 2: Grab two bowls. In the smaller one, whisk the flour, baking powder, baking soda, and salt. In the big bowl, whisk the powdered Sucanat with the peanut butter, milk, egg and yolk, cooled butter, and vanilla. It will be thick and shiny. Gently stir the dry stuff into the wet stuff until just mixed. Then, fold in the ground peanuts from the processor, but not our reserved bit!
Step 3: Now, patience. Cover the bowl and let the dough rest for 30 minutes. This lets the flavors get to know each other. While you wait, move your oven racks to the upper-middle and lower-middle spots. Preheat your oven to 350°F. Line two baking sheets with parchment paper. What’s your favorite cookie smell? Share below!
Step 4: Time to shape! Wet your hands a little so the dough doesn’t stick. Roll heaping tablespoons of dough into balls. Place them two inches apart on your sheets. Sprinkle the tops with your reserved ground peanuts. Now, use the bottom of a greased glass to flatten each ball to about ½-inch thick. I still laugh at the time I used a juice glass and it stuck!
Step 5: Bake for about 12 minutes. Halfway through, swap the sheets’ positions and turn them around. They’re done when just firm and starting to tan. Let them cool completely on the sheets. (They firm up as they cool, I promise!). Then, try not to eat them all at once.
Creative Twists
You can make these cookies your own with a few fun changes. I love adding a little surprise in the middle. It feels like giving a gift to whoever takes a bite. These ideas always make my grandkids smile.
Chocolate Chip Joy: Fold in a handful of mini chocolate chips with the ground peanuts.
Jammy Thumbprint: Press your thumb into the center before baking. Fill the dent with a bit of strawberry jam.
Salty-Sweet Crunch: Sprinkle a tiny pinch of flaky sea salt on top with the peanuts.
Which one would you try first? Comment below!
Serving & Pairing Ideas
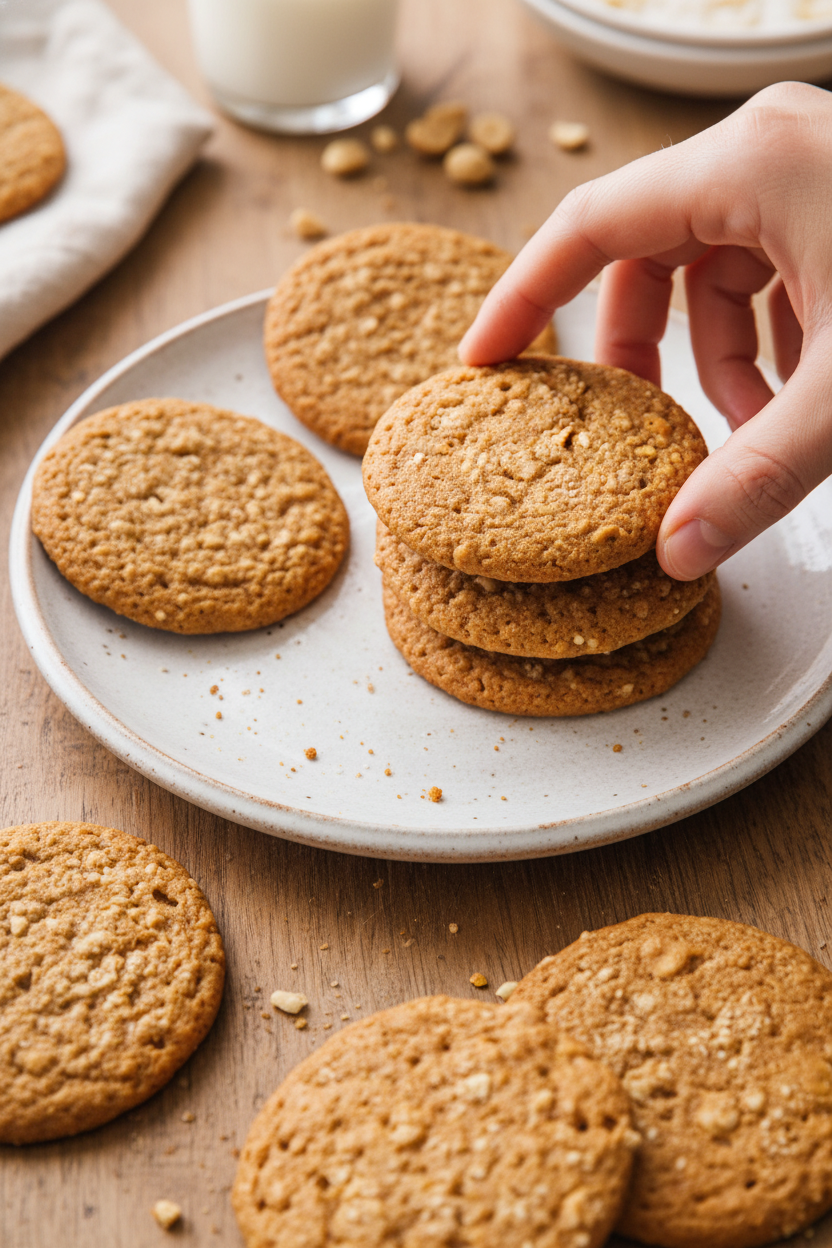
These cookies are lovely all on their own. But sometimes, you want to make a moment special. For a real treat, serve one slightly warm. Place it next to a small scoop of vanilla bean ice cream. The melty ice cream and the chewy cookie are pure happiness. You could also just dunk one in a cold glass of milk. It’s a classic for a very good reason.
For drinks, a cold glass of creamy oat milk is my favorite. It pairs so nicely. For the grown-ups, a small glass of tawny port wine is a cozy match. Its nutty flavor sings with the peanuts. Which would you choose tonight?
Keeping Your Cookies Happy
Let’s talk about keeping these cookies tasty. They stay fresh in a tin for about four days. Want to keep them longer? Freeze the baked cookies for up to three months.
I love to batch-cook the dough. Roll it into balls and freeze them on a sheet. Once frozen, pop them into a bag. You can bake a few fresh cookies anytime you want.
I once forgot a batch in the freezer for months. They baked up perfectly! This matters because it saves you time on busy days. You always have a homemade treat ready.
Have you ever tried storing cookie dough this way? Share below!
Simple Fixes for Cookie Troubles
Sometimes cookies don’t turn out right. Here are easy fixes. First, if your cookies spread too much, your butter was too warm. Make sure it’s cooled after melting.
Second, if they are too dry, you may have over-mixed. Stir the dough just until combined. I remember when my grandson mixed it for five minutes. We got little cookie bricks!
Third, if they aren’t sweet enough, check your Sucanat. It must be ground into a fine powder. This matters because proper texture makes better flavor. Fixing small issues builds your cooking confidence.
Which of these problems have you run into before?
Your Quick Questions, Answered
Q: Can I make these gluten-free? A: Yes! Use a good gluten-free flour blend. The results are very good.
Q: Can I make the dough ahead? A: Absolutely. Keep it covered in the fridge for up to two days.
Q: What can I use instead of Sucanat? A: Regular brown sugar works just fine. It will be a bit sweeter.
Q: Can I double the recipe? A: You can. Just mix in a very large bowl. *Fun fact: Doubling is how I feed my whole book club!*
Q: Is the egg yolk necessary? A: It adds richness. But one whole egg can be used instead.
Which tip will you try first?
From My Kitchen to Yours
I hope you enjoy making these cookies. The smell of peanuts baking is pure joy. It always reminds me of my own grandma’s kitchen.
I would love to hear about your baking adventure. Tell me all about it in the comments. Sharing stories is the best part of food.
Have you tried this recipe? I can’t wait to hear how it went for you.
Happy cooking!
—Fiona Brooks.
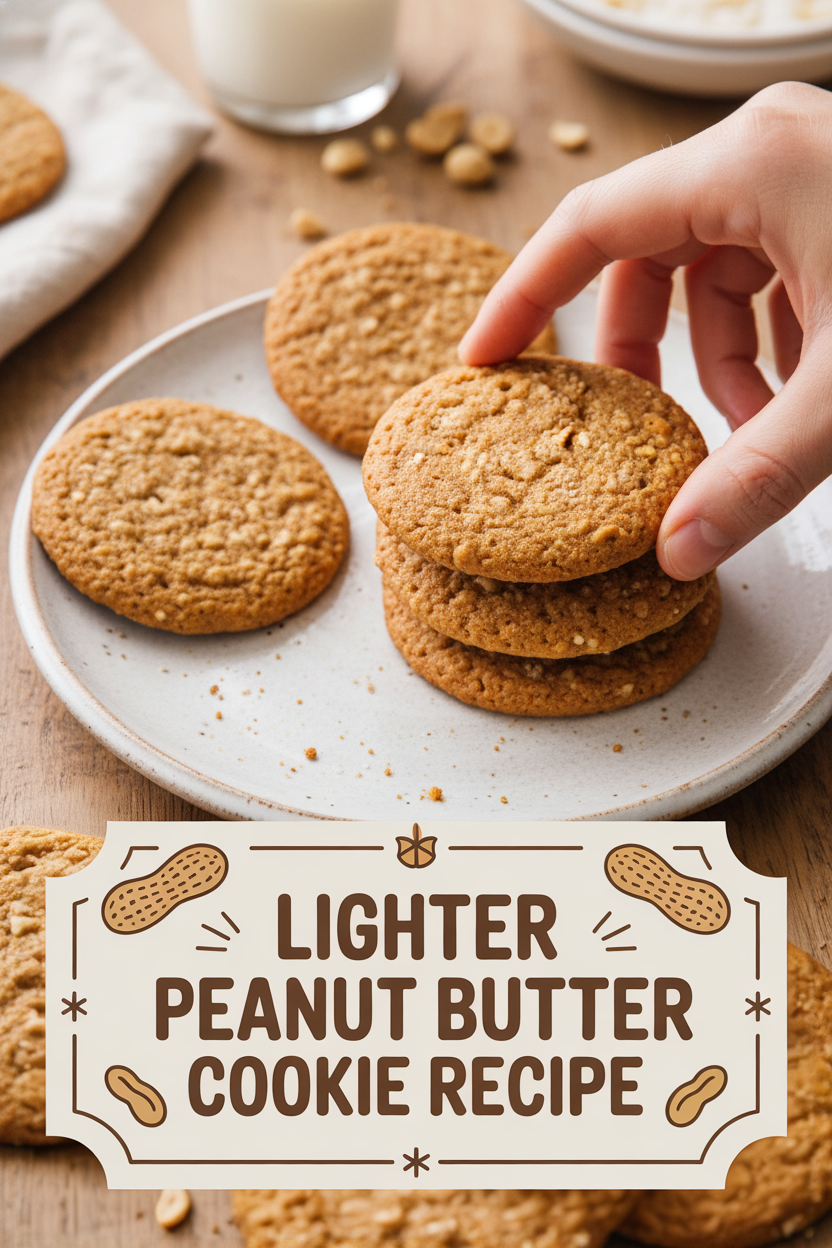
Lighter Peanut Butter Cookie Recipe
Description
A deliciously lighter take on classic peanut butter cookies, with a delightful texture from ground peanuts and a rich flavor from Sucanat.
Ingredients
Instructions
- Finely grind the peanuts in a food processor using about 14 short pulses. Set aside 2 tablespoons of this ground peanut mixture for later use. Next, process the Sucanat in a spice grinder in four separate batches until it reaches a fine, powdery consistency, about one minute per batch.
- In one bowl, mix together the flour, baking powder, baking soda, and salt. In a separate, larger bowl, thoroughly whisk the powdered Sucanat with the peanut butter, milk, whole egg and yolk, cooled melted butter, and vanilla extract. Gently stir the dry flour mixture into this wet mixture using a spatula until just combined, then fold in the ground peanuts from the food processor (excluding the reserved portion).
- Cover the bowl of dough and let it sit at room temperature for 30 minutes. While it rests, position your oven racks in the upper-middle and lower-middle slots and preheat the oven to 350°F. Prepare two baking sheets by lining them with parchment paper.
- With lightly wet hands to prevent sticking, shape heaping tablespoons of the dough into balls. Place them two inches apart on the baking sheets. Sprinkle the tops with the reserved ground peanuts. Flatten each ball to about a ½-inch thickness using the bottom of a greased glass.
- Bake the cookies for approximately 12 minutes, swapping the sheets’ positions and rotating them halfway through. They are done when they are just firm and starting to brown. Allow the cookies to cool fully on the baking sheets before serving.
Notes
- For best results, ensure the melted butter is cooled to avoid cooking the egg. Store cookies in an airtight container at room temperature for up to 5 days.


Leave a Reply