My First Cookie Disaster
I tried making these cookies years ago. I forgot the milk. The dough was so crumbly. I still laugh at that.
That little bit of milk matters. It brings everything together. It makes the dough soft and easy to press. Small things make a big difference in baking.
Why We Toast the Nuts
Toasting the peanuts is the secret. It wakes up their flavor. Doesn’t that smell amazing? It fills your whole kitchen.
That warm, nutty smell means flavor. It makes the cookies taste deeper and richer. Fun fact: Toasting nuts gets rid of raw bitterness. It gives you just the good, cozy taste.
The Heart of the Cookie
The dough is simple to mix. Just stir wet and dry together. Then fold in those toasted peanuts. You get little crunchy bits in every bite.
Pressing them with a damp hand is my favorite part. It feels like play dough. It makes them all the same size so they bake evenly. Do you like cookies chewy or crispy?
The Magic Filling
This filling is pure magic. You just melt peanut butter and chocolate together. Stir in the powdered sugar. It turns into a smooth, sweet cloud.
It’s warm and spreadable. It sets firm so you can hold the cookie. That waiting hour is the hardest part. What’s your favorite chocolate and peanut butter treat?
Putting It All Together
Flip half the cookies over. Give each one a big spoonful of filling. Then put its top on. Press gently until you see the filling peek out.
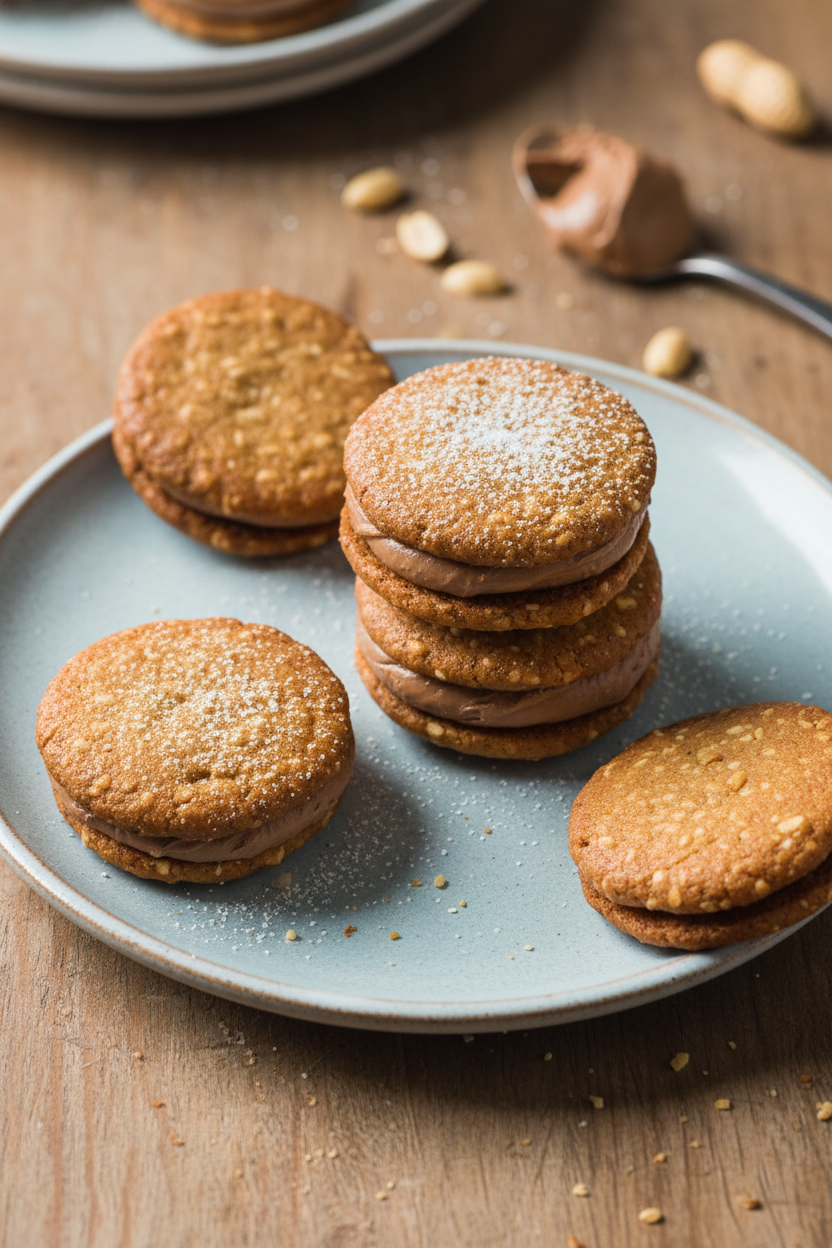
Making them into sandwiches makes them special. It’s a complete little package of joy. Sharing them is the best part. It turns a simple cookie into a gift.
Why This Recipe Stays
This recipe is in my box for a reason. It uses simple steps. But the result feels fancy. Anyone can make them and feel proud.
Food is about more than eating. It’s about the smell in your kitchen. It’s about the smile when you share. What’s a recipe that always makes you smile?
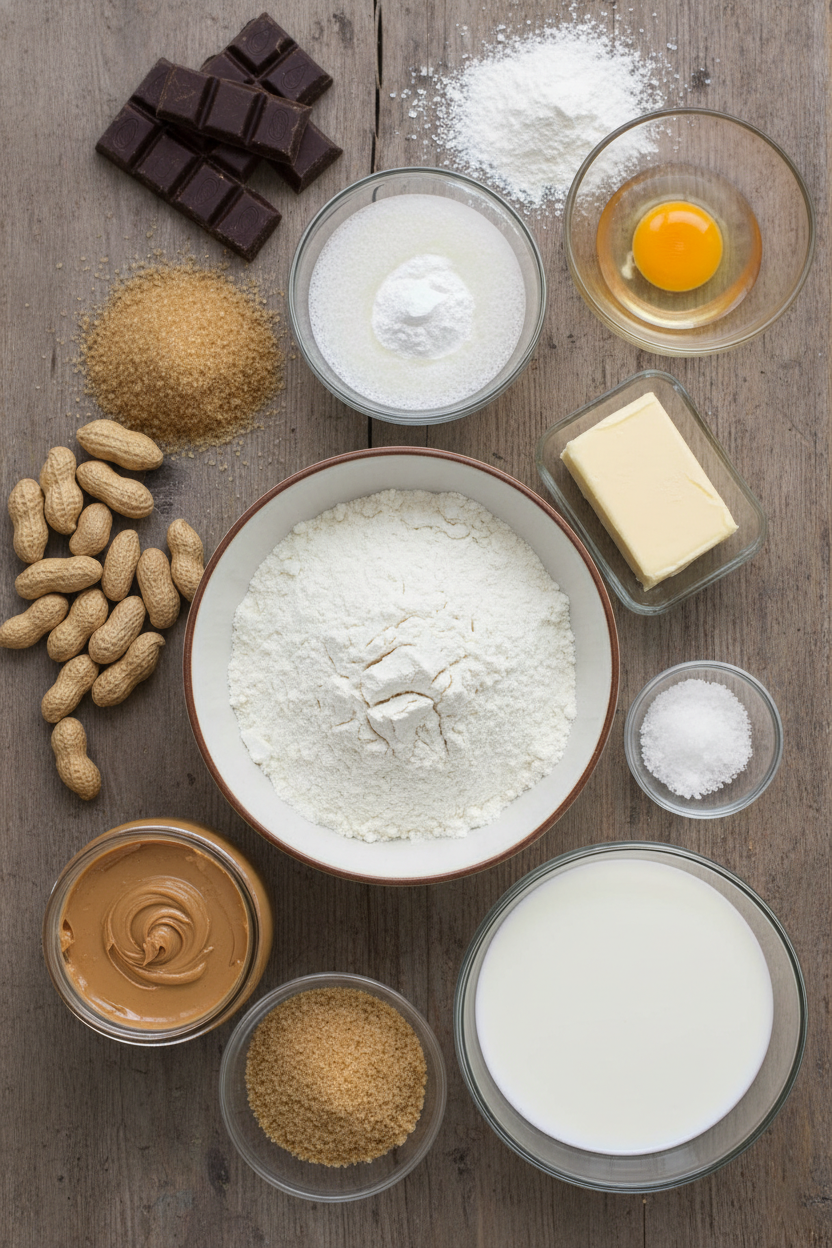
Ingredients:
| Ingredient | Amount | Notes |
|---|---|---|
| Raw peanuts | 1 ¼ cups (6 ¼ oz / 177g) | For the cookies |
| All-purpose flour | ¾ cup (3 ¾ oz / 106g) | For the cookies |
| Baking soda | 1 teaspoon | For the cookies |
| Salt | ½ teaspoon | For the cookies |
| Unsalted butter, melted | 3 tablespoons | For the cookies |
| Creamy peanut butter | ½ cup | For the cookies |
| Granulated sugar | ½ cup (3 ½ oz / 99g) | For the cookies |
| Light brown sugar, packed | ½ cup (3 ½ oz / 99g) | For the cookies |
| Whole milk | 3 tablespoons | For the cookies |
| Large egg | 1 | For the cookies |
| Creamy peanut butter | ½ cup | For the filling |
| Milk chocolate, finely chopped | 6 oz (170g) | For the filling |
| Confectioners’ sugar | 1 cup (4 oz / 113g) | For the filling |
Instructions
Step 1: First, get your oven ready. Heat it to 350°F. Put racks in the top and bottom thirds. Line two baking sheets with parchment paper. This keeps the cookies from sticking. I always do this first. It makes everything easier.
Step 2: Now, let’s chop the peanuts. Put your toasted peanuts in the food processor. Pulse it a few times until they look like coarse sand. Be careful not to make peanut butter! (A hard-learned tip: pulse, don’t hold the button down). Doesn’t that smell amazing already?
Step 3: Grab a medium bowl. Whisk the flour, baking soda, and salt together. In a bigger bowl, mix the melted butter, peanut butter, both sugars, milk, and egg. Whisk until it’s nice and smooth. This is the fun, messy part. I still get batter on my apron.
Step 4: Pour the dry ingredients into the wet bowl. Stir with a spatula just until combined. Then, fold in your chopped peanuts. The dough will be thick and lovely. What’s your favorite cookie dough to sneak a taste of? Share below!
Step 5: Drop 12 dough mounds on each sheet. Wet your hand and press each one flat. Make them about 2 inches wide. Bake for 15-18 minutes. Swap the sheet positions halfway through. They’re done when golden and firm. Let them cool completely on a rack.
Step 6: Time for the magical filling! Melt the peanut butter in the microwave. Stir in the chopped chocolate until it melts. If needed, heat it for 5 more seconds. Mix in the powdered sugar. It will become a sweet, fudgy dream.
Step 7: Finally, let’s make sandwiches. Flip half the cookies over. Spoon a tablespoon of filling on each. Top with another cookie, right-side up. Press gently so the filling peeks out. Let them sit for an hour to set. The waiting is the hardest part!
Creative Twists
These cookies are wonderful as they are. But sometimes, a little change is fun. You could try a different nut. Use roasted almonds instead of peanuts. The flavor will be subtler and lovely. Or, add a tiny surprise inside. Press a mini peanut butter cup into the warm filling before sandwiching. For a festive touch, roll the cookie edges. Roll them in colorful sprinkles right after assembling. Which one would you try first? Comment below!
Serving & Pairing Ideas
These cookies are a full celebration. Serve them on a big platter for sharing. A cold glass of milk is the classic partner. It cuts the richness perfectly. For a special treat, try a small cup of cold brew coffee. The bitterness dances with the sweet peanut butter. Grown-ups might enjoy a creamy chocolate stout beer. It tastes like a dessert in a glass. Which would you choose tonight?
Keeping Your Cookie Sandwiches Happy
These cookies keep well for up to five days. Just tuck them in an airtight container. I keep mine on the counter. The filling stays nice and soft.
You can also freeze them for a sweet treat later. Wrap each cookie sandwich tightly. Then pop them all in a freezer bag. They will keep for two months.
Let them thaw on the counter for an hour. I once forgot a batch in the freezer for weeks. Finding them was a lovely surprise for my grandson!
Storing them right means no waste. You can enjoy your hard work for days. Have you ever tried storing it this way? Share below!
Simple Fixes for Cookie Troubles
Is your dough too sticky? Just wet your hands with cold water. Then press the dough mounds flat. This trick prevents a big mess.
If cookies spread too much, your dough was too warm. Chill it for 30 minutes before baking. I remember when my first batch ran together. We ate them as one giant cookie!
Is the filling too runny? Let it cool a bit more before spreading. You can also add a tiny bit more sugar. Getting the texture right builds your kitchen confidence.
It also makes the flavor perfect in every bite. Which of these problems have you run into before?
Your Quick Questions, Answered
Q: Can I make these gluten-free? A: Yes! Use your favorite gluten-free flour blend. The results are just as tasty.
Q: Can I make them ahead? A: Absolutely. Bake the cookies up to two days early. Make the filling fresh on assembly day.
Q: What if I only have chunky peanut butter? A: That’s fine! It adds more crunch. You can skip the chopped peanuts if you want.
Q: Can I halve the recipe? A: You can. Just divide all the ingredients in half. It’s perfect for a smaller batch.
Q: Is the milk necessary? A: It helps the texture. But you can use water or a milk substitute in a pinch. Which tip will you try first?
A Final Word From My Kitchen
I hope you love making these cookies. They always fill my kitchen with happy noise. The smell of peanuts and chocolate is pure joy.
*Fun fact: The peanut butter cookie was invented in the 1910s.* I think sharing recipes is like sharing hugs. It connects us all.
I would love to hear about your baking adventure. Tell me all about it in the comments. Have you tried this recipe? Your stories are my favorite thing to read.
Happy cooking! —Fiona Brooks.
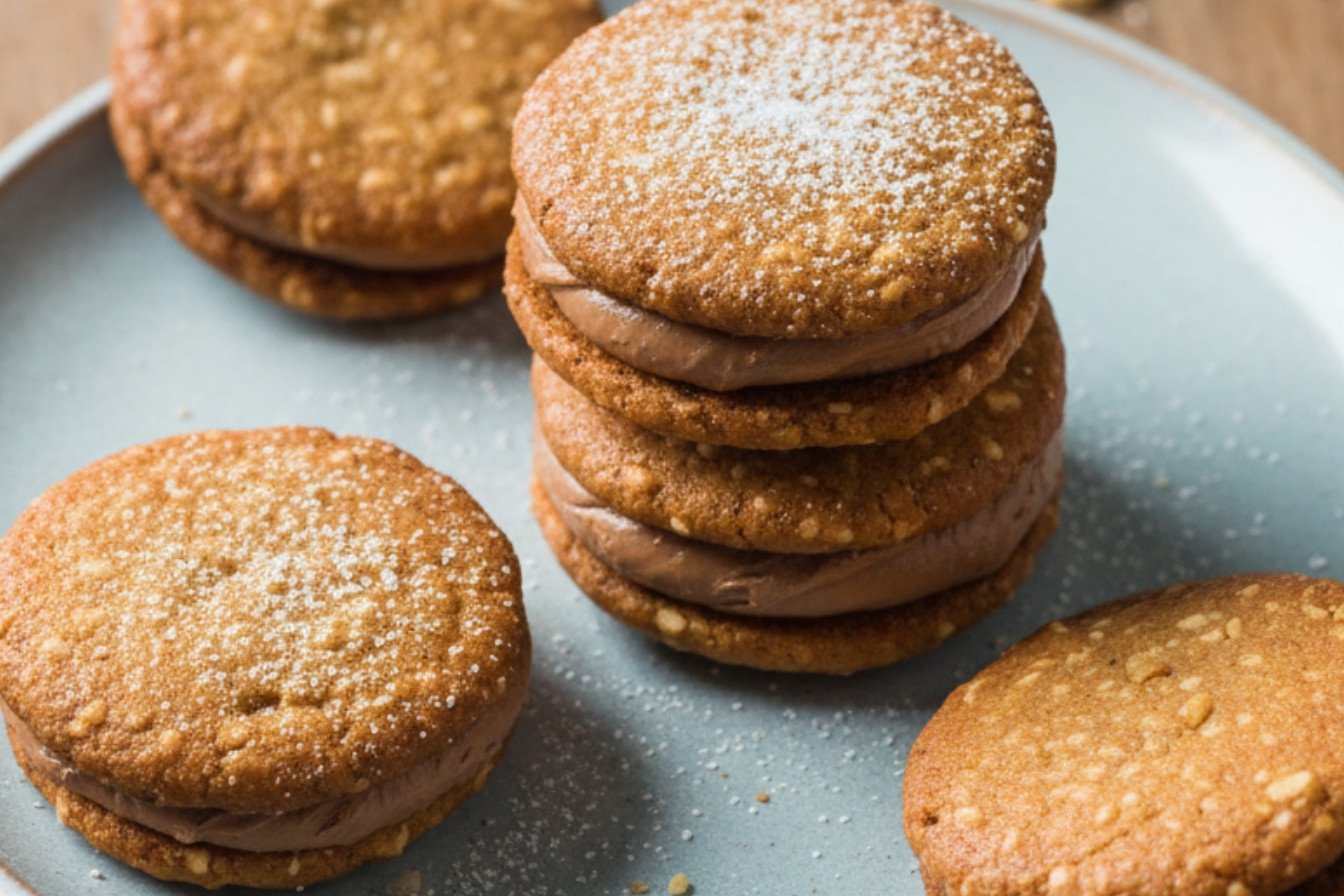
Milk Chocolate Peanut Butter Sandwich Cookies
Description
Rich, nutty cookies filled with a creamy milk chocolate peanut butter ganache for the ultimate sandwich cookie treat.
Ingredients
Cookies:
Filling:
Instructions
- For the Cookies: Preheat your oven to 350°F (175°C) and position two racks in the upper-middle and lower-middle sections. Line two baking sheets with parchment paper.
- Place the raw peanuts in a food processor and pulse several times until they are finely chopped. Toast them in the preheating oven or a dry skillet until fragrant, about 5-10 minutes, then let cool slightly.
- In a medium bowl, whisk together the flour, baking soda, and salt.
- In a separate, larger bowl, whisk the melted butter, peanut butter, both sugars, milk, and egg until smooth.
- Add the dry flour mixture to the wet peanut butter mixture. Use a spatula to stir just until combined. Then, fold in the chopped peanuts.
- Drop 12 portions of dough onto each prepared sheet, spacing them evenly. With a damp hand, gently press each mound into a circle about 2 inches wide.
- Bake for 15 to 18 minutes, swapping the sheets’ positions and rotating them halfway through, until the cookies are a deep golden brown and feel firm. Cool on the sheets for 5 minutes before transferring to a wire rack to cool completely. Repeat with any remaining dough.
- For the Filling: Warm the peanut butter in the microwave until melted, about 40 seconds. Stir in the chopped milk chocolate until it melts completely, microwaving in brief additional bursts if needed. Finally, mix in the confectioners’ sugar until smooth.
- To Assemble: Flip half of the cooled cookies over so their flat bottoms face up. Spoon a tablespoon of the warm filling onto the center of each.
- Top each with a second cookie, right-side up, and press down lightly so the filling reaches the edges. Let the filled cookies sit for about 1 hour to allow the filling to set before serving.
Notes
- For best results, ensure cookies are completely cool before assembling. The filling will firm up as it sets. Store in an airtight container at room temperature for up to 3 days.


Leave a Reply