The Best Kind of Egg
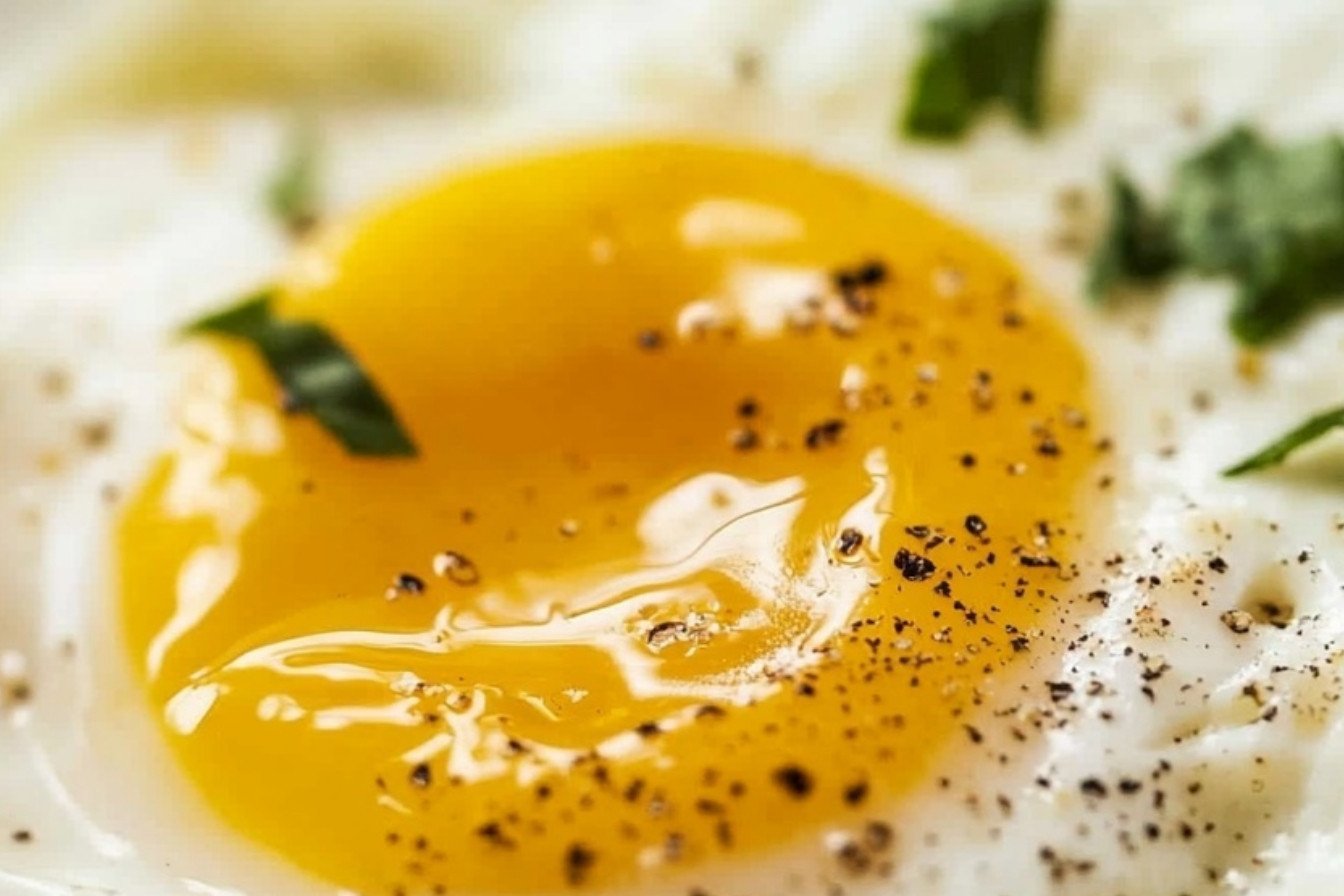
I love a perfectly cooked egg. The white is firm and not runny. The yolk is thick and creamy. It is like a little treasure in your breakfast plate.
My grandson calls them “dippy eggs.” He loves to toast a piece of bread for dipping. I still laugh at the happy look on his face. Doesn’t that sound like a lovely way to start your day?
A Little Secret from My Kitchen
Let me share a small story. I used to cook eggs on high heat. They would sizzle and pop like fireworks. The edges turned brown and rubbery.
Then I learned a better way. Low heat is the secret. It makes the egg cook gently and evenly. This matters because a calm start makes for a tender egg. No tough, chewy bits here!
How to Make Your Perfect Egg
Start with a cool pan. Put in half a tablespoon of butter. Turn the heat to low. Let the butter melt slowly. It should bubble a little, not turn brown.
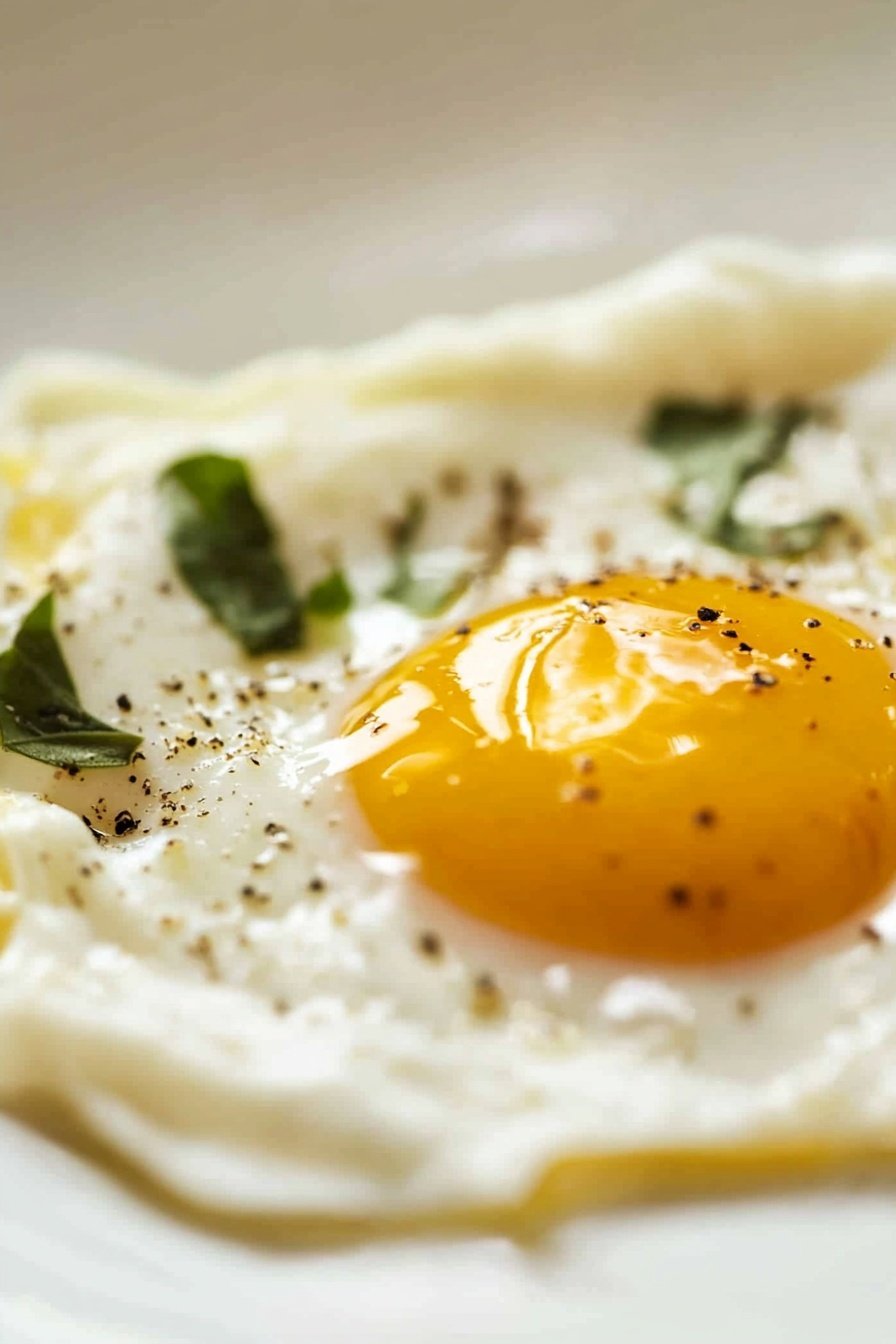
Now, crack your egg right into the pan. Let it cook for about three minutes. You will see the white turn from clear to white. Then, gently flip it over. Cook for one more minute. This gives you that lovely, soft yolk.
The Final Touch
Slide your egg onto a plate. Sprinkle it with a little salt and pepper. This is the most important step. It makes all the flavors wake up.
If you have fresh herbs, add them now. A tiny bit of parsley or thyme is wonderful. It makes your kitchen smell like a garden. What is your favorite herb to use on eggs?
Why This Simple Meal Matters
Cooking a good egg teaches you patience. You learn that slow and steady wins the race. This is a good lesson for cooking and for life.
It also gives you strong protein to start your day. That helps you feel full and happy. Your body thanks you for a good breakfast. Do you feel different when you eat a proper breakfast?
A Fun Egg Fact
Fun fact: A hen takes about 24 to 26 hours to make one egg. Then she starts all over again! Isn’t that amazing?
I think about that when I cook. It makes me appreciate my food more. Each egg is a little miracle from a busy hen.
Your Turn in the Kitchen
Now you know how to make my favorite egg. It seems simple, but it makes a big difference. Try it this weekend.
Tell me, do you like your yolk runny or fully set? I love hearing how other people enjoy their eggs. Share your favorite way to eat them!
Ingredients:
| Ingredient | Amount | Notes |
|---|---|---|
| Butter | 1/2 tablespoon | For melting in the skillet |
| Egg | 1 | |
| Salt and pepper | To taste | |
| Fresh herbs | Optional | Such as parsley or thyme |
My Secret for the Perfect Over-Medium Egg
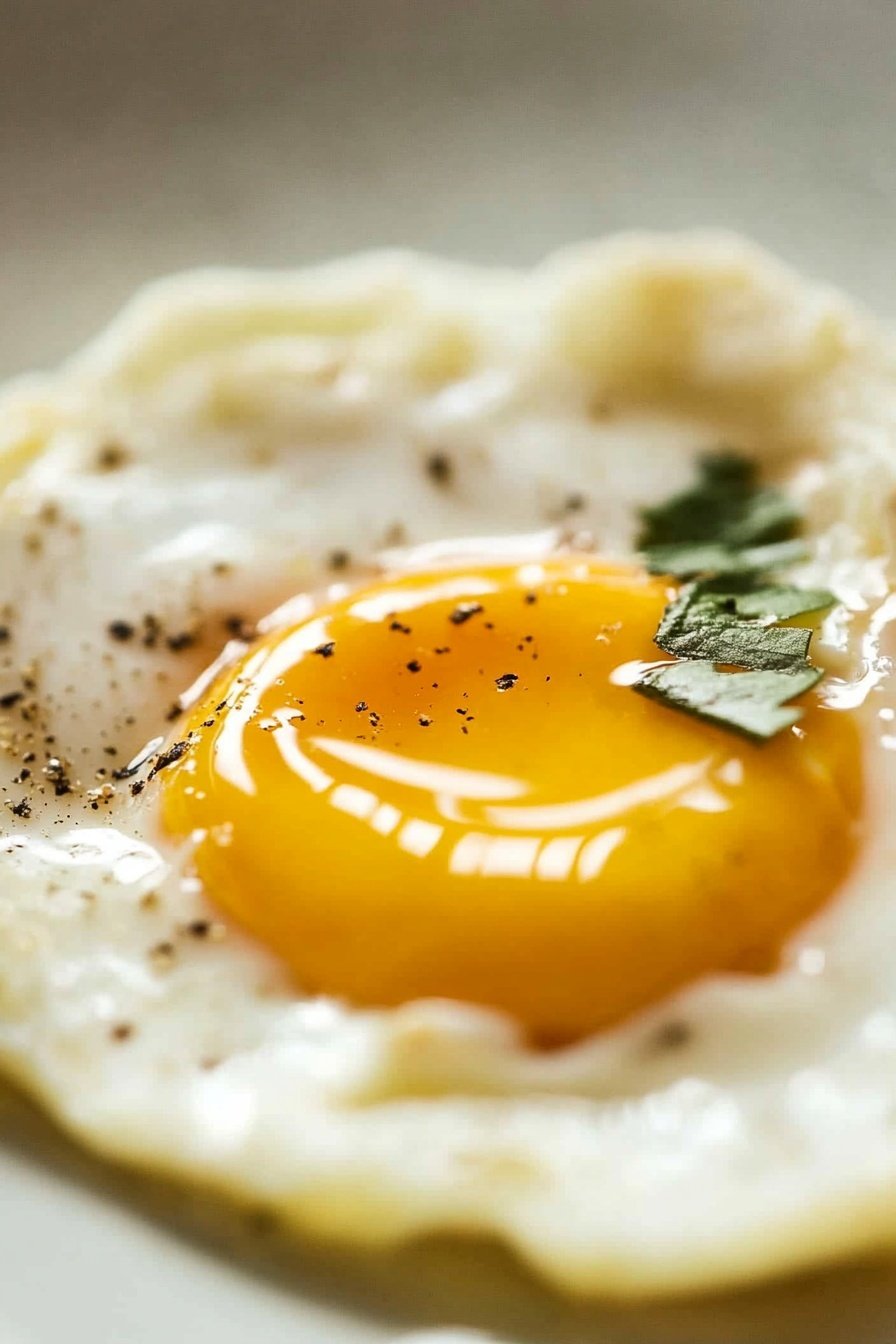
Good morning, sunshine. Let’s make some eggs. I love a good over-medium egg. The white is perfectly set. The yolk is thick and golden. It’s just right for sopping up with toast. My grandson calls them “dippy but not messy” eggs. I still laugh at that.
Here is my simple way to make them. It just takes a little patience. You will need a good non-stick skillet. And a happy heart. Doesn’t that smell amazing? Let’s get started.
Step 1: Put your skillet on the stove. Turn the heat to low. Let the pan get gently warm. Now, add that half tablespoon of butter. Watch it slowly melt and swirl. This low heat is the real secret. It keeps the egg tender.
Step 2: Carefully crack your egg into a small cup first. This saves you from any stray shell. Then, slide it right into the buttery pan. Listen to that soft sizzle. Let it cook for about 3 minutes. You will see the white turn from clear to white.
Step 3: Now for the flip. Slide your spatula right under the egg. Be brave and turn it over in one smooth motion. (My hard-learned tip: A confident flip makes a prettier egg!). Let it cook for just one more minute on the other side. This sets the yolk just enough.
Step 4: Slide your beautiful egg onto a plate. Now, sprinkle it with a little salt and pepper. Fresh chopped herbs are lovely too. I think thyme makes it taste like a fancy breakfast. What’s your favorite herb on eggs? Share below!
Cook Time: 4–5 minutes
Total Time: 5 minutes
Yield: 1 serving
Category: Breakfast, Basics
Three Fun Twists to Shake Things Up
Once you master the basic egg, you can play. I love adding little changes. It keeps my breakfasts exciting. Here are three of my favorite simple twists. They are all so tasty.
The Cheesy Sprinkle: Right after you flip the egg, add a pinch of shredded cheddar. It gets all melty and wonderful.
The Everything Bagel: Swap the salt for a sprinkle of everything bagel seasoning. It adds such a nice crunch and flavor.
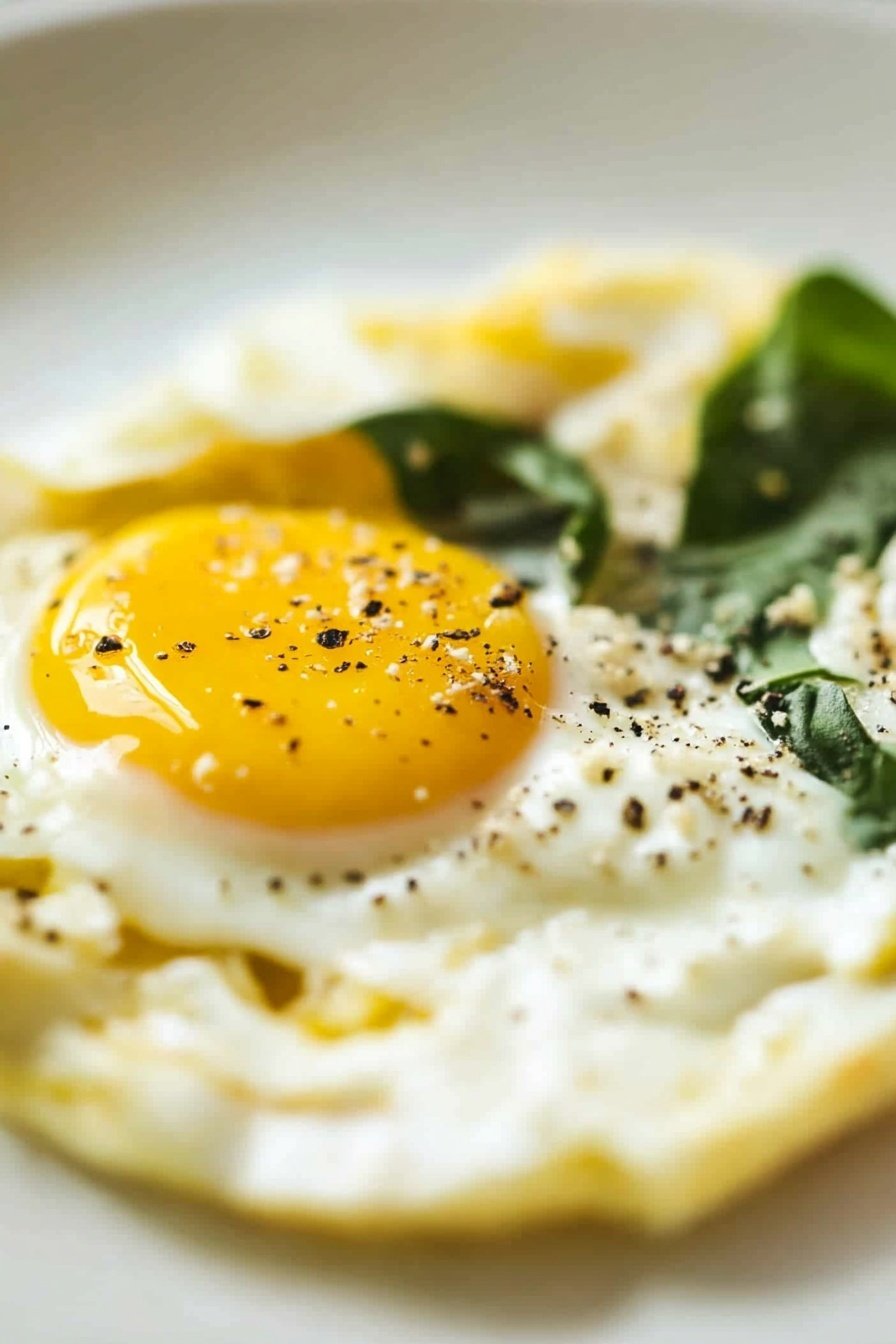
The Garden Fresh: Top your finished egg with thin slices of avocado and a tiny drip of hot sauce. So fresh and yummy.
Which one would you try first? Comment below!
How to Serve Your Perfect Eggs
An egg like this deserves good friends on the plate. My favorite is a slice of buttery sourdough toast. You can dip each bite right into that golden center. A few crispy bacon strips are a classic too. Or some simple sliced tomatoes for a fresh touch.
For a drink, a tall glass of orange juice is always a winner. The sweet and tangy taste is perfect. If it’s the weekend, a nice cup of tea with milk feels so cozy. Which would you choose tonight?
Storing Your Perfect Eggs
Let’s talk about keeping your eggs for later. You can store them in the fridge for two days. Just pop them in a small container with a lid.
I do not recommend freezing these eggs. The texture becomes very rubbery. It is just not the same tasty treat.
To reheat, warm them gently in a pan. Use low heat so they do not get tough. I learned this the hard way with a very rubbery egg!
Batch cooking saves you time on busy mornings. It means a good breakfast is always ready. This small step makes your whole day feel easier. Have you ever tried storing it this way? Share below!
Fixing Common Egg Mistakes
Is your egg sticking to the pan? Your heat might be too high. Always use a low heat with butter.
Does your yolk break when you flip it? Be gentle and use a thin spatula. I remember when I used a fork and made a mess!
Is the white still runny? Let it cook a bit longer before flipping. A set white means your egg is cooked safely.
Fixing these small issues builds your cooking confidence. You will feel like a real pro in the kitchen. It also makes your food taste so much better. Which of these problems have you run into before?
Your Egg Questions Answered
Q: Is this recipe gluten-free? A: Yes, eggs are naturally gluten-free. Just check your herb labels to be sure.
Q: Can I make these ahead? A: You can! Cook them and store them in the fridge. Reheat gently in a pan.
Q: Can I use oil instead of butter? A: Yes, a little olive oil works just fine. The taste will be a little different.
Q: Can I cook more than one egg? A: Of course! Just use a bigger pan. Give each egg some space to cook.
Q: Are the herbs important? A: They are optional but very nice. A little parsley makes it feel special. Fun fact: Thyme was my mother’s favorite herb for eggs.
Which tip will you try first?
Happy Cooking From My Kitchen to Yours
I hope you love making these perfect eggs. It is a simple joy to start the day.
I would love to see your creation. Sharing food pictures is like sharing a smile. It makes me so happy to see you cook.
Have you tried this recipe? Tag us on Pinterest! I can’t wait to see your beautiful breakfast plates. Happy cooking!
—Fiona Brooks.

Perfect Over Medium Eggs Guide
Description
Begin by gently melting half a tablespoon of butter in a skillet over a low heat. Once the butter is melted, carefully crack the egg into the pan. Allow it to cook for approximately 2 to 3 minutes, until the egg white is nearly set. Then, flip the egg and continue to cook for another minute or two, until the yolk is mostly set but remains slightly soft and gel-like. Finish by seasoning with salt, pepper, and optional fresh herbs such as parsley or thyme.
Ingredients
Instructions
- Begin by gently melting half a tablespoon of butter in a skillet over a low heat.
- Once the butter is melted, carefully crack the egg into the pan. Allow it to cook for approximately 2 to 3 minutes, until the egg white is nearly set.
- Then, flip the egg and continue to cook for another minute or two, until the yolk is mostly set but remains slightly soft and gel-like.
- Finish by seasoning with salt, pepper, and optional fresh herbs such as parsley or thyme.
Notes
- For best results, use a non-stick skillet and ensure the heat is kept low to prevent the butter from burning.


Leave a Reply