My First Turkey Fiasco
I want to tell you about my first turkey. I was so nervous. I forgot to take the bag of giblets out of the inside. Can you believe it? I roasted that turkey with the bag still in there. I still laugh at that.
We all make mistakes in the kitchen. That is how we learn. This recipe helps you avoid my silly one. Always check inside the bird. It matters because starting right means a happy ending.
The Secret is Dry Skin
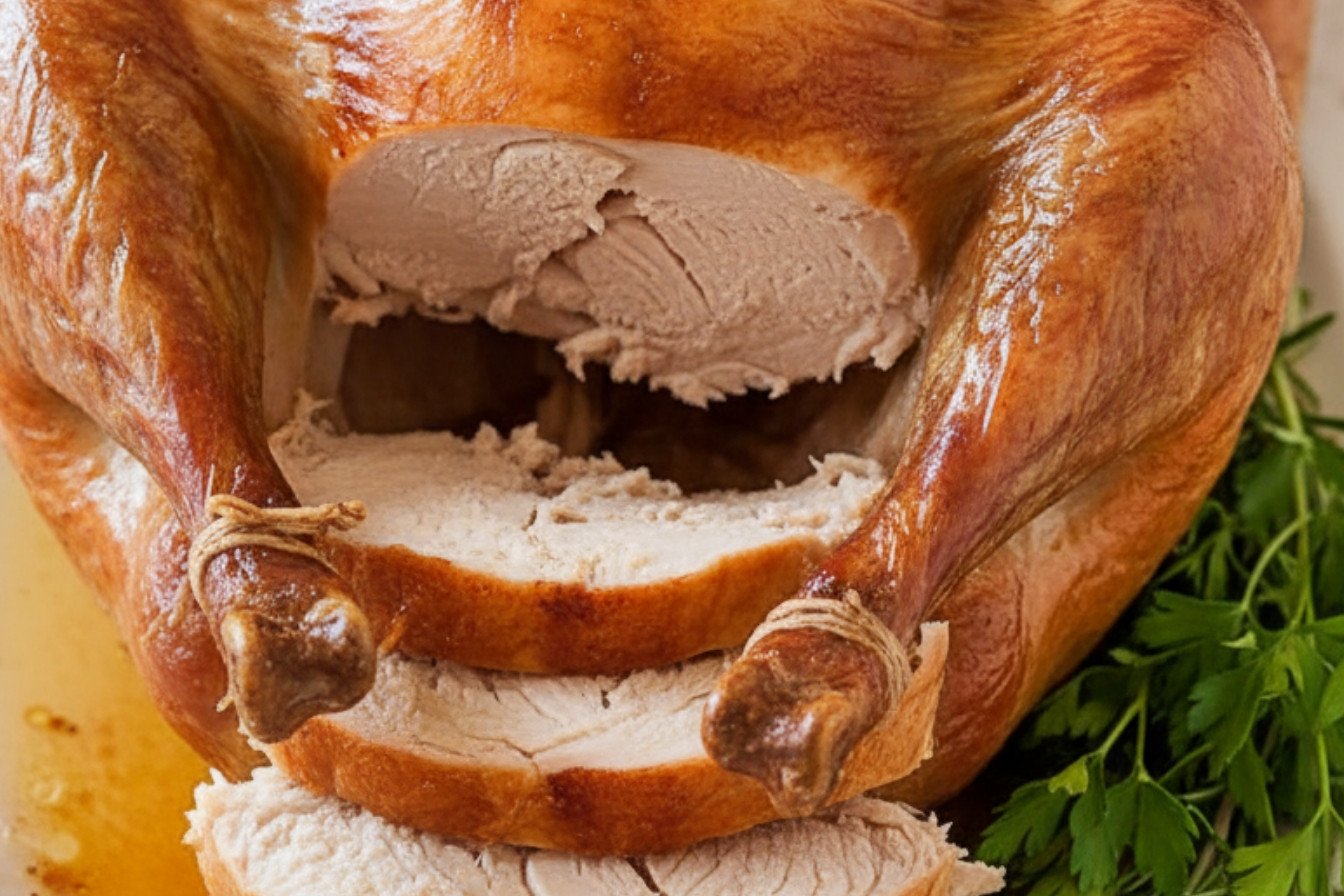
Here is the big secret. Dry the turkey skin very well with paper towels. This is the most important step. Why? Wet skin steams. Dry skin gets crispy and golden.
Pat it like you are drying a baby. Be gentle but thorough. Doesn’t that make sense? A dry start makes the best skin. Tell me, do you love the crispy skin or the juicy meat more?
Butter, Salt, and a Funny Start
Melt your butter. Brush it all over the bird. Use your hands if you want. Then add lots of salt and pepper. Simple is best. Now, put the turkey in the pan breast-side DOWN.
This seems backwards, right? I thought so too. But it protects the white breast meat. It keeps it from drying out. *Fun fact: This method is sometimes called “butterflying” a turkey, but we are just flipping it!*
The Big Flip
After one hour, you take the turkey out. Be careful, it is hot. This is the fun part. You have to flip it over. Use big towels or oven mitts.
Get a helper if you can. My grandson helps me now. We laugh every time. Flipping it lets the breast get golden. What is your favorite kitchen job to do with a helper?
Why We Walk Away
The turkey is done. You will want to cut it right away. Do not do it. You must let it rest for 30 minutes. Just leave it on the counter.
This matters so much. The juices need to settle back into the meat. If you cut it now, all the good juice runs out. Waiting is hard but worth it. The smell will be amazing. Trust your grandma on this one.
Ingredients:
| Ingredient | Amount | Notes |
|---|---|---|
| Turkey | 1 (12- to 22-pound) | Fully thawed, brined if desired |
| Unsalted butter | 4 tablespoons | Melted |
| Salt and pepper | To taste | For generous seasoning |

My No-Fuss, Perfect Roasted Turkey
Hello, dear. Pull up a chair. Let’s talk turkey. I used to get so nervous roasting the big bird. Now I have a simple trick. I start it upside down. It keeps the breast meat wonderfully juicy. My grandson calls it “Grandma’s magic.” I still laugh at that. The secret is just a little butter and patience. Doesn’t that smell amazing? Let’s make a memory together.
Instructions
Step 1: First, get your oven ready. Move the rack to the very bottom spot. Heat your oven to 400 degrees. For a really big turkey, use 425. Take the little bag of parts out of the bird. We’ll use those for gravy later. Dry the turkey skin completely with paper towels. Tuck the legs and wings under the body. (A dry skin makes it crispy, not steamy!)
Step 2: Now, let’s get it ready for the oven. Use a rack in your pan and cover it with foil. Poke a few holes in the foil. Brush half your melted butter all over the breast and legs. Sprinkle lots of salt and pepper. Place the turkey breast-side down on the rack. Brush the back with the rest of the butter. Roast it just like this for one full hour.
Step 3: Time for the magic flip. Carefully take the pan out. Pour any juices inside the turkey into the pan. Use good towels to turn the bird over. Now the breast faces up. Put it back in the oven. Roast until a thermometer says 160 in the breast. What’s the best tool for checking if meat is done? A thermometer or a fork? Share below!
Step 4: The most important step is next. Do not carve it yet. Let the turkey rest on a board for 30 minutes. I know it’s hard to wait. This lets the juices settle back in. (Skipping this rest makes dry turkey, trust me!) Covering it will make the skin soggy. So just let it be. Then you can carve your beautiful, juicy bird.
Creative Twists
Herb Butter: Mix chopped sage and rosemary into your melted butter before brushing.
Citrus Zest: Add the zest of an orange to your salt and pepper rub. It smells like sunshine.
Garlic Honey: Whisk a spoonful of honey and a minced garlic clove into your butter.
Which one would you try first? Comment below!
Serving & Pairing Ideas
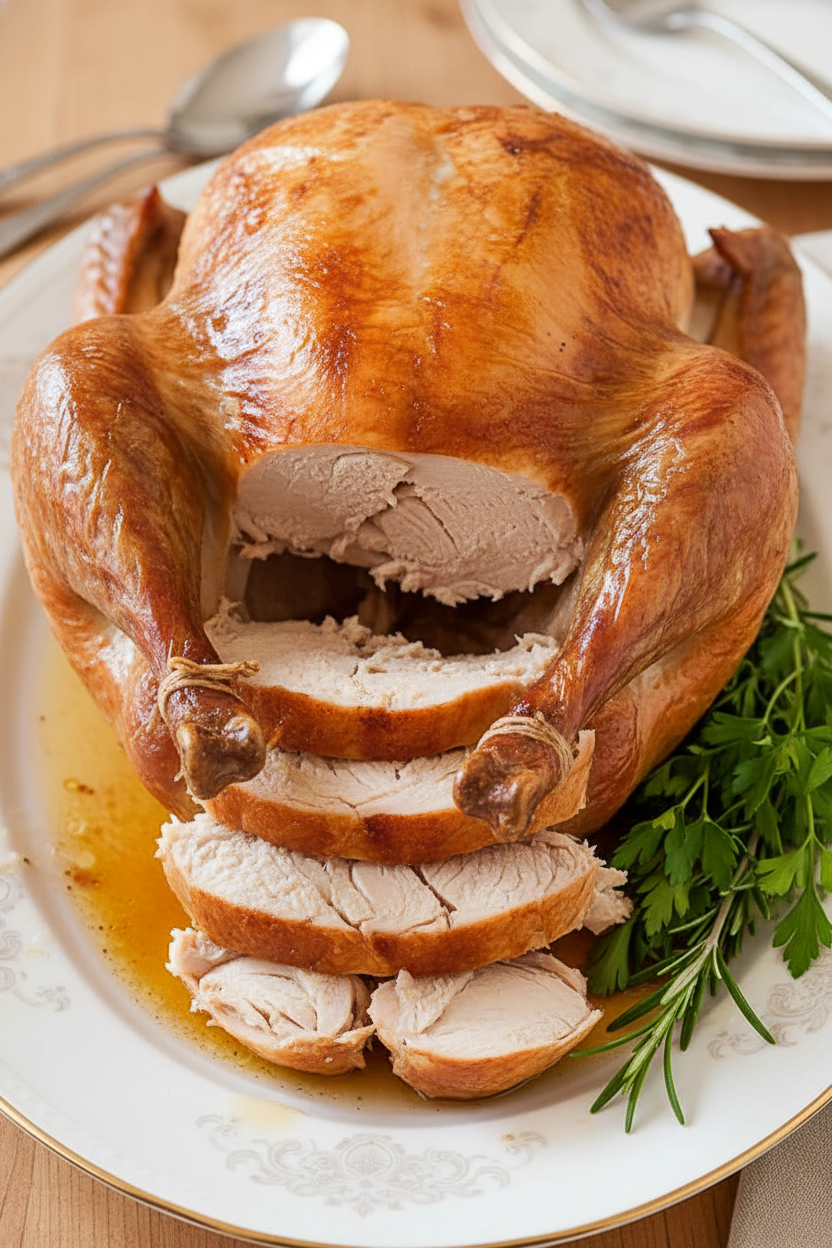
I love serving this on a big platter. Scatter fresh herbs like rosemary all around it. A bowl of simple mashed potatoes is a must. So is cranberry sauce. For a drink, a crisp apple cider is lovely. For the grown-ups, a glass of chilled Chardonnay pairs nicely. It’s a happy, simple feast. Which would you choose tonight?
Keeping Your Turkey Tasty Later
Let’s talk about leftovers. They are the best part. First, let the turkey cool completely. Then, take the meat off the bones. Store it in a sealed container in the fridge. It will stay good for three to four days.
You can freeze it for longer. I pack the meat in freezer bags. I squeeze out all the air. It keeps for two to three months. Thaw it in the fridge overnight. My first time, I froze the whole carcass. That was a silly mistake. It took forever to thaw.
Reheat slices in a pan with a little broth. This keeps them moist. You can also use leftovers in soups or sandwiches. Batch cooking this bird saves you time. It means easy meals for days. This matters because a good cook plans for rest, too. Have you ever tried storing it this way? Share below!
Simple Fixes for Common Turkey Troubles
Even grandmas have turkey troubles sometimes. Here are three common ones. First, dry breast meat. The fix is simple. Start roasting the turkey breast-side down. This lets the juices flow into the white meat. I remember when I learned this trick. It changed my Thanksgiving forever.
Second, skin that isn’t crispy. The key is a very dry bird. Pat the skin thoroughly with paper towels. Then rub it with butter. This matters because crispy skin is pure joy. It makes the whole meal feel special.
Third, uneven cooking. Use a meat thermometer. Do not just guess. Check the breast and the thigh. This gives you confidence. You know your food is safe and perfect. Which of these problems have you run into before?
Your Quick Questions, Answered
Q: Is this recipe gluten-free? A: Yes, it is. Just use butter, salt, and pepper. Check your turkey label to be sure.
Q: Can I make any parts ahead? A: You can melt the butter early. You can also set up your pan. Dry the turkey just before roasting.
Q: What if I don’t have a V-rack? A: Use chopped onions, carrots, and celery. Make a bed of them in the pan. Place the turkey on top.
Q: Can I roast a smaller turkey? A: Absolutely. A smaller bird will cook faster. Just keep checking the thermometer.
Q: Any optional tips? A: Try adding herbs under the skin. Thyme or sage are lovely. *Fun fact: Letting the turkey rest for 30 minutes makes it juicier.* Which tip will you try first?
From My Kitchen to Yours
I hope you feel ready to roast your turkey. Remember, cooking is about sharing love. Do not worry about being perfect. The most important ingredient is you at the table.
I would love to hear about your cooking adventure. Tell me about your family’s favorite side dish. Have you tried this recipe? Please leave a comment below and tell me all about it.
Happy cooking!
—Fiona Brooks.
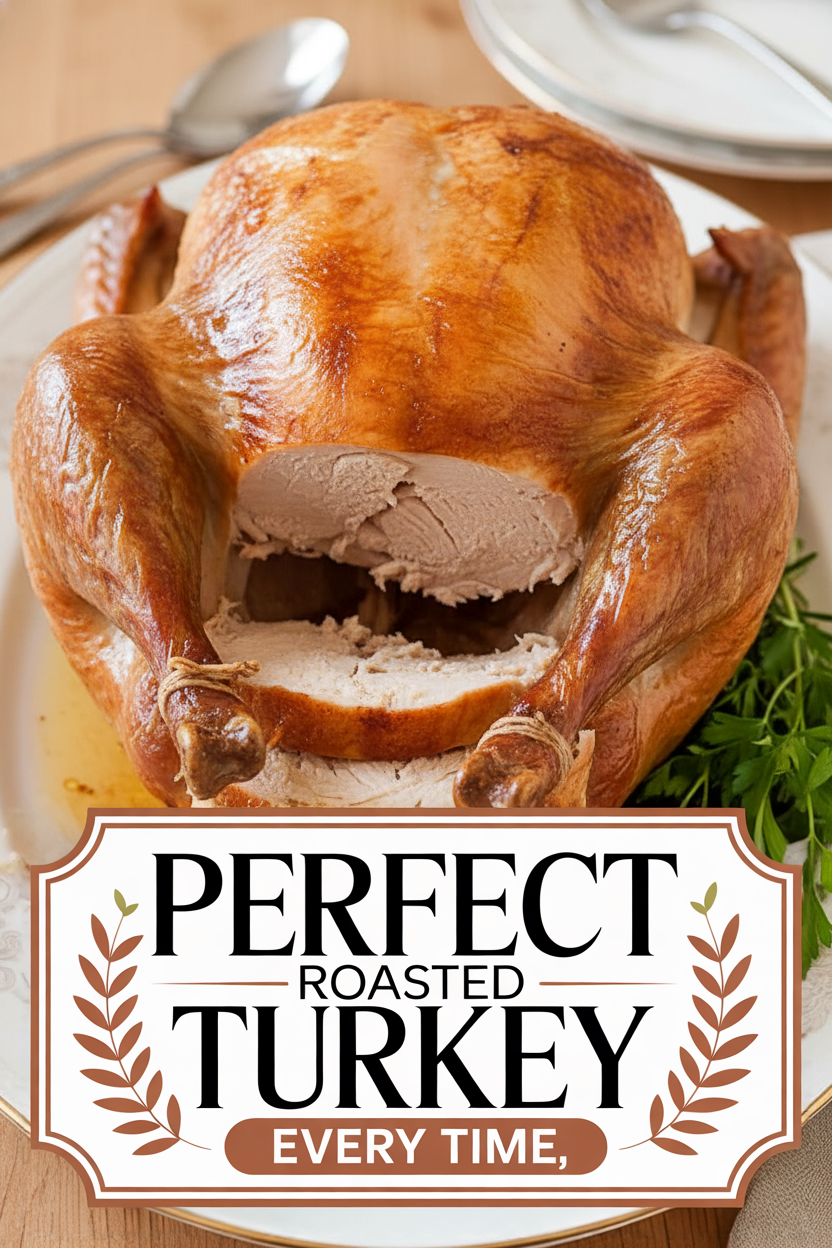
Perfect Roasted Turkey Every Time
Description
Achieve a perfectly roasted turkey with crispy skin and juicy meat every time with this simple, reliable method.
Ingredients
Instructions
- Set your oven rack to the lowest position and preheat the oven to 400°F. For a larger turkey (18-22 pounds), preheat to 425°F. Take the neck and giblets from inside the turkey and set them aside for making gravy later. Use paper towels to thoroughly dry the turkey skin. Secure the legs by tucking them into the skin flap near the tail, or tie them together with kitchen twine. Tuck the wings underneath the body.
- Take a V-rack and line it with aluminum foil, piercing the foil in several spots. Place the rack inside a large roasting pan and lightly coat the foil with cooking spray. Using half of the melted butter, coat the breast and legs of the turkey, then season generously with salt and pepper. Position the turkey breast-side down on the rack. Brush the remaining butter over the back of the turkey and season with more salt and pepper. Place in the oven and roast for one hour.
- After one hour, carefully remove the turkey from the oven. (For an 18-22 pound turkey, lower the oven temperature to 325°F at this point and skip the flipping step.) Pour any juices that have collected inside the cavity into the roasting pan. Using pot holders or towels, carefully turn the turkey over so it is breast-side up. Return it to the oven and continue roasting. The turkey is done when a meat thermometer reads 160°F in the breast and 175°F in the thigh. This will take approximately 1 to 1½ more hours (or 2 to 2½ more hours for an 18-22 pound turkey). Once cooked, move the turkey to a carving board and let it rest, uncovered, for 30 minutes before carving and serving.
Notes
- Nutrition information is an estimate per 4 oz serving of roasted turkey meat without skin.


Leave a Reply