
The Magic of Turning a Cake Upside Down
I love the surprise of this cake. You put all the pretty fruit on the bottom. Then you cover it with plain batter.
After it bakes, you flip the whole thing over. The top becomes a sticky, shiny, fruit jewel. It feels like a little kitchen trick. I still laugh at that.
A Story from My First Kitchen
The first time I made this, I was so nervous. I was sure the cake would stick to the pan. I waited for it to cool, like my own grandma taught me.
I held my breath and flipped it. It slid out perfectly. The pineapple rings looked like a sunny flower. Why does this matter? Because trusting the process is a good lesson, in baking and in life.
Why We Brown the Butter
Let’s talk about that first step. You cook the butter until it turns a golden color. It will smell warm and a little nutty.
Doesn’t that smell amazing? This one small step makes the topping extra special. It adds a deep, rich flavor that plain butter just can’t match. *Fun fact*: This cake became super popular in the 1920s because of a clever marketing stunt for canned pineapple!
The Secret to a Soft Cake
The sour cream and pineapple juice are our secret helpers. They make the cake so tender and moist. It feels light in your mouth.
Be gentle when you mix the batter. Just stir until you see no more dry flour. A gentle hand makes a soft cake. That is a good rule to remember.
Making It Your Own
This recipe is a wonderful starting point. But you can make it your own. What fruit would you try? Maybe peach slices or rings of apple?
I think sharing food we make is so important. It connects us. Have you ever baked a cake for someone just to make them smile? Tell me about it if you have.
The Best Part is Sharing
Let the cake cool before you flip it. I know, the wait is hard. But it is worth it for that perfect flip.
A scoop of vanilla ice cream on a warm slice is heaven. The cold and warm mix together. Do you like yours with ice cream or just plain? However you eat it, share it with someone you love. That is the real secret ingredient.
Ingredients:
<
My Sunny Pineapple Upside-Down Cake
This cake always makes me smile. It looks like a happy, sunny flower when you flip it over. My grandkids call it my “magic trick” cake. I love the smell of brown sugar and pineapple filling the kitchen. Doesn’t that smell amazing?
Let’s start with the fun part, the topping. This is what everyone will see first. We want it to be just perfect. The secret is in the brown butter. It makes everything taste so rich and cozy.
Step 1: Let’s brown the butter. Put the butter in a small pan over medium heat. Stir it often until it foams and smells nutty. It will turn a lovely golden color. Quickly pour it into your pie plate. (My hard-learned tip: don’t walk away from browning butter! It can burn in a blink.)
Step 2: Mix a little cinnamon into your brown sugar. Sprinkle this all over the warm butter. It will look like a sandy beach. The warmth helps the sugar melt just right.
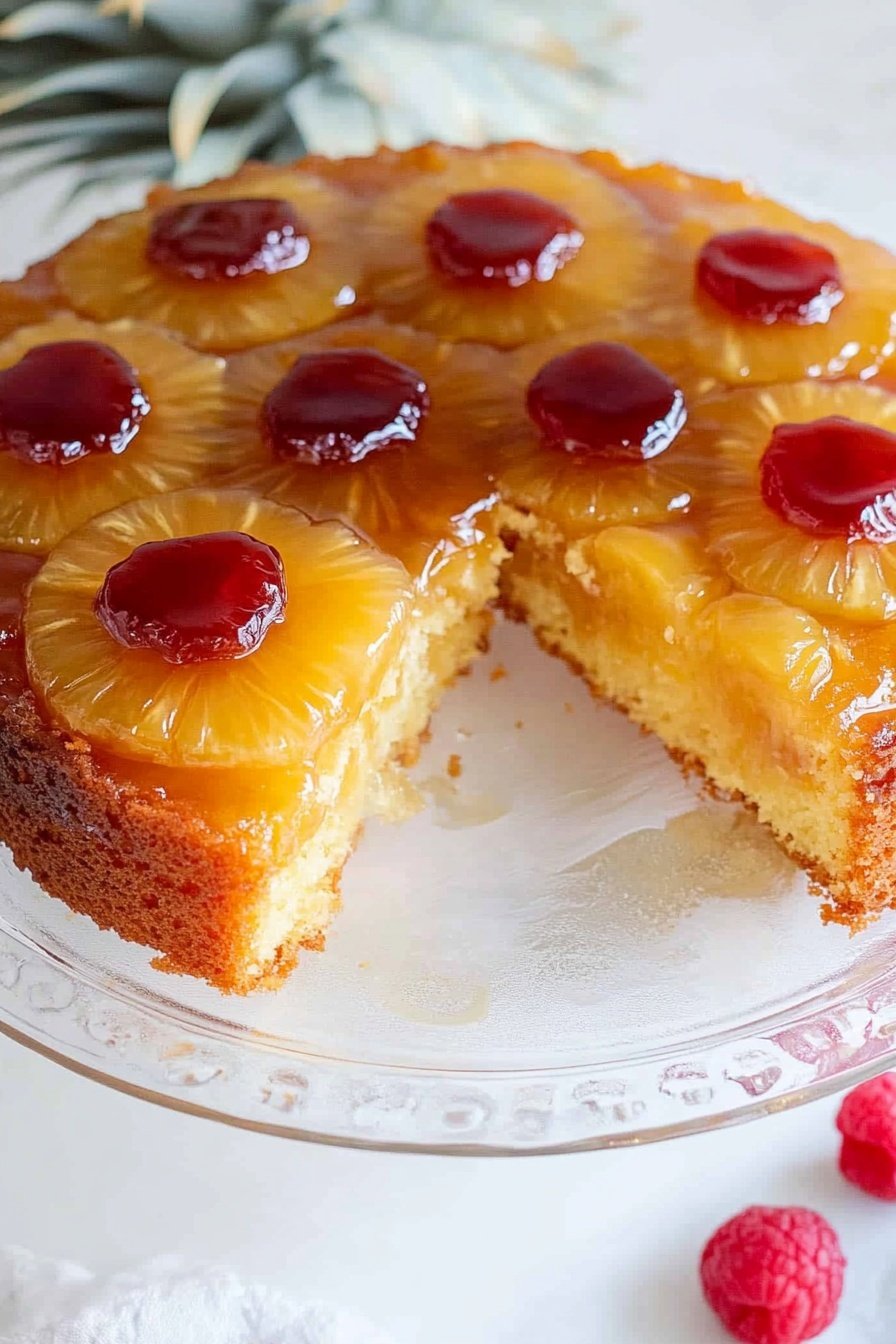
Step 3: Now for the pineapples! Drain them, but save that juice. We’ll need it later. Pat the rings dry with a paper towel. This is important for a pretty cake. Lay the slices in the pan, one in the middle and six around it.
Step 4: Tuck the bright red cherries into the centers. I still laugh at how my grandson always tries to sneak a cherry. Fill any empty spots with them, too. It makes such a cheerful pattern.
Step 5: Pop the whole pan into the refrigerator. This helps the topping set. It keeps the fruit from floating up when we add the batter. Now, let’s make the cake part!
Step 6: Heat your oven to 350°F. In one bowl, whisk your flour, baking powder, and salt. In a bigger bowl, mix the melted butter, sugar, and eggs. It should look nice and smooth.
Step 7: Now, stir in the vanilla, sour cream, and that saved pineapple juice. The sour cream makes the cake so tender. Gently mix in the dry ingredients. Just mix until you don’t see any more flour.
Step 8: Take your chilled pan from the fridge. Pour the batter right over the pretty fruit design. Spread it evenly. Now, the hardest part begins. We have to wait while it bakes!
Step 9: Bake for about 45 minutes. Your kitchen will smell wonderful. The cake is done when a toothpick poked in the center comes out clean. Let it cool in the pan. This takes about half an hour. Why do we let it cool before flipping? Share below!
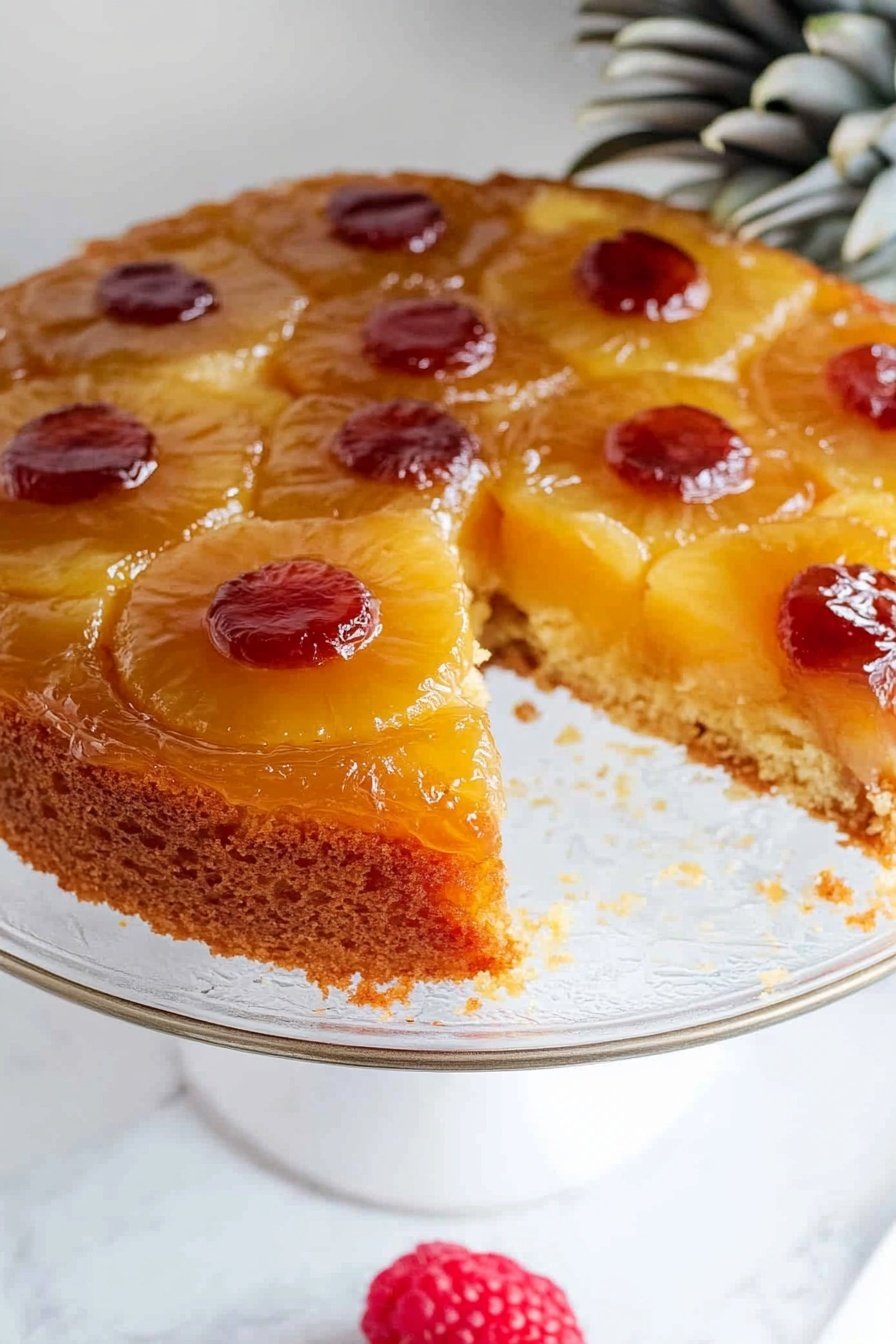
Step 10: Here comes the magic! Place a plate over the pan. Carefully flip it over. Lift the pan slowly. You’ll see your beautiful, sunny cake. I always hold my breath for a second. It’s a lovely surprise every single time.
Cook Time: 45 minutes
Total Time: 1 hour 30 minutes
Yield: 8 servings
Category: Dessert, Cake
Three Fun Twists to Try
This recipe is like a good friend. It’s happy to change things up. You can make it feel new with just a small switch. Here are a few of my favorite ideas for a different treat.
Tropical Coconut Dream. Use coconut milk instead of pineapple juice in the batter. Sprinkle shredded coconut over the warm cake after you flip it. It tastes like a vacation.
Gingery Spice Surprise. Add a teaspoon of grated fresh ginger to the brown sugar topping. It gives the cake a lovely, warm little kick. It’s so cozy on a cool day.
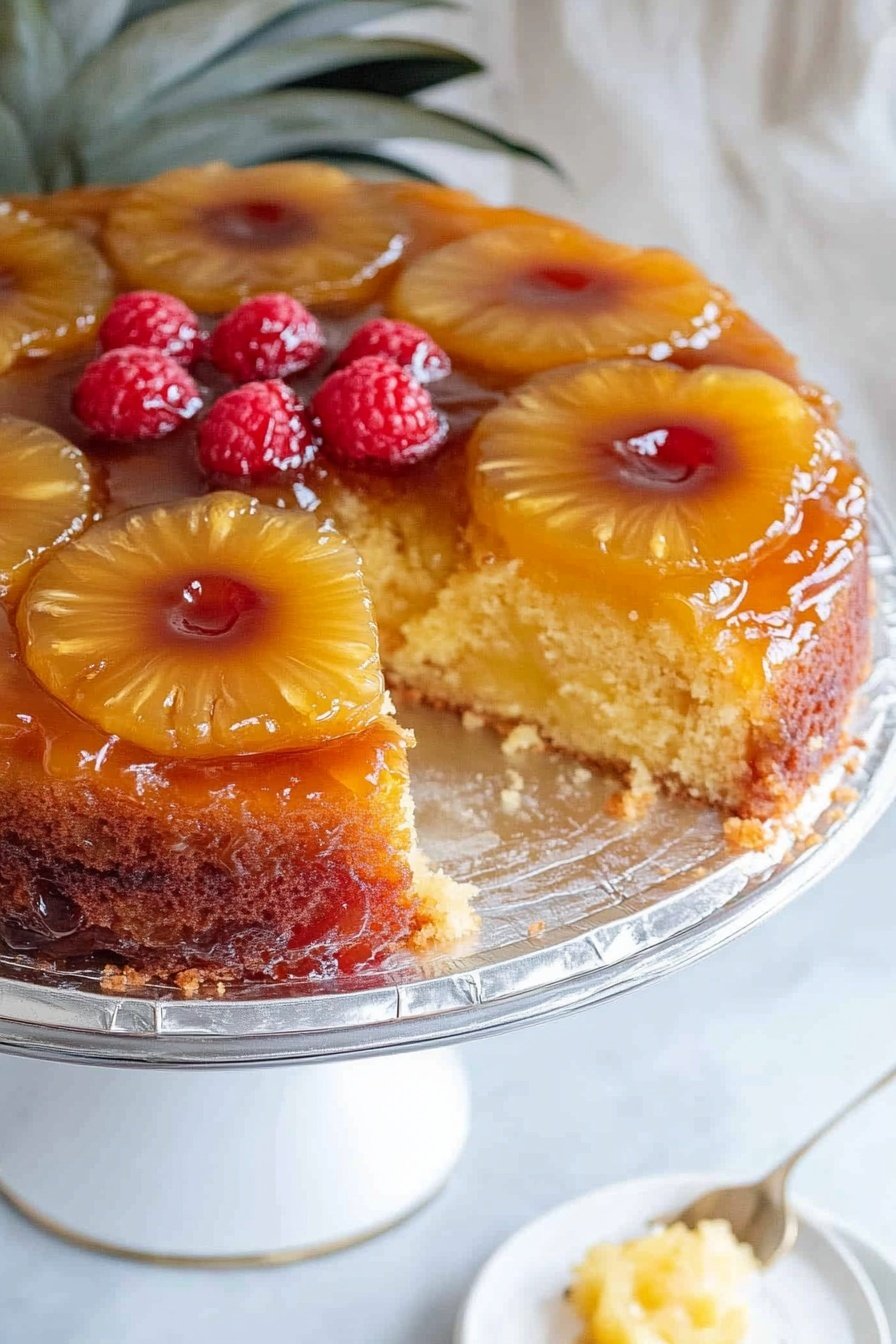
Berry Beautiful Medley. Replace the cherries with fresh raspberries or blueberries. Their color bleeds a little, creating a gorgeous, jewel-toned topping. It’s just so pretty.
Which one would you try first? Comment below!
Serving Your Masterpiece
A warm slice of this cake is a joy all by itself. But I think every treat is better with a friend. A little extra something on the side makes it feel special. It turns dessert into a tiny celebration.
For serving, a dollop of freshly whipped cream is heavenly. A scoop of vanilla ice cream is also classic. The cold creaminess with the warm cake is perfect. You could also add a few extra cherries on the plate for color.
What to drink? A cup of strong coffee is my go-to. The bitterness balances the sweet cake. For a non-alcoholic option, a tall glass of cold milk is always a winner. Or a fizzy ginger ale for a fun twist. Which would you choose tonight?
Keeping Your Cake Cozy
This cake is best eaten the day you make it. But leftovers are a wonderful treat. Just cover the plate with plastic wrap. Keep it on the counter for two days.
You can freeze slices for a happy surprise later. Wrap each piece tightly in plastic. Then put them in a freezer bag. They will keep for three months.
I once sent a frozen slice to my grandson at college. He said it made his whole week. Thaw it on the counter when you are ready. A quick warm-up in the microwave makes it taste fresh.
Batch cooking means you always have a sweet treat ready. This is so helpful on busy days. It is a little gift for your future self. Have you ever tried storing it this way? Share below!
Simple Fixes for a Perfect Cake
Sometimes the fruit sticks to the pan. This can be sad. To prevent this, let the cake cool for the full time. I remember when I was too eager once. My topping was a mess.
If your cake is soggy, you might not have dried the pineapple. Pat those rings well with a paper towel. This small step makes a big difference. It keeps the cake from getting wet.
A dense cake often comes from overmixing the batter. Just mix until you see no more flour. This matters because gentle mixing keeps the cake light. A perfect cake makes you feel like a kitchen star. Which of these problems have you run into before?
Your Pineapple Cake Questions
Q: Can I make this gluten-free?
A: Yes! Use a gluten-free flour blend made for baking.
Q: Can I make it ahead?
A: You can prepare the topping in the pan a few hours early.
Q: What if I don’t have sour cream?
A: Plain yogurt is a great substitute. It works just the same.
Q: Can I make a smaller cake?
A: Absolutely. Just cut all the ingredients in half. Use a smaller pan.
Q: Is the ice cream necessary?
A: No, but it is a lovely treat. A dollop of whipped cream is nice too. Which tip will you try first?
Until Next Time, Happy Baking!
I hope you love making this sunny cake. It always brings a smile to my table. I would be so delighted to see your creation. Sharing food is one of life’s greatest joys.
Fun fact: Pineapple Upside Down Cake became popular in the 1920s after canned pineapple was invented.
Please share a picture of your beautiful cake. Have you tried this recipe? Tag us on Pinterest! I love seeing your kitchen adventures. Happy cooking!
—Fiona Brooks.
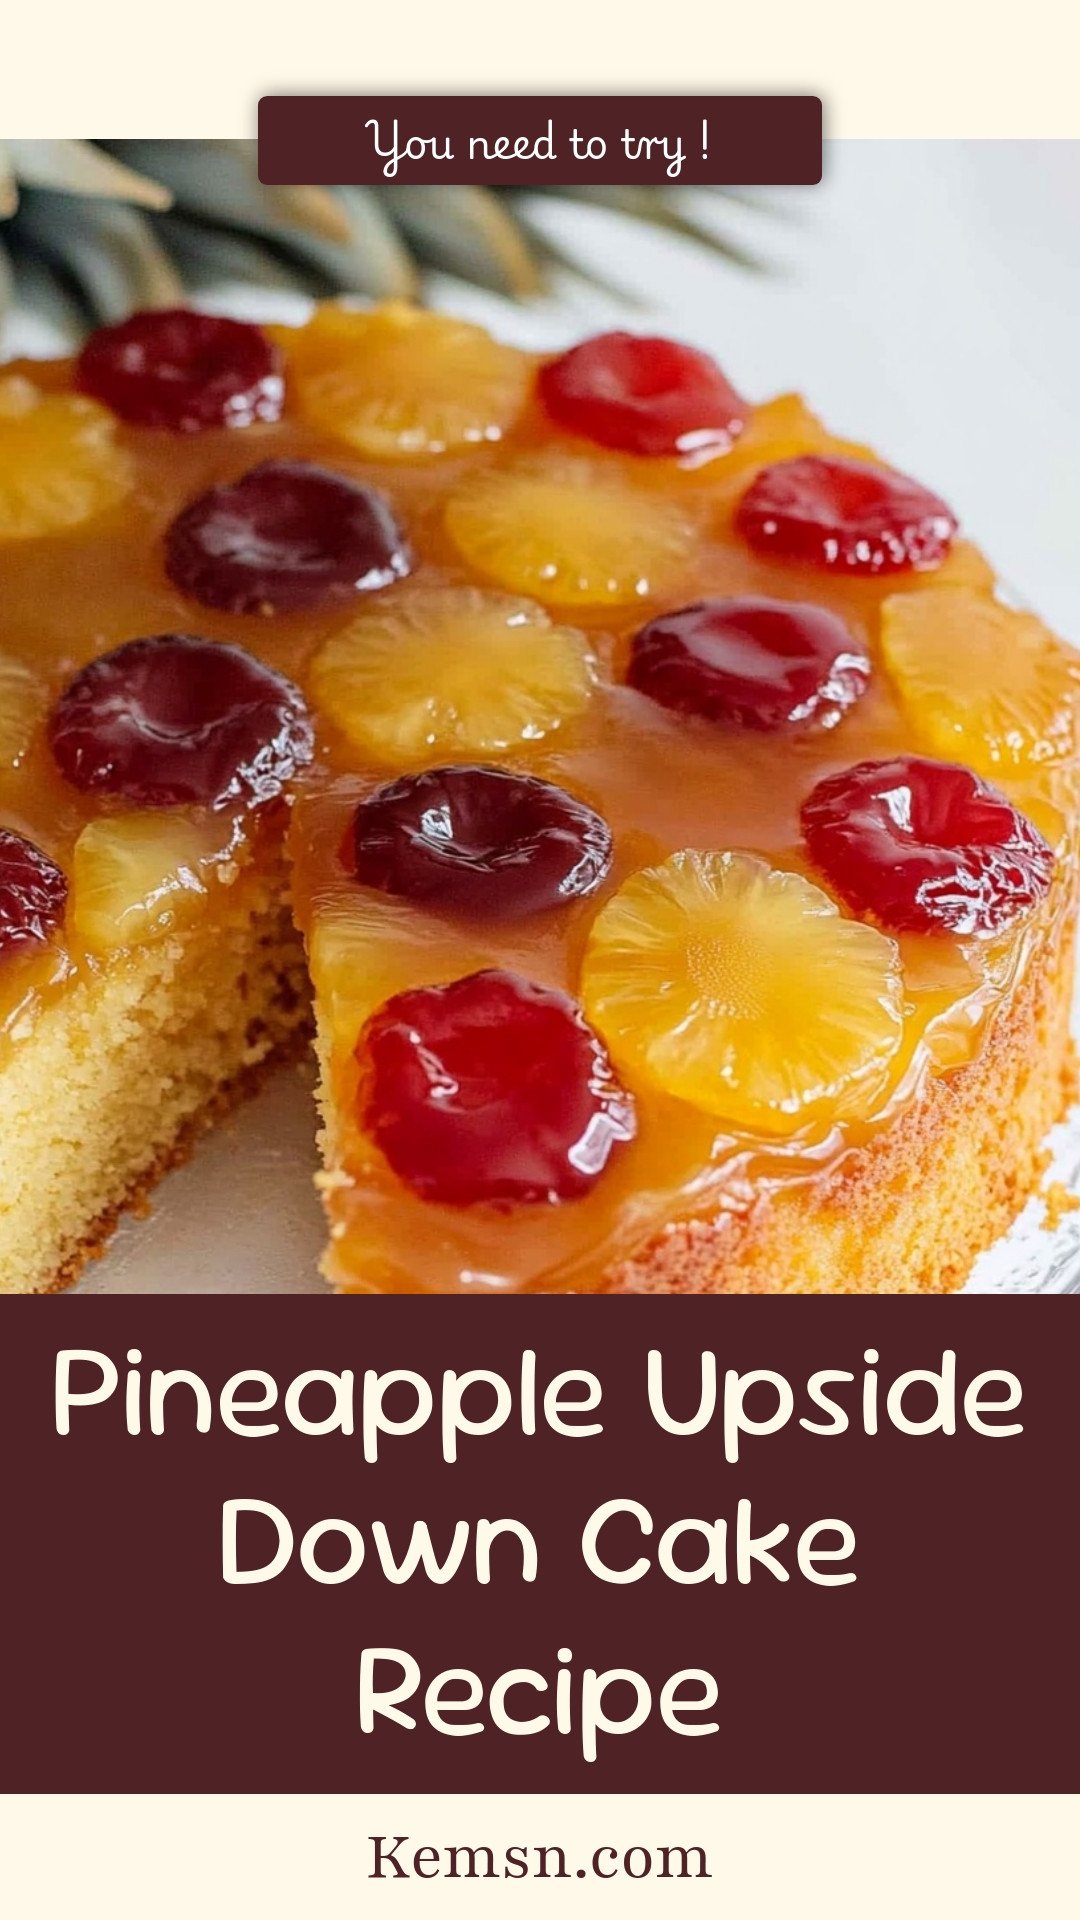
Pineapple Upside Down Cake Recipe
Description
A classic dessert featuring a caramelized pineapple and cherry topping over a moist, tender vanilla cake.
Ingredients
Topping:
Cake:
Instructions
- Begin by browning ⅓ cup of salted butter. Cook it in a small saucepan over medium heat, stirring frequently, until it foams and develops a golden brown color and a nutty scent, which should take 4 to 5 minutes. Quickly transfer the browned butter into a 9½-inch pie plate or cake pan.
- Mix a pinch of cinnamon into the brown sugar, then distribute this mixture evenly over the surface of the warm butter in the pan.
- Drain the canned pineapple slices, saving 1/3 cup of the juice for the cake batter. Use a paper towel to pat the pineapple rings dry. Lay the slices in a single layer on the bottom of the prepared pan, placing one in the middle and six surrounding it. Cut three rings in half and fit them, cut-side down, around the inner sides of the pan.
- Tuck maraschino cherries into the centers of the pineapple rings and any remaining spaces.
- Refrigerate the pan to set the topping while you prepare the cake batter.
- Heat your oven to 350°F (175°C).
- In a separate bowl, combine the cake flour, baking powder, and salt with a whisk. Set this dry mixture aside.
- In a larger bowl, whisk together the melted butter, sugar, and eggs until the mixture is smooth. Then, blend in the vanilla extract, sour cream, and the reserved pineapple juice.
- Gently fold the dry flour mixture into the wet ingredients, mixing only until the batter is smooth and no dry streaks remain. Be careful not to overmix.
- Retrieve the chilled pan from the refrigerator and pour the cake batter evenly over the arranged pineapple and cherries.
- Bake for approximately 45 minutes, or until the top is golden and a toothpick inserted into the center of the cake comes out clean.
- Allow the cake to cool in the pan for 30 to 45 minutes. Then, carefully turn it out onto a serving plate so the fruity topping is on top.
- For serving, accompany with whipped cream or a scoop of vanilla ice cream if you like.
Notes
- Ensure the cake is cooled sufficiently before inverting to prevent the topping from sticking to the pan.


Leave a Reply