The Heart of the Kitchen
My kitchen always smells of warm bread. It is my favorite smell in the whole world. It feels like a cozy hug.
This sourdough sandwich bread is a family treasure. I learned it from my mother. She learned it from hers. I still laugh at how my first loaf was as hard as a rock. We all start somewhere.
Why This Bread Matters
Making bread by hand teaches you patience. You cannot rush the dough. It rises on its own time.
This matters because slow food is good for the soul. It connects you to what you eat. Every slice tells a story of care. Doesn’t that feel special?
Let’s Make the Dough
First, mix everything but the flour. Your sourdough starter should be bubbly and happy. Then add the flour bit by bit.
Knead the dough for ten minutes. It will become smooth and stretchy. Fun fact: This stretch is called the windowpane test. You can see light through it!
What is your favorite smell in your kitchen? Is it garlic, or cookies, or something else? Tell me about it.
The Long, Slow Rise
Now, let the dough rest. It needs a warm spot for many hours. I often let it rise overnight on the counter.
This long wait is what makes the flavor so good. It also makes the bread easier to digest. This matters for a happy tummy. I think that is a wonderful bonus.
Shaping and Baking
After the long rest, the dough will be puffy. Gently shape it into two loaves. Roll it up tight like a sleeping bag.
Let it rise one more time. Then bake until golden brown. Doesn’t that smell amazing? The hardest part is waiting for it to cool before you slice it.
Have you ever baked bread before? Was it a success or a funny kitchen disaster? I love hearing those stories.
A Slice of History
Sourdough is the oldest way to make bread. Pioneers carried their starters in wagons. They kept them close like family.
My own starter is named “Bubbles.” It has been with me for ten years. It feels like a quiet friend living in my fridge.
If you have a sourdough starter, what is its name? If not, what would you name it?
Ingredients:
| Ingredient | Amount | Notes |
|---|---|---|
| Butter or Coconut Oil | 1/2 cup | softened |
| Honey or Sugar | 2 tablespoons | If using sugar, note that it will be 24 g |
| Salt | 1 tablespoon | |
| Sourdough Starter | 1 cup | active and bubbly |
| Water | 2 1/2 cups | |
| All Purpose Flour | 8 cups |
My Favorite Sourdough Sandwich Bread
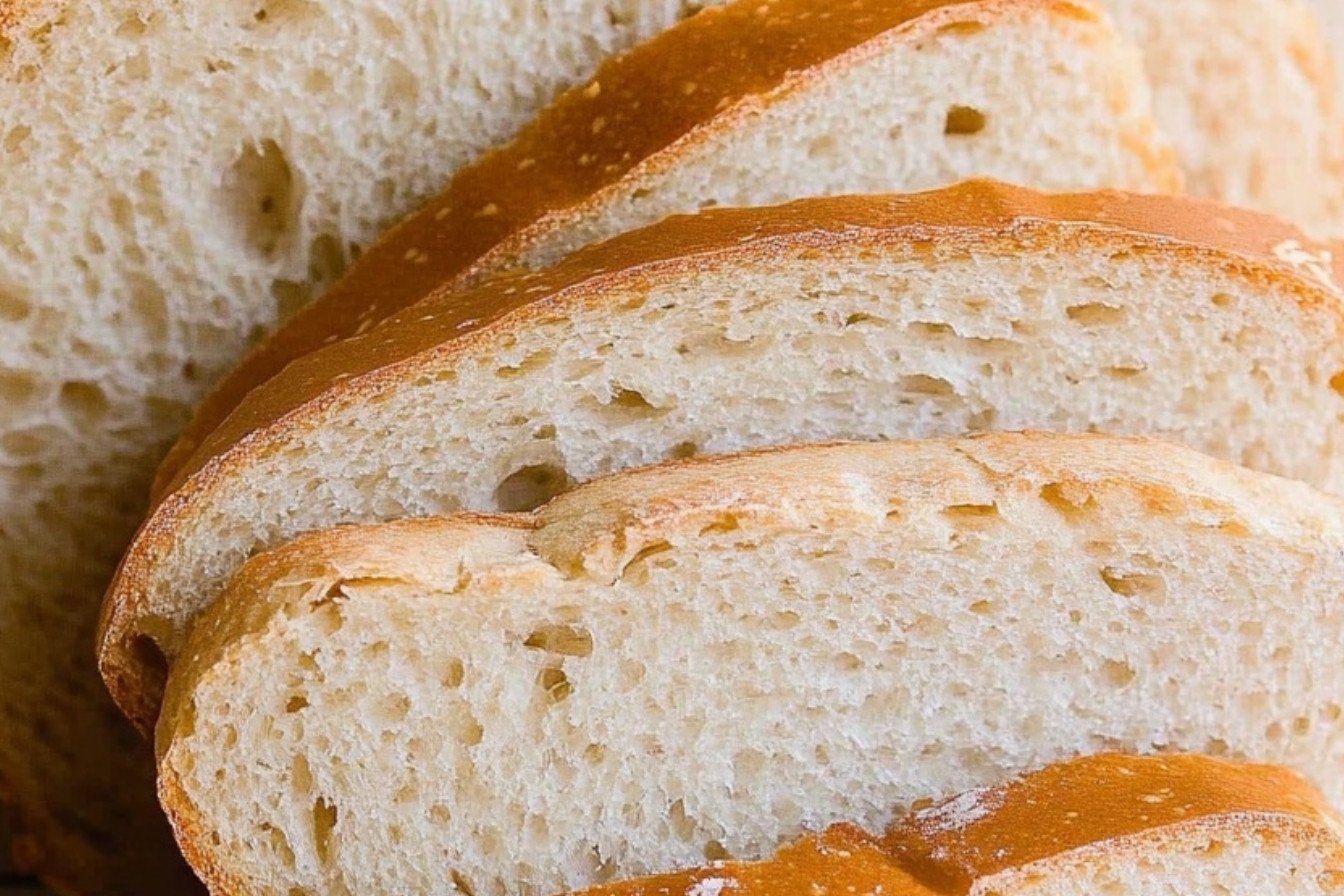
My kitchen smells like warm memories today. I’m baking my favorite sourdough sandwich bread. This recipe is a real family treasure. My own grandma taught me how to make it. I still laugh at that first loaf I ever baked. It was as hard as a rock! But we learn by doing, don’t we? This bread is soft, a little tangy, and perfect for your lunchbox. Let’s bake some together. I promise it’s easier than it looks.
Step 1: First, let’s get our dough ready. Put everything in your mixer bowl, but save the flour for last. Your sourdough starter can be a little different each day. Adding the flour last lets you adjust. Mix and knead it for about ten minutes. You want the dough to feel smooth and stretchy. It should pull away from the bowl’s sides. (A hard-learned tip: If it sticks to your fingers, just add a tiny bit more flour).
Step 2: Now, we let it rest. Find a warm spot for your dough bowl. It needs to sit there for a long time, about 10 to 12 hours. This is called the first rise. I always do this step before I go to bed. The slow rise gives the bread its wonderful flavor. In the morning, the dough will be big and puffy. Doesn’t that smell amazing? It smells like patience and love.
Step 3: Good morning! Grease two loaf pans well. Then, gently tip your dough onto the counter. Be kind to it. Divide the dough into two equal pieces. To shape a loaf, flatten one piece into a rectangle. Then, roll it up tightly like a sleeping bag. Tuck the ends under and pop it into a pan. Do you know why we roll it so tight? Share below!
Step 4: Time for the second rise. Let the shaped loaves sit on the counter. They need to rise again for 2 to 4 hours. They are done when they look puffy and have doubled. Now, preheat your oven to 375°F. You can brush the tops with a beaten egg for a shiny crust. Then, bake them for about 45 minutes. They will turn a beautiful golden brown.
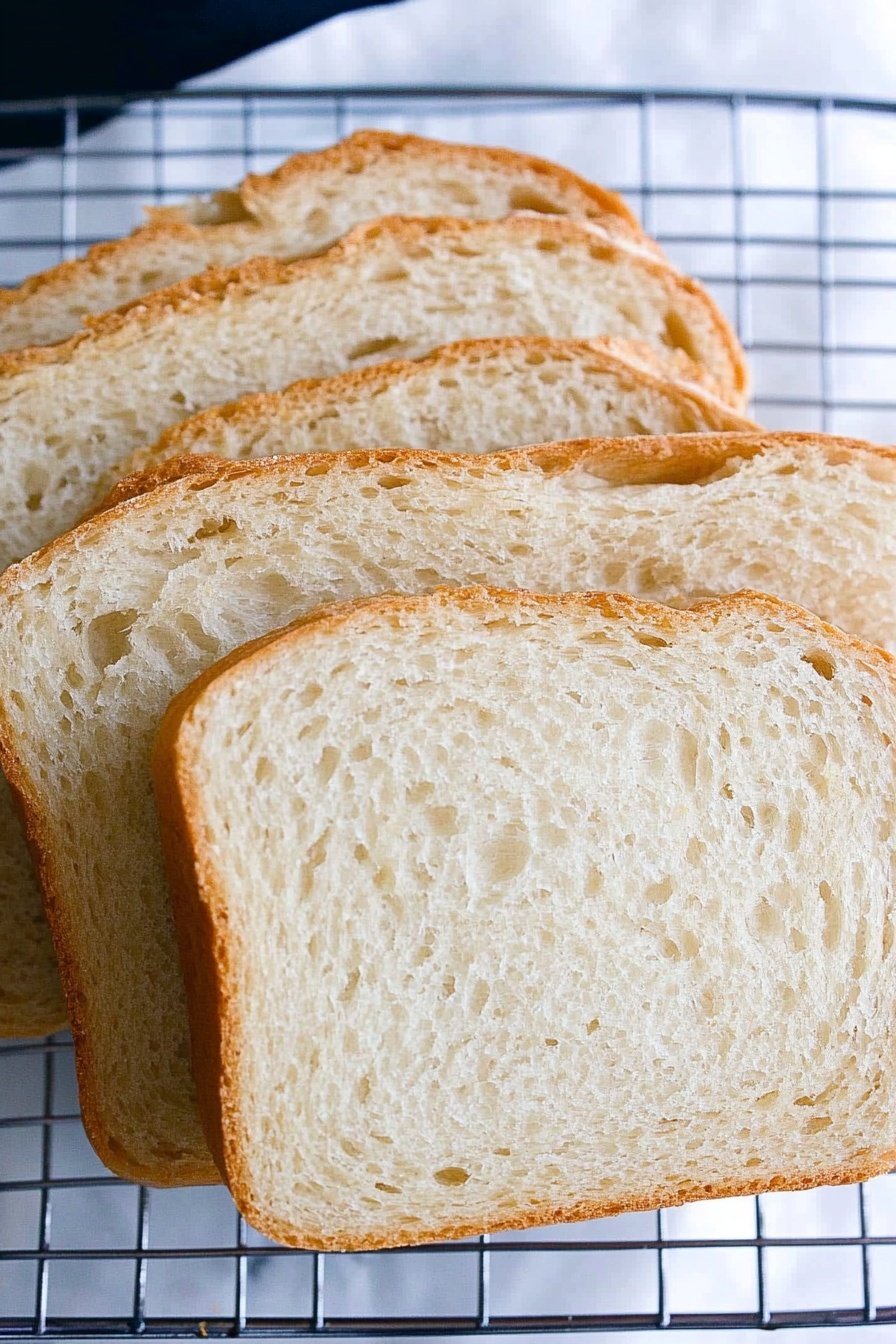
Step 5: The hardest part is next. You must let the bread cool completely in the pans. I know, it’s so tempting to cut a warm slice! But if you wait, the bread won’t be gummy inside. It will slice perfectly for sandwiches. The wait is always worth it. Trust your kitchen grandma on this one.
Cook Time: 45 minutes
Total Time: 14-16 hours
Yield: 2 loaves
Category: Bread, Baking
Three Tasty Twists to Try
Once you master the basic loaf, you can get creative. I love adding little extras to my bread. It makes every loaf a new adventure. Here are three of my favorite twists. They are all simple and so delicious.
Everything Bagel Bread. Mix in sesame seeds, poppy seeds, and a little garlic powder. It’s fantastic for breakfast toast.
Honey Whole Wheat. Swap half the white flour for whole wheat. The honey tastes extra sweet this way.
Cheesy Herb Delight. Stir in a cup of shredded cheddar and a teaspoon of dried rosemary. Your grilled cheese will thank you. Which one would you try first? Comment below!
The Perfect Plate and Pairing
A warm slice of bread is a meal all by itself. But I love building a plate around it. For a simple lunch, I make a classic tomato soup for dipping. A thick slice with avocado and a sprinkle of salt is also wonderful. Or, toast it and spread with creamy butter and homemade jam. That’s my favorite afternoon snack.
What to drink? A cold glass of milk is the perfect partner for this bread. For the grown-ups, a pale ale complements the sourdough’s tangy flavor. Which would you choose tonight?
Keeping Your Sourdough Fresh
Fresh bread is a wonderful treat. But it does not stay fresh for long. Let me tell you how to keep it soft.
For the fridge, wrap your cooled loaf tightly in plastic. It will last about one week this way. I remember my first loaf going stale in a day. I was so sad. Now I always wrap it up right away.
For the freezer, slice the bread first. Place parchment paper between the slices. This lets you pull out just what you need. You can bake a few loaves at once this way. Batch cooking saves you time later.
To reheat, warm slices in a toaster. For a whole loaf, use a 350°F oven for ten minutes. This brings back that fresh-baked feel. Storing food well means less waste and more happy tummies. Have you ever tried storing it this way? Share below!
Simple Fixes for Sourdough Troubles
Sometimes baking does not go as planned. Do not worry. Here are some easy fixes for common problems.
Is your bread too dense? Your starter might not be bubbly enough. Always use a starter that floats in water. I once used a sleepy starter. My bread was like a brick. A lively starter makes light, airy bread.
Is your dough not rising? Your kitchen might be too cold. Find a warm spot, like on top of the fridge. This helps the little yeast creatures do their job. Getting the rise right builds your confidence in the kitchen.
Is the crust too pale? Brush the top with an egg wash before baking. This gives it a beautiful, golden-brown color. A good crust makes the flavor even better. Which of these problems have you run into before?
Your Sourdough Questions Answered
Here are answers to questions I often get. I hope they help you in your kitchen.
Q: Can I make this gluten-free? A: Yes, use a good gluten-free flour blend. The texture will be a bit different but still tasty.
Q: Can I make the dough ahead? A: Yes, the first rise happens slowly in the fridge. This is perfect for overnight prep.
Q: What can I use instead of honey? A: Maple syrup or white sugar works just fine. It feeds the yeast and adds a little sweetness.
Q: Can I make just one loaf? A: Of course. Simply cut all the ingredients in half. It is easy to scale down.
Q: Any extra tips? A: Let the bread cool completely before you slice it. This keeps it from getting gummy inside. Fun fact: The smell of baking bread makes people feel happy and safe. Which tip will you try first?
From My Kitchen to Yours
I hope you love baking this bread as much as I do. There is nothing like a warm slice with butter.
Sharing food is a way to share love. I would love to see your beautiful loaves. Your kitchen adventures make me so happy.
Have you tried this recipe? Tag us on Pinterest! I always look for your photos. It feels like we are baking together.
Happy cooking! —Fiona Brooks.

Sourdough Sandwich Bread Recipe for Homemade Loaves
Description
A classic recipe for soft, homemade sourdough sandwich bread, perfect for toasting and sandwiches.
Ingredients
Instructions
- Combine all ingredients in a stand mixer, reserving the flour to be added last. This allows you to adjust the amount based on your starter’s consistency.
- Mix and knead the dough for approximately 10 minutes, until it becomes smooth, elastic, and pulls away from the bowl’s sides. The dough is ready when it stretches thinly without tearing (the windowpane test).
- Let the dough undergo its first rise (bulk fermentation) in a warm spot for 10 to 12 hours.
- Prepare two loaf pans by greasing them or lining them with parchment paper.
- Gently transfer the risen dough to a work surface and separate it into two equal portions.
- To shape each loaf, flatten a portion of dough into a rectangle, then tightly roll it up from one end to the other.
- Place the shaped loaves into the prepared pans.
- Allow the loaves to rise a second time at room temperature for 2 to 4 hours, or until they have roughly doubled in size.
- Bake in a preheated 375°F (190°C) oven for about 45 minutes, until the tops are golden brown. For a deeper color, you can brush the tops with an egg wash before baking.
- Let the baked bread cool fully in the pans before slicing.
Notes
- For a deeper color, you can brush the tops with an egg wash before baking.


Leave a Reply