The Magic of Buttermilk
Let’s start with the buttermilk bath. It makes the shrimp so tender. I let mine sit for a full fifteen minutes. It feels like a little spa treatment for them.
This step matters because it helps the flour coating stick. No one wants a naked shrimp! It also adds a tiny bit of tangy flavor. Do you have a favorite food that gets a special soak before cooking?
A Dusting of Flavor
Next, we make our special dusting. That’s just the flour and spices. I whisk it all together in my big yellow bowl. The paprika makes it such a pretty color.
My grandson once tried to add extra cayenne. His eyes got so wide after one bite! I still laugh at that. Now I measure it carefully. Fun fact: Paprika is made from dried, ground sweet peppers! It adds color more than heat.
The Sizzle is the Best Part
Now for the fun part. You heat the oil in a big pot. You want it nice and hot. When a shrimp goes in, it should sizzle right away.
That sizzle means you are on the right track. Don’t crowd the pot. Cook them in small batches. This matters because it keeps the oil hot. Hot oil means a crispy shrimp, not a greasy one. Doesn’t that sizzling sound make you hungry?
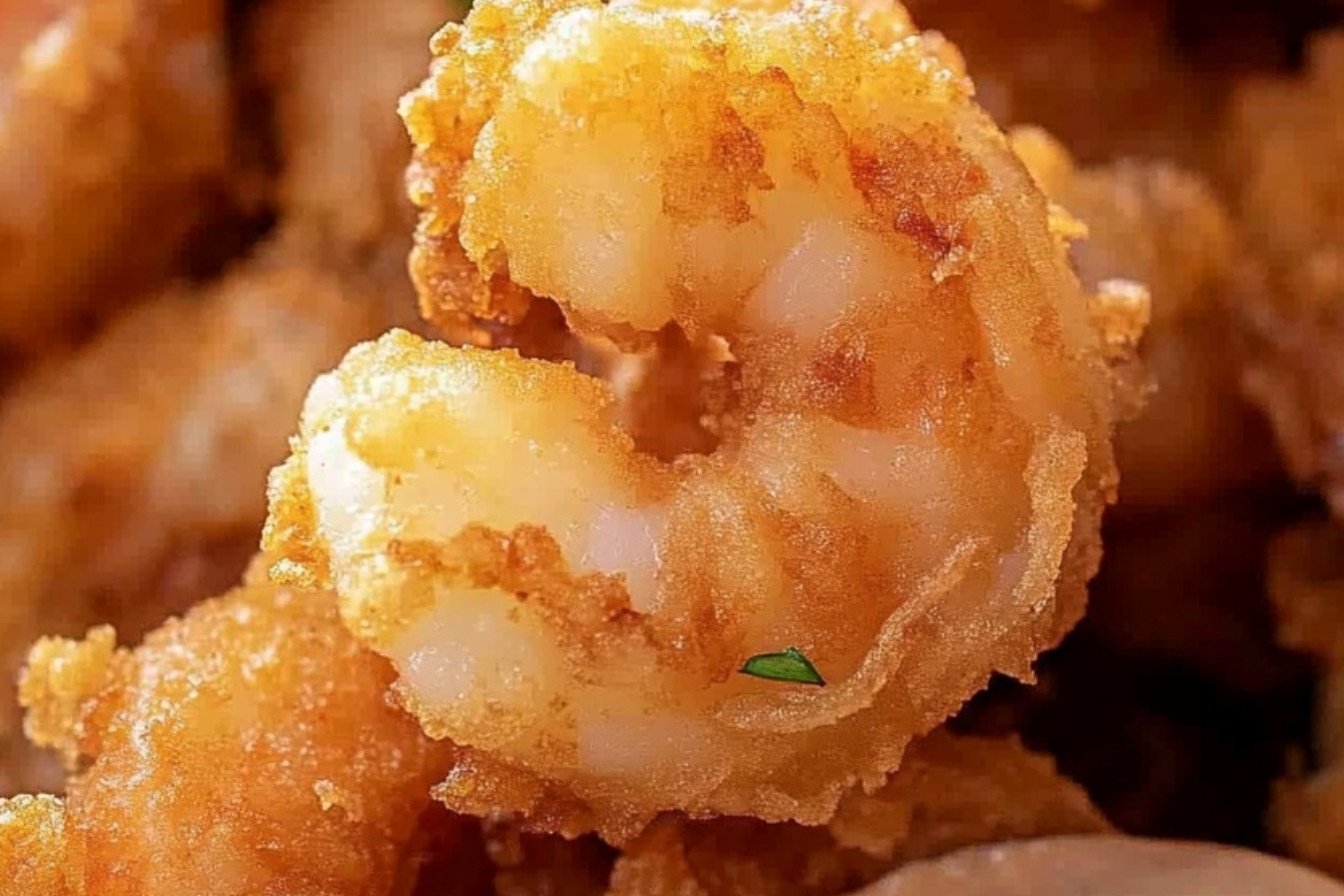
Getting That Golden Color
Watch them carefully in the oil. They will turn a beautiful golden brown. It only takes about two or three minutes. Use a slotted spoon to lift them out.
Let them drain on a paper towel. This soaks up any extra oil. I think this is the most important step for perfect crunch. What’s your favorite crispy food? Is it chicken, fries, or something else?
Time to Gather and Eat
Serve these shrimp right away. They are best when they are hot and crisp. A squeeze of lemon on top is perfect. It makes all the flavors pop.
Sharing a meal you cooked yourself is a special feeling. This matters because it creates happy memories around the table. It is about more than just food. It is about connection. I would love to hear what you think if you try this recipe.

Ingredients:
| Ingredient | Amount | Notes |
|---|---|---|
| large shrimp, thawed, peeled, deveined | 1 pound | |
| buttermilk | 1 cup (245 g) | |
| all-purpose flour | 1 cup (125 g) | |
| paprika | 1 teaspoon | |
| garlic powder | 1 teaspoon | |
| onion powder | 1/2 teaspoon | |
| kosher salt | 1/2 teaspoon | |
| black pepper | 1/4 teaspoon | |
| cayenne pepper | 1/4 teaspoon | |
| vegetable oil | for frying | |
| lemon wedges | for garnish |
My Crispy Fried Shrimp Secret
Hello, my dear! Let’s make some crispy fried shrimp today. This recipe always reminds me of my summers by the sea. The smell of shrimp frying is pure happiness. It makes everyone gather in the kitchen. I still laugh at that.
First, we need to get our shrimp ready for their bath. Place them in a medium bowl. Cover them completely with buttermilk. This makes them so tender and sweet. Let them sit out for about 15 minutes. It feels like magic happening.
Now for the crispy coat! In another bowl, whisk your flour and spices together. I use paprika, garlic, and a tiny bit of cayenne. Doesn’t that smell amazing? It’s like a little hug for the shrimp. Mix it all until it looks like one color.
Step 1: Take each shrimp from the buttermilk. Let the extra drip back into the bowl. Then, roll it in your flour mixture. Make sure it gets a good, even coat. Place them in a single layer on a baking sheet. This keeps them from sticking together.
Step 2: Pour about 2 inches of vegetable oil into a big pot. Heat it slowly over medium heat. You want it to reach 350°F. I use a thermometer to be sure. (My hard-learned tip: If you don’t have one, a tiny breadcrumb should sizzle right away!).
Step 3: Gently shake off any loose flour from a shrimp. Carefully lower it into the hot oil. Do not crowd the pot! Cook them in small batches. Fry for 2 to 3 minutes, turning now and then. They will become golden and beautiful. Let the oil get hot again between batches.
Step 4: Use a slotted spoon to take the shrimp out. Let them drain on a plate with paper towels. This helps them stay crispy. I can never resist eating one right away. What’s your favorite dipping sauce? Share below!
Cook Time: 15 minutes
Total Time: 30 minutes
Yield: 4 servings
Category: Dinner, Appetizer
Three Fun Twists to Try
This recipe is wonderful as it is. But you can also play with it! Here are a few ideas I love. They are simple and add a nice change.
Spicy Kick: Add an extra pinch of cayenne to the flour. It gives the shrimp a little warmth. Perfect for a cozy night in.
Lemon Pepper Zing: Mix a tablespoon of lemon pepper into the flour. It makes everything taste so fresh and bright. My grandson adores this one.
Cornmeal Crunch: Swap half the flour for cornmeal. It gives the coating a wonderful, rustic crunch. It reminds me of a county fair.
Which one would you try first? Comment below!
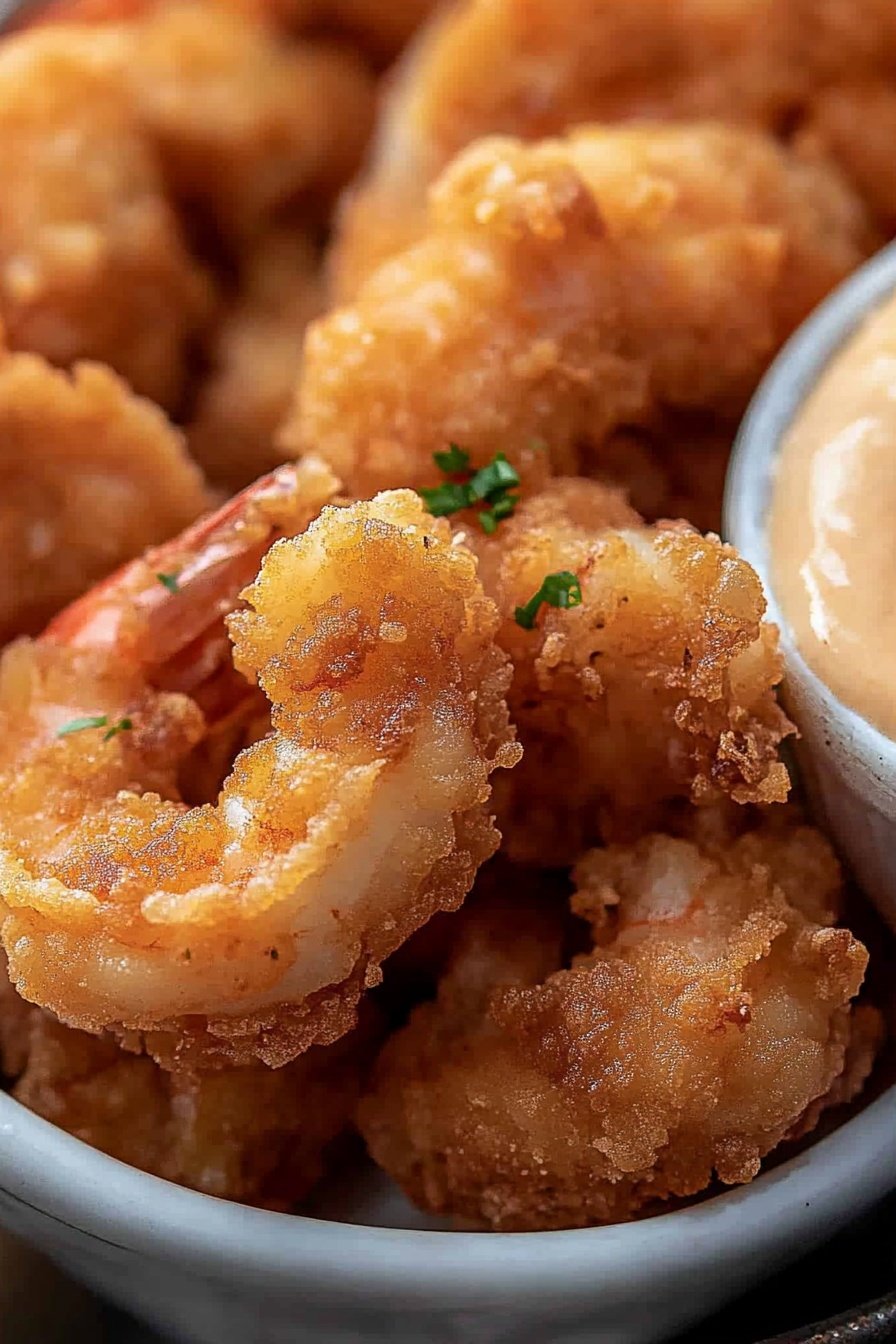
Serving Your Golden Shrimp
Now, let’s talk about serving. A pile of these crispy shrimp is a feast for the eyes. I always serve them with lemon wedges for squeezing. A big bowl of tartar sauce is a must for dipping. It’s a classic for a reason.
For sides, I love simple things. A crisp green salad cuts through the richness. Or some sweet potato fries make a fun, colorful plate. It’s all about what makes you smile.
What should we drink? A cold glass of lemonade is just perfect for everyone. For the grown-ups, a crisp lager beer pairs wonderfully. It’s a lovely combination. Which would you choose tonight?

Keeping Your Shrimp Crispy
Let’s talk about keeping your fried shrimp tasty. They are best eaten right away. But you can save them for later.
Let them cool completely first. Then store them in a sealed container in the fridge. They will last for two days. You can also freeze them for a month.
I once put warm shrimp in a container. They got soggy and sad. Always let them cool. This keeps the coating crisp.
To reheat, use your oven. Place them on a baking sheet. Heat at 375°F for about 10 minutes. This brings back the crunch.
Making a double batch is a smart idea. It saves you time on a busy night. Having a ready-made meal matters. It makes your week so much easier.
Have you ever tried storing it this way? Share below!
Simple Fixes for Common Problems
Sometimes the coating falls off. This happens if the oil is not hot enough. Make sure your oil is at 350°F before frying.
I remember when my first batch was pale. The oil was too cool. Getting the temperature right matters. It gives you that perfect golden color.
Is your shrimp greasy? The oil might be too cool. Or you crowded the pot. Always fry in small batches. This lets the shrimp cook evenly.
Is the seasoning not strong enough? Do not be shy with the spices. Taste your flour mix before you bread the shrimp. Good flavor matters. It turns a simple meal into something special.
Which of these problems have you run into before?
Your Quick Questions Answered
Q: Can I make this gluten-free?
A: Yes. Just use your favorite gluten-free flour blend. It works just the same.
Q: Can I make it ahead?
A: You can bread the shrimp hours before. Keep them on a tray in the fridge. Then fry when you are ready.
Q: What if I do not have buttermilk?
A: Mix one cup of milk with one tablespoon of lemon juice. Let it sit for five minutes. This is a fun fact and a handy swap!
Q: Can I double the recipe?
A: Of course. Just use a bigger pot. Fry in batches so you do not crowd them.
Q: Any extra tips?
A: A squeeze of fresh lemon at the end is wonderful. It makes all the flavors pop.
Which tip will you try first?
From My Kitchen to Yours
I hope you love making this crispy shrimp. It is a real treat for your family. Cooking should be fun and full of joy.
I would love to see your beautiful creations. Your photos always make my day. Please share them with me online.
Have you tried this recipe? Tag us on Pinterest!
Happy cooking!
—Fiona Brooks.

Crispy Fried Shrimp Recipe Guide
Description
Crispy, golden-brown fried shrimp with a flavorful, seasoned coating, perfect for a quick and delicious meal.
Ingredients
Instructions
- Place the shrimp in a medium bowl and cover them with buttermilk, ensuring they are fully submerged. Let them sit at room temperature for 15 minutes.
- In another bowl, whisk together the flour, paprika, garlic powder, onion powder, salt, black pepper, and cayenne until well blended.
- Take each shrimp from the buttermilk, letting the extra drip away, and then coat it thoroughly in the flour mixture. Arrange the breaded shrimp in a single layer on a baking sheet.
- Pour about 2 inches of vegetable oil into a large pot and heat it to 350°F over medium heat.
- Gently shake off any loose flour from the shrimp and fry them in batches to prevent crowding. Cook for 2 to 3 minutes, turning them now and then, until they are golden and crisp. Allow the oil to return to 350°F between batches.
- Transfer the cooked shrimp with a slotted spoon to a plate lined with paper towels to drain.
- Serve the shrimp hot, accompanied by lemon wedges and tartar sauce.
Notes
- For best results, ensure the oil is at the correct temperature before frying to achieve a crispy, non-greasy coating. Serve immediately for optimal texture.


Leave a Reply