The Heart of the Kitchen
My kitchen table has seen many stories. It saw my children grow up. It saw countless bowls of dough rising. There is something special about making bread. You start with simple things. You end with something warm and wonderful to share.
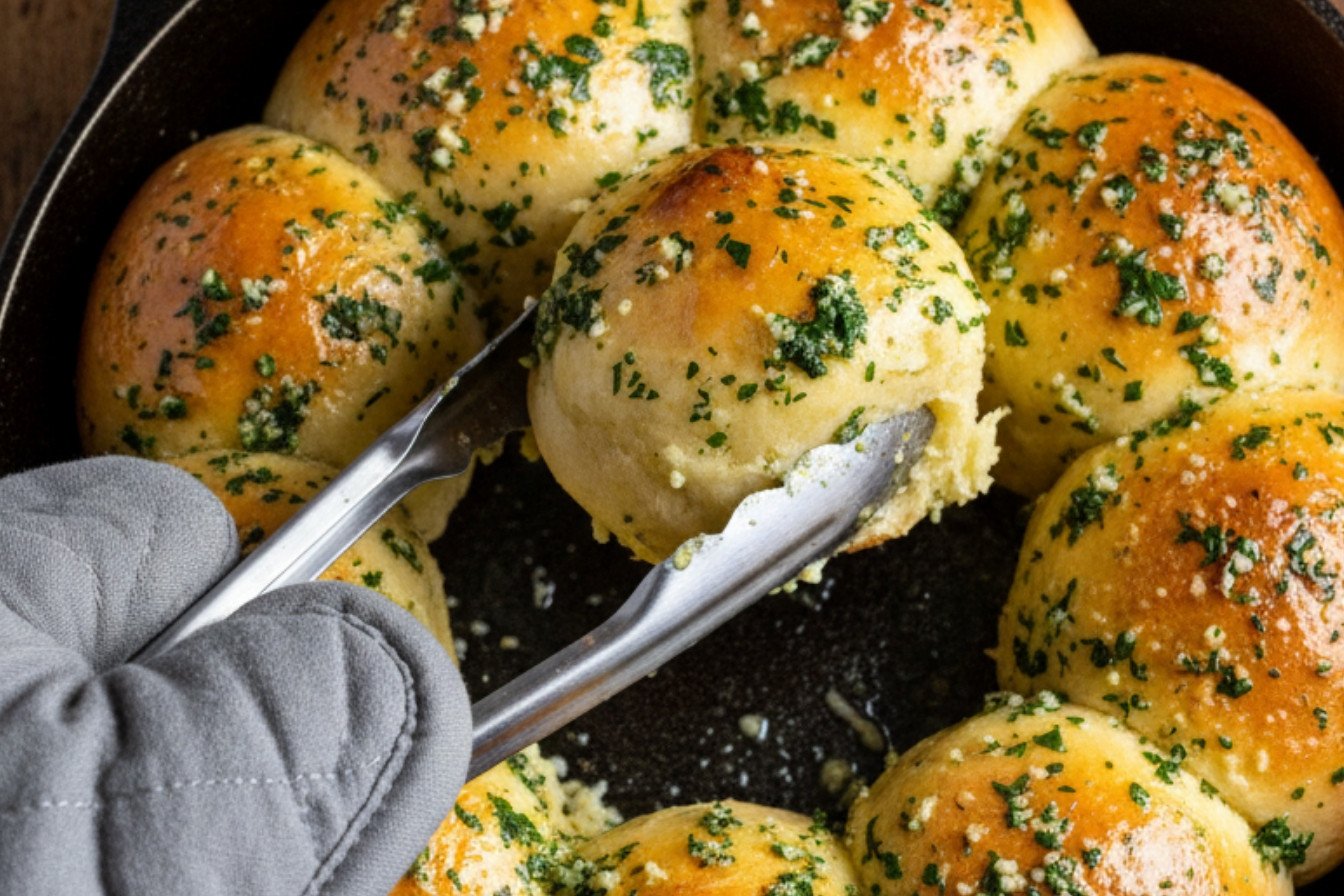
These garlic herb butter rolls are pure comfort. The smell fills your whole house. It says someone is home, and they care. That is why this matters. Food made with your hands feeds more than just our bodies. It feeds our hearts, too. Do you have a favorite smell from your kitchen? I would love to hear about it.
A Little Dough Story
Let me tell you about the first time I made these. I was in a hurry. I did not let the dough rest that first 15 minutes. My rolls were small and tough! I still laugh at that. Good bread cannot be rushed.
Now I know that rest is magic. That first wait lets the flour drink up the milk. It makes the dough so much easier to work with. Be patient with it. The dough will tell you when it’s ready. *Fun fact: that rest is called the “autolyse” stage. But we can just call it the “be patient” stage!
Shaping with Love
Dividing the dough into balls is my favorite part. Do not worry about making them perfect. Just cup your hand over a piece. Gently roll it on the counter in little circles. It will smooth right out.
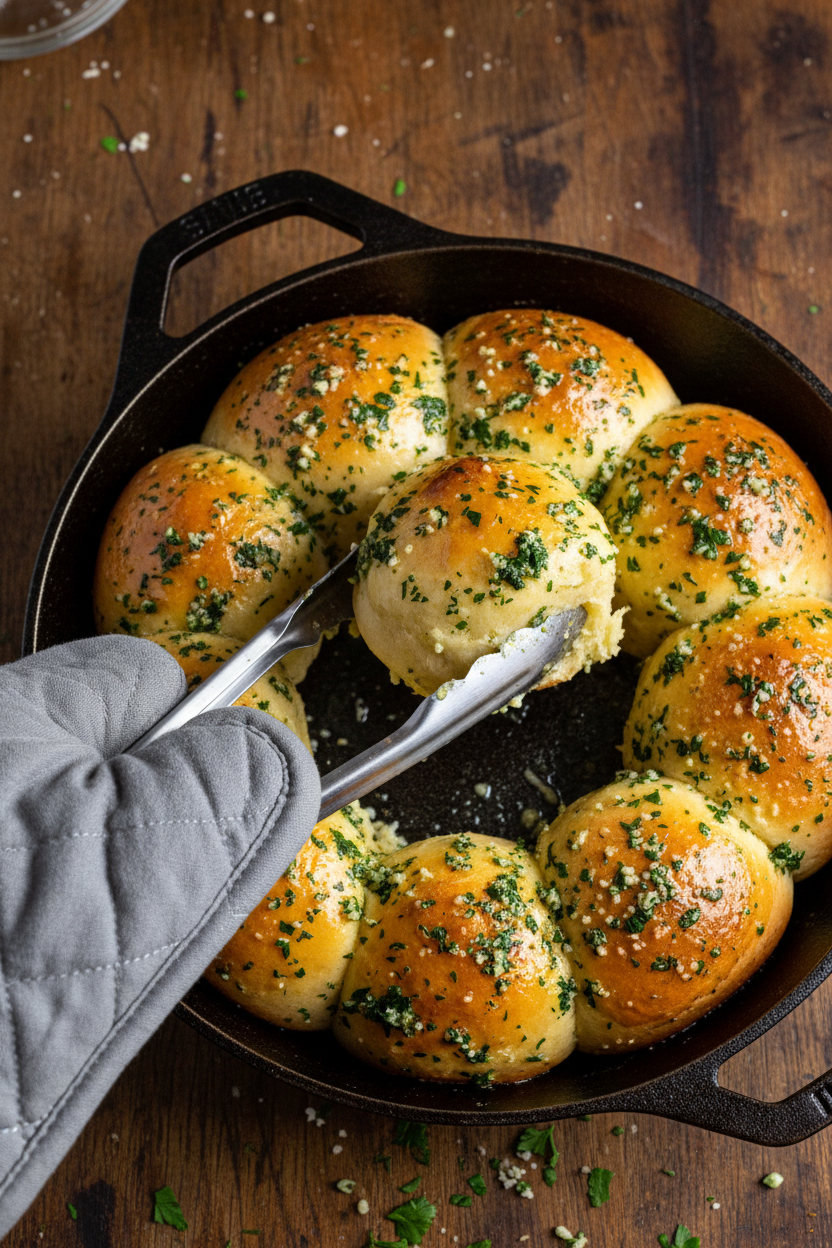
You are making little pillows of joy. Arrange them in the dish so they are just touching. As they rise and bake, they will become best friends. They will pull apart so softly later. Do you like pulling apart rolls, or do you slice them with a knife?
The Best Part: The Butter
Now for the magic trick. While the rolls bake, make the garlic herb butter. Melt the butter gently. Add the minced garlic. Doesn’t that smell amazing? Cook it just until you can really smell the garlic. Then take it off the heat.
Stir in the fresh parsley. The green makes it so pretty. As soon as the rolls come out, you brush this butter all over them. It soaks right into the warm crust. This is the step that makes everyone say “wow.” The butter adds so much flavor. It also keeps the rolls soft for days.
Why This All Matters
Making these rolls is not just about following steps. It is about creating a moment. The act of mixing, shaping, and waiting teaches us care. It connects us to everyone who has ever baked bread before. That is a beautiful thing.
Sharing warm food is a simple kind of love. These rolls turn an ordinary meal into a small celebration. They tell your family, “I made this for you.” What is one dish that makes you feel that way? Tell me in the comments.
Ingredients:
| Ingredient | Amount | Notes |
|---|---|---|
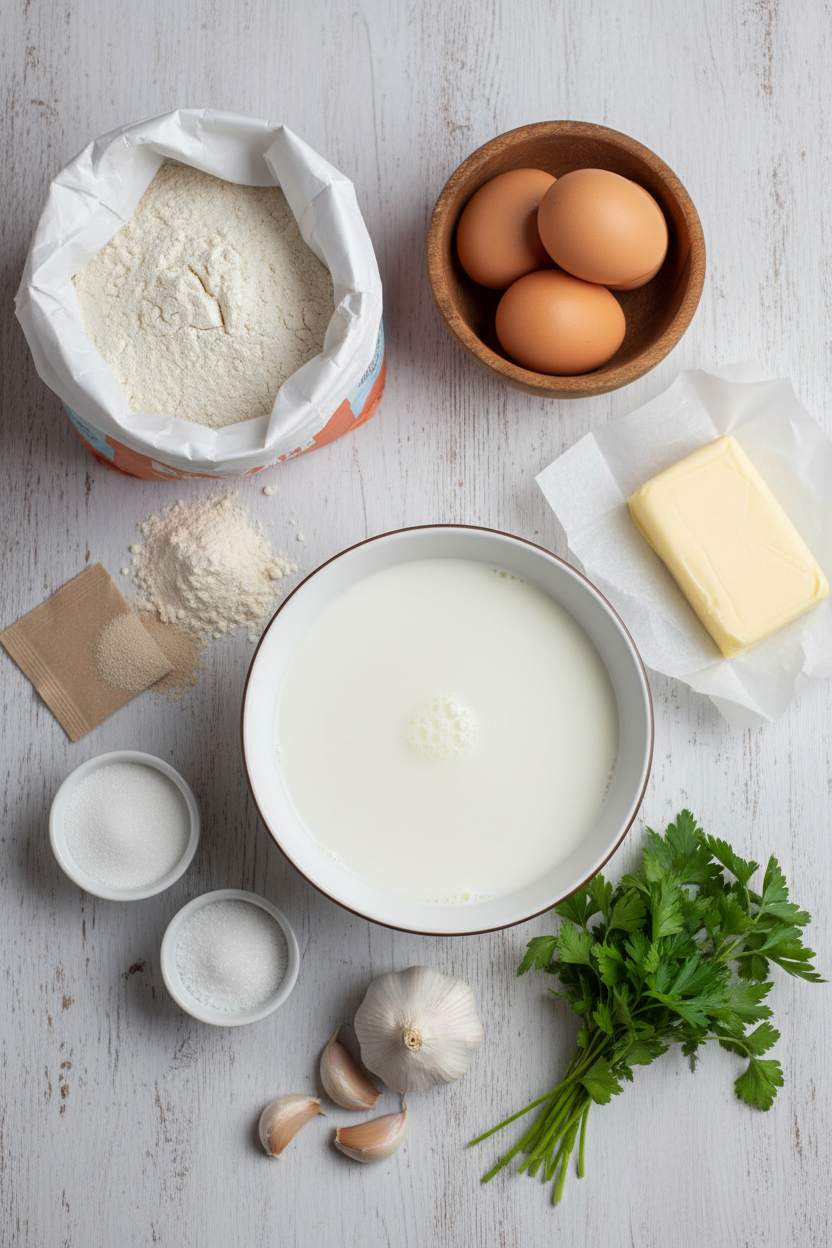
| Whole milk | ¾ cup | For the dough |
| Unsalted butter, melted | 4 tablespoons | For the dough |
| Unsalted butter, softened | 1 tablespoon | For greasing the baking dish |
| Large eggs | 2 | Divided use in dough and egg wash |
| All-purpose flour | 2 ¼ cups (11¼ oz / 319g) | For the dough |
| Instant or rapid-rise yeast | 2¼ teaspoons | For the dough |
| Sugar | 2 tablespoons | For the dough |
| Table salt | 1 teaspoon plus a pinch | Divided use in dough and egg wash |
| Unsalted butter | 4 tablespoons | For the garlic-herb butter |
| Garlic cloves | 3, minced | For the garlic-herb butter |
| Table salt | ¼ teaspoon | For the garlic-herb butter |
| Fresh parsley | 1 tablespoon, minced | For the garlic-herb butter |
Instructions
Step 1: Let’s start our dough. Warm your milk just a bit. It should feel cozy on your wrist. Combine it with the melted butter and one egg in your mixer bowl. Mix in the flour and yeast next. Let the dough hook do its work for two minutes. The dough will look shaggy. That’s perfect. Now, let it rest for 15 minutes. I always use this time to wash a few dishes. (A short rest makes the dough easier to work with later.)
Step 2: Time to wake the dough up. Add the sugar and one teaspoon of salt to the bowl. Mix it on medium until combined. Then, let the mixer knead on medium-high. This takes 8 to 12 minutes. The dough will become smooth and slightly sticky. It will start to pull away from the bowl’s sides. Place it in a greased bowl, cover it, and let it rise. In about an hour, it will be double its size. It’s like a fluffy cloud! What’s your favorite smell of baking? Share below!
Step 3: Grease your baking dish with that softened butter. Be generous. Now, gently dump your risen dough onto the counter. Divide it into 12 equal pieces. To shape each roll, cup a piece under your palm. Roll it in little circles on the counter. This makes a nice, tight ball. Arrange all the balls in your dish. They should be snug in three rows. Cover the dish and let them rise again. They’ll get nice and puffy, ready for the oven.
Step 4: While the rolls rise, preheat your oven to 350°F. Grab your remaining egg. Whisk it with a tiny pinch of salt. This is our egg wash. Once the rolls are puffy, brush the tops gently with it. This gives them a beautiful golden shine. Bake them for about 20 minutes. They should be a deep, lovely brown. (Tap the top of a roll; it should sound hollow when done.) Doesn’t that smell amazing? I still laugh at how fast my family gathers.
Step 5: As the rolls bake, make the magic butter. Melt butter in a small pan. Stir in the garlic and salt. Cook just until you smell that wonderful garlicky scent. Take it off the heat and stir in the parsley. Let the baked rolls cool in the dish for 15 minutes. Then, brush every single roll with all that garlic-herb butter. Let them sit for 5 more minutes. This lets the butter soak in. Now, pull them apart and serve warm. Pure happiness on a plate.
Creative Twists
These rolls are a wonderful blank canvas. You can make them your own. Try adding a half cup of shredded cheddar cheese to the dough. It makes them extra cozy. For a little sunshine, mix a teaspoon of lemon zest into the garlic butter. It’s so fresh. My grandkids love a sweet version. Just swap the garlic butter for cinnamon sugar. Which one would you try first? Comment below!
Serving & Pairing Ideas
These rolls are a star next to soup. A big bowl of tomato soup is my favorite partner. They are also perfect for a holiday table. Just add a little extra chopped parsley on top. For a drink, a cold glass of apple cider is wonderful. For the grown-ups, a crisp chardonnay pairs nicely. It cuts through the rich butter. Which would you choose tonight?
Keeping Your Rolls Fresh and Warm
Let’s talk about keeping these rolls lovely. Once cool, store them in a sealed container. They will stay soft for two days on the counter. You can also freeze them for a month. Just wrap each roll tightly in plastic wrap first.
To reheat, warm them in a 300°F oven for 10 minutes. This brings back their soft, fresh-baked feel. I once microwaved a roll and it got tough. The oven is always better for texture.
You can make the dough balls ahead. Place them in the baking dish, cover, and refrigerate. Bake them the next day. This matters because fresh bread makes any meal special. Have you ever tried storing it this way? Share below!
Simple Fixes for Common Roll Troubles
Sometimes our baking needs a little help. First, if your dough won’t rise, check your yeast. Make sure your milk is warm, not hot. Hot milk can hurt the yeast. I remember when my rolls stayed small. My liquid was too hot!
Second, if the rolls are dense, you may need more kneading. Kneading builds strength for a light roll. Third, if the butter soaks in too fast, let rolls cool a bit more. Brushing on warm butter gives great flavor.
Fixing small issues builds your cooking confidence. It also makes your food taste its very best. Which of these problems have you run into before?
Your Quick Questions, Answered
Q: Can I make these gluten-free? A: Try a 1-to-1 gluten-free flour blend. The texture may be slightly different.
Q: How far ahead can I prepare them? A: Shape the dough balls and refrigerate overnight. Bake them the next day.
Q: What if I don’t have fresh parsley? A: Use one teaspoon of dried parsley instead. It will still taste wonderful.
Q: Can I double the recipe? A: Yes! Use two baking dishes. Give the dough plenty of space to rise.
Q: Any optional tips? A: Add a little grated cheese to the garlic butter. *Fun fact: The first known garlic butter was used in France.* Which tip will you try first?
From My Kitchen to Yours
I hope you love making these swirl rolls. The smell of garlic and baking bread is pure joy. It reminds me of family dinners at my grandma’s table. I would help her brush the butter on.
Now it’s your turn to create those memories. I would love to hear all about your baking adventure. Have you tried this recipe? Tell me how it went in the comments below.
Happy cooking!
—Fiona Brooks.
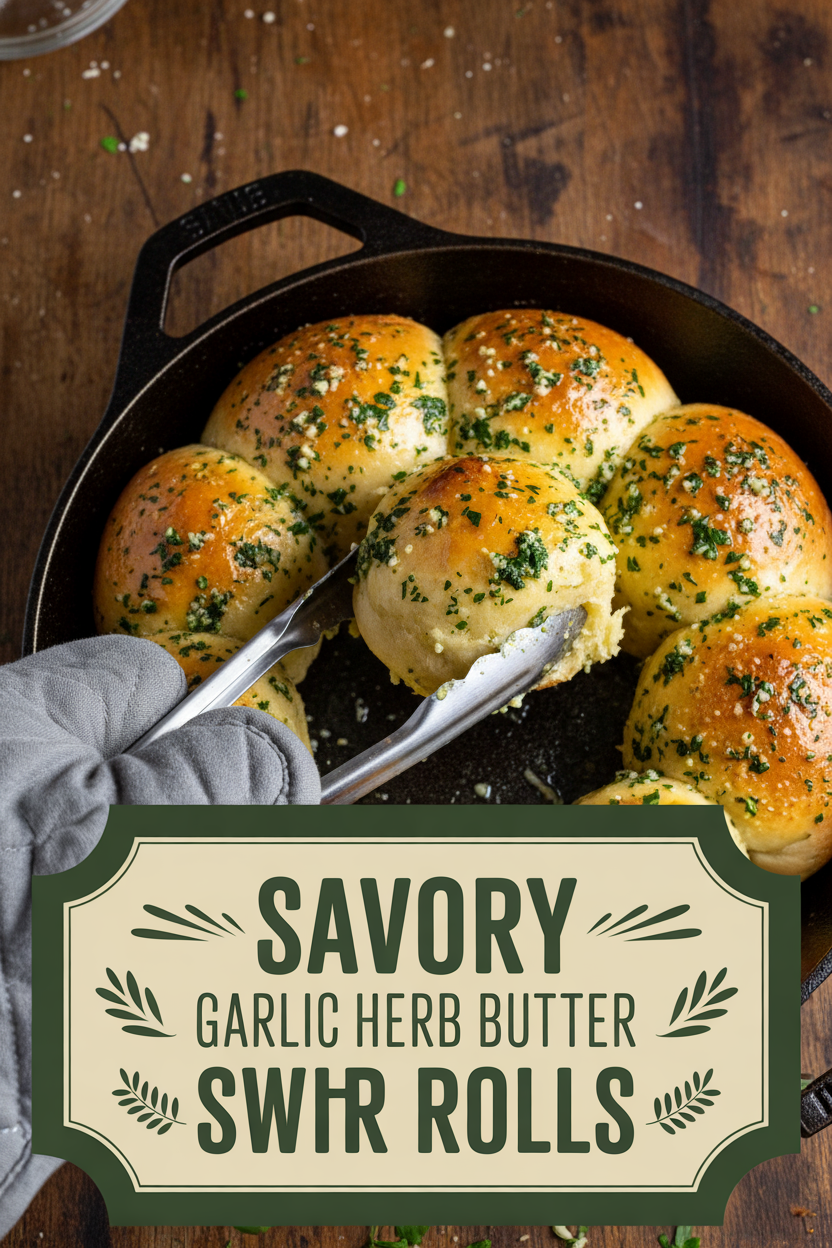
Savory Garlic Herb Butter Swirl Rolls
Description
Soft, fluffy rolls swirled with a rich garlic and herb butter, perfect as a side dish or on their own.
Ingredients
Garlic-Herb Butter:
Instructions
- In the bowl of a stand mixer, combine the milk, melted butter, and one egg. Mix in the flour and yeast. Attach the dough hook and mix on medium until a cohesive dough forms and no dry flour is visible, approximately 2 minutes. Pause to scrape the bowl and hook as necessary. Once mixed, cover the bowl and let the dough rest for 15 minutes.
- To the rested dough, add the sugar and one teaspoon of salt. Knead on medium speed until combined, about 30 seconds. Increase the speed to medium-high and knead for 8 to 12 minutes, until the dough is sticky but begins to clean the sides of the bowl. Transfer the dough to a greased large bowl, cover tightly, and let rise at room temperature until doubled, about 1 hour.
- Coat a 13×9-inch baking dish with the softened butter. Gently turn the risen dough onto a clean work surface and divide it into 12 equal pieces. Shape each piece into a smooth, tight ball by cupping it under your palm and rolling it on the counter.
- Arrange the dough balls in the prepared dish in three rows of four. Cover the dish tightly and let the rolls rise again at room temperature until doubled, about 30 minutes.
- While the rolls rise, place an oven rack in the middle position and preheat the oven to 350°F. Whisk the remaining egg with a pinch of salt. Once the rolls have risen, brush their tops evenly with this egg wash. Bake for about 20 minutes, until the rolls are a deep golden brown and the internal temperature reaches 200–205°F.
- As the rolls bake, prepare the butter. Melt the butter in a small saucepan over medium heat. Stir in the garlic and salt and cook just until fragrant, about 1 minute. Remove the pan from the heat and stir in the parsley.
- Take the baked rolls from the oven and let them cool in the dish for 15 minutes. Generously brush the tops and sides of the warm rolls with all of the prepared garlic-herb butter. Allow the rolls to sit for 5 minutes before serving warm.
Notes
- Make-Ahead Note: After shaping the rolls in Step 4, you can cover and refrigerate them for up to 24 hours. Before baking, let them sit at room temperature for 30 minutes, then proceed with the egg wash and baking.


Leave a Reply